
Food Blog Theme for Ghost: Recipes, Collections and a Paid Membership
A step-by-step guide to the Food Blog theme for Ghost: publish recipes, choose the lead recipe, group recipes by meal, sell a membership with free and paid plans, and show photos from your kitchen.

Michal Wlosik
· 5 min read
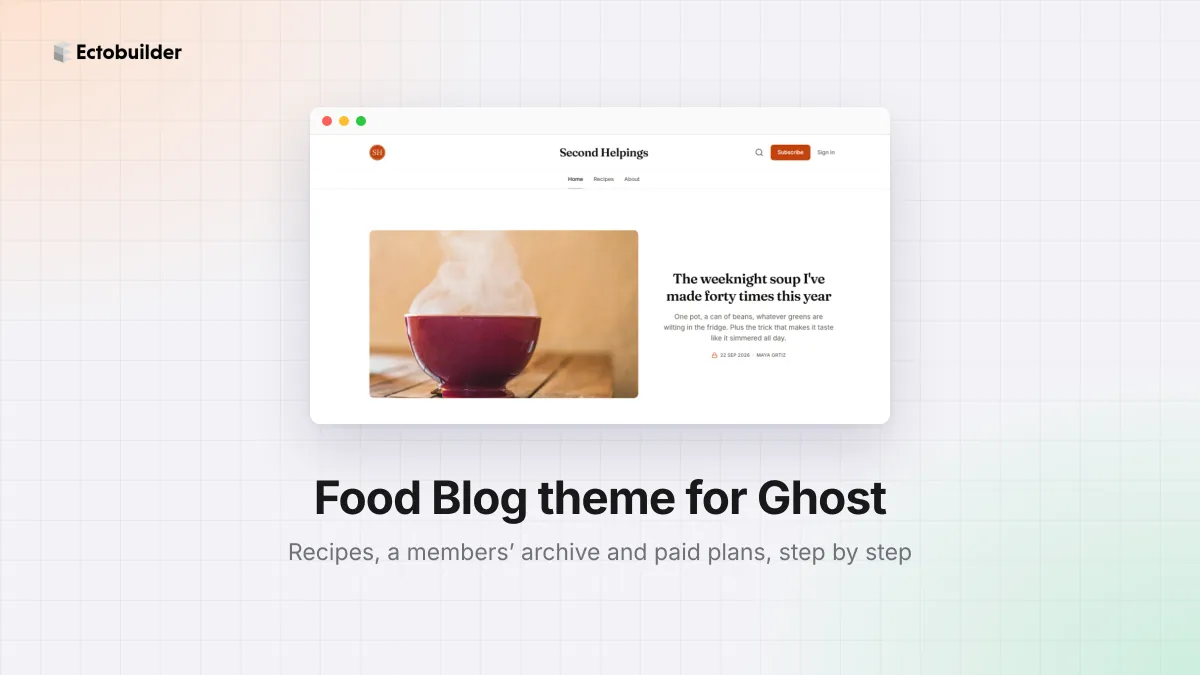
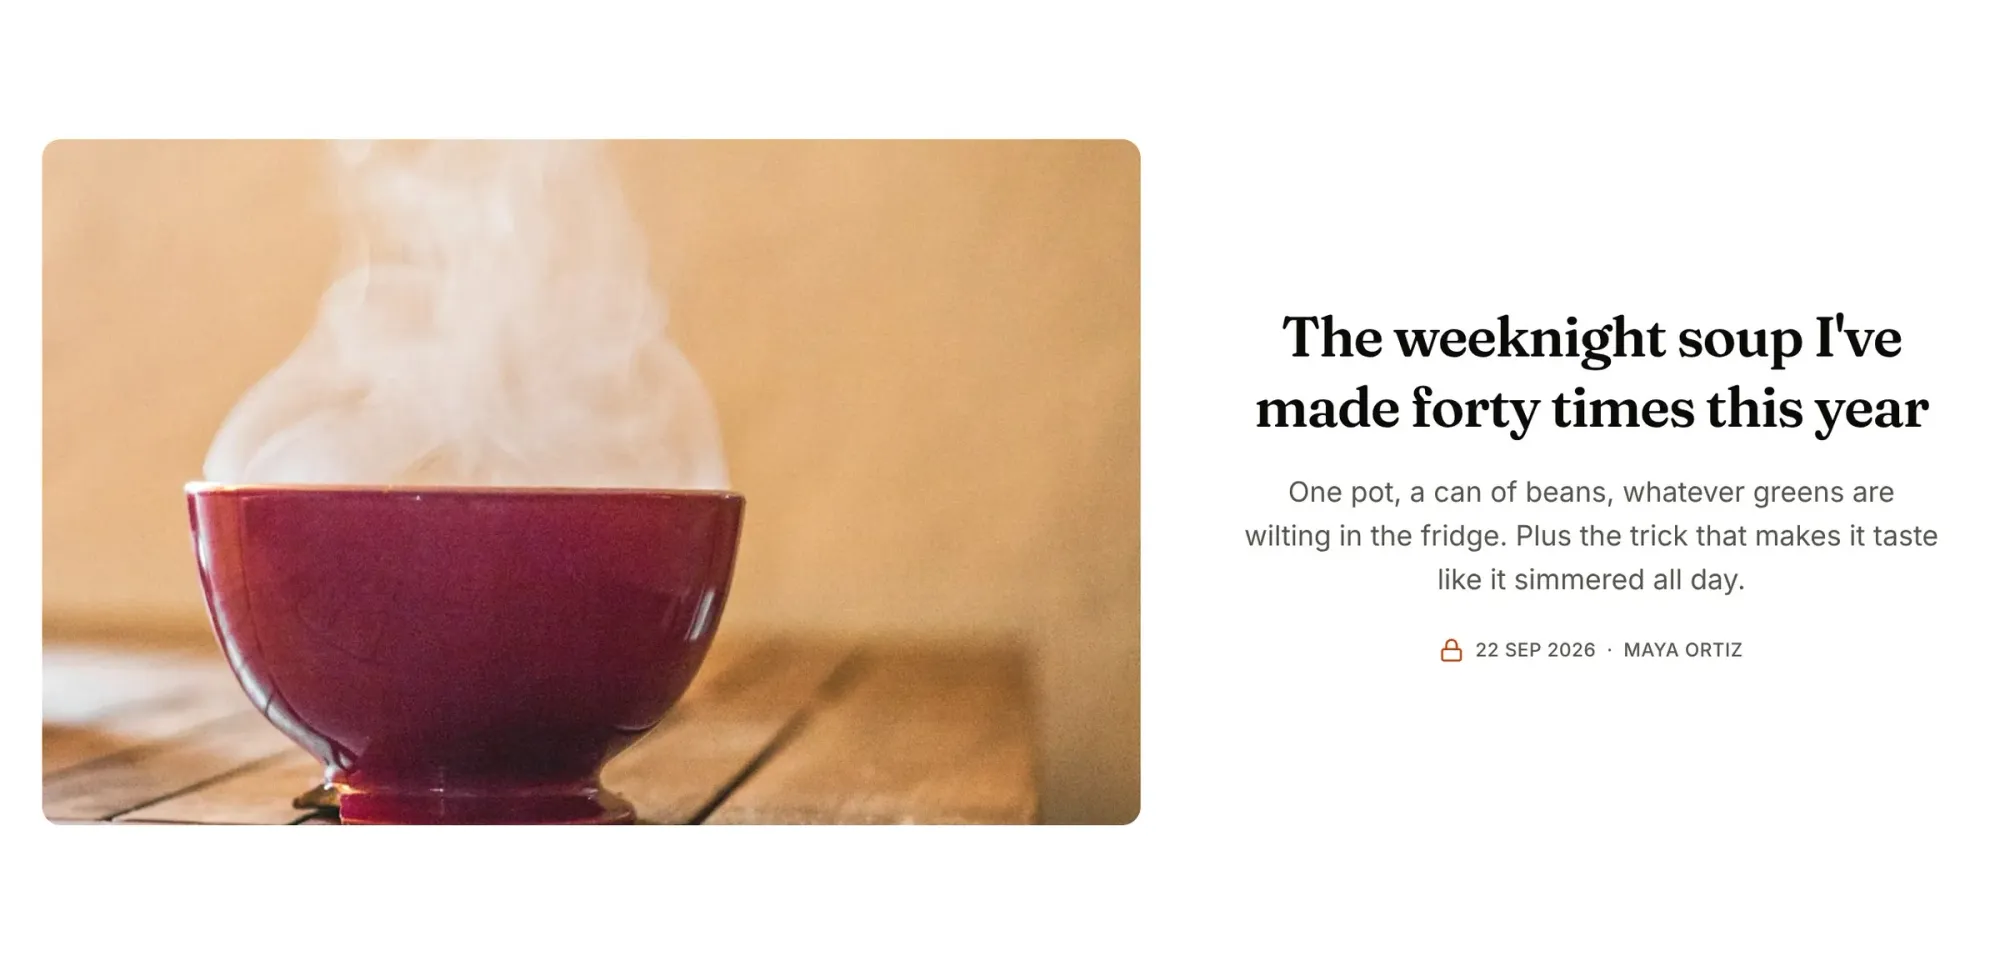
The Food Blog theme is an image-first Ectobuilder theme for home cooks and recipe writers on Ghost. The homepage leads with one big recipe, then large recipe cards, a photo grid from your kitchen, a sliding row of weeknight dinners and a membership section with free and paid plans.
It's built for a food blog that earns: a free weekly letter for everyone, and a paid membership for the full archive. This guide walks through:
- Publish recipes and choose the one that leads the homepage.
- Group recipes by meal, like the weeknight dinners row.
- Sell a membership with free and paid plans.
- Show your kitchen in the photo grid.
To follow along, open the theme from the Ectobuilder theme gallery and connect your Ghost site under Settings → Integrations → Ghost Admin API.
Want this theme for your site? Open the Food Blog theme in Ectobuilder and make it yours. Starting is free, and you only pay if you’re happy with the design.
Part 1: Publish recipes
Every recipe is a Ghost post. The homepage sections fill themselves with your posts, so you write in Ghost and the site updates on its own.
Step 1: Write the recipe
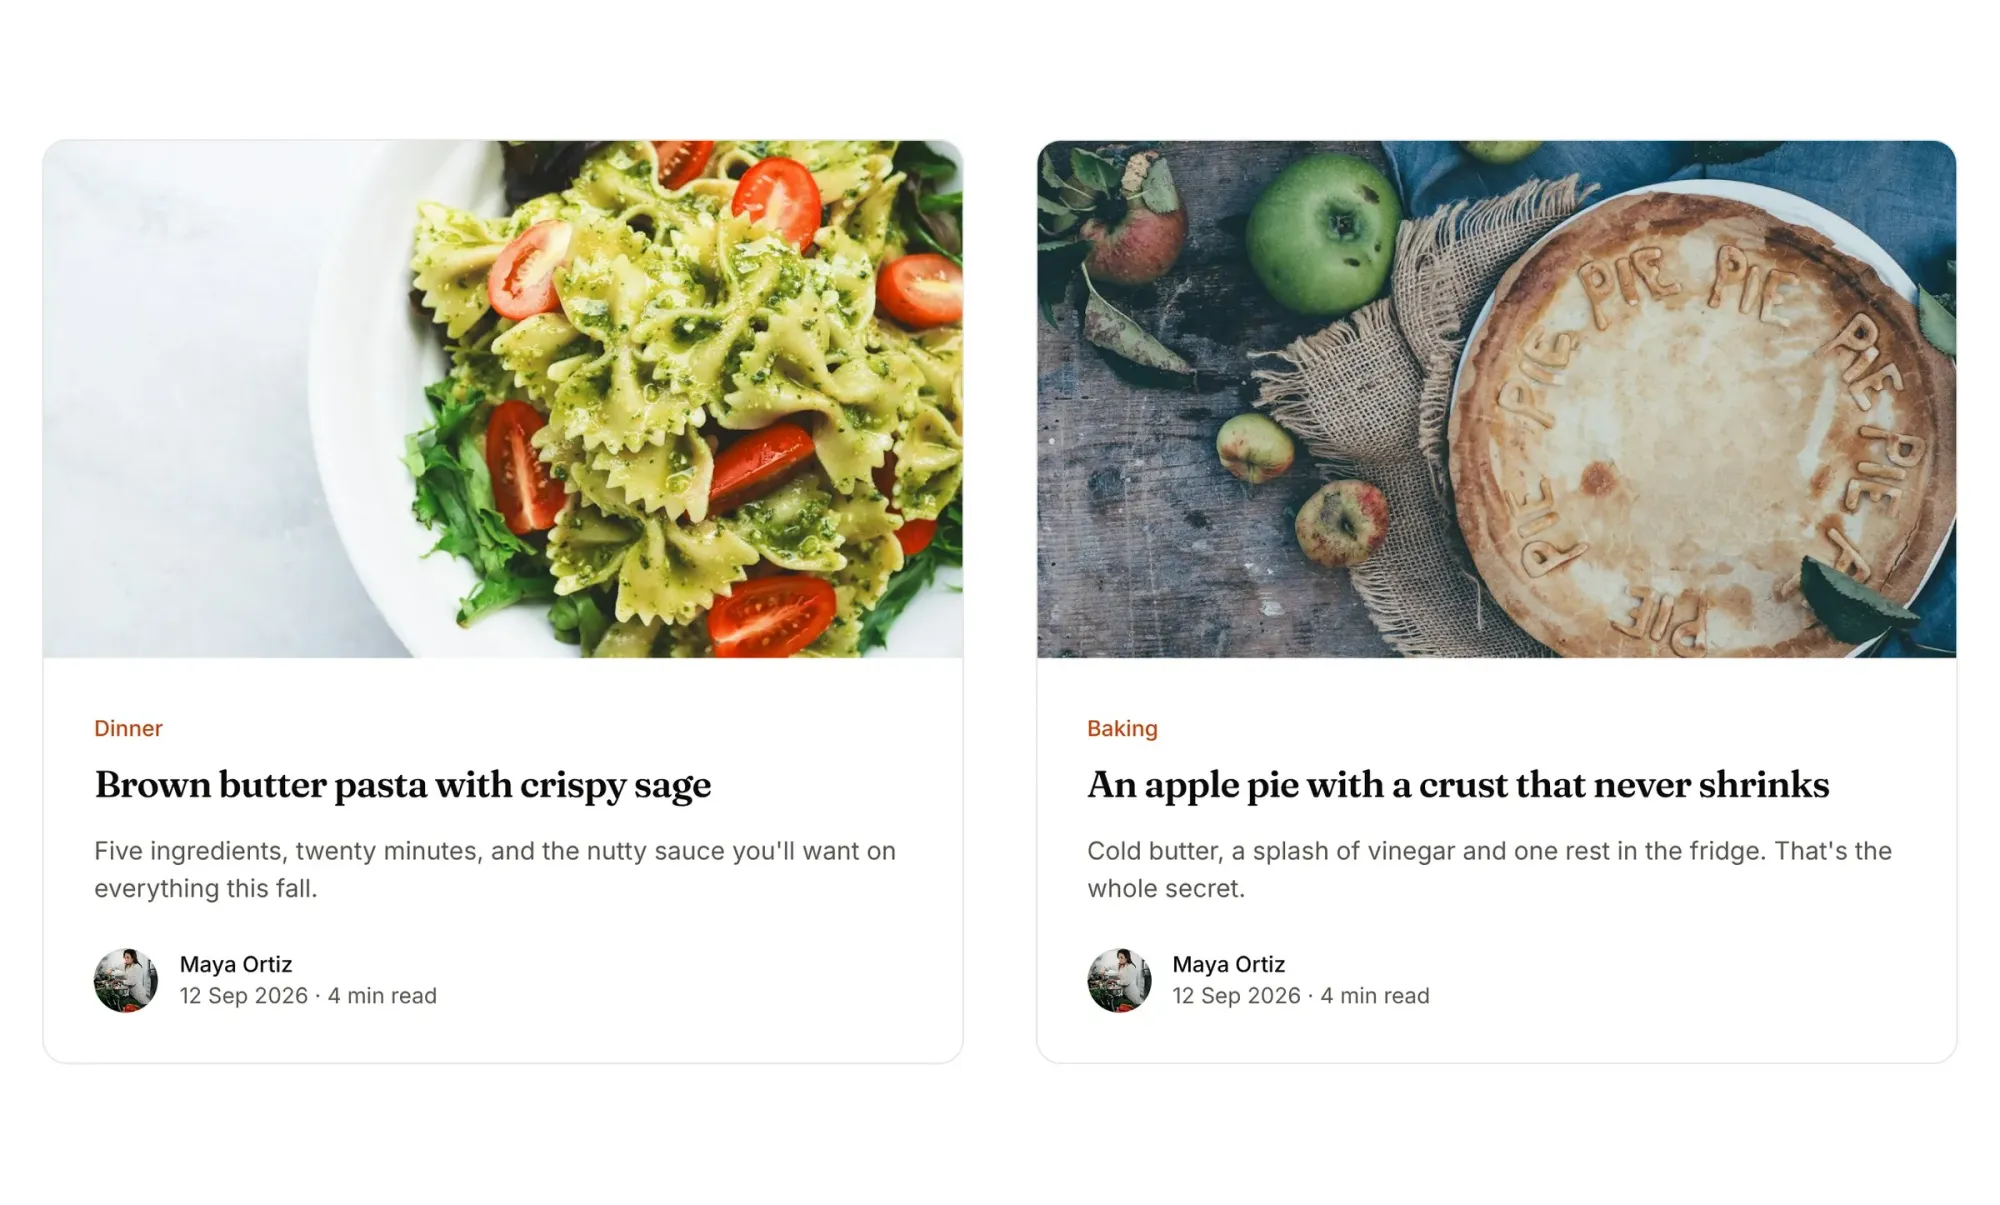
- In Ghost Admin, click New post. Add a big feature image: it's the first thing readers see, on the homepage and on social media.
- Write the story first, then the recipe. Use a list for the ingredients and a numbered list for the method, so readers can follow along at the stove.
- Add more photos of the steps. Readers can enlarge any of them with the lightbox.
Step 2: Tag it
In Post settings, give the recipe a first tag for the kind of dish: Dinner, Baking, Soup. It shows on the card and gives readers a page per tag, like /tag/baking/. Then write a one-line excerpt: it's the summary under the title.
Step 3: Choose who can read it
Under Post access, choose Public, Members only or Paid-members only. Locked posts show a small lock on the homepage, and Ghost shows the beginning with a sign-up box to everyone else.
Choose the lead recipe
The big recipe at the top is your latest post. To pick it yourself, open it in Ghost and turn on Feature this post. Then, in Ectobuilder, click the section and under Posts from Ghost set Posts to show to Featured posts, and deploy.
Part 2: Group recipes by meal
The Weeknight dinners row slides sideways with arrows, and every card is a recipe. Out of the box it shows your latest posts. Point it at a tag to make it a real collection:
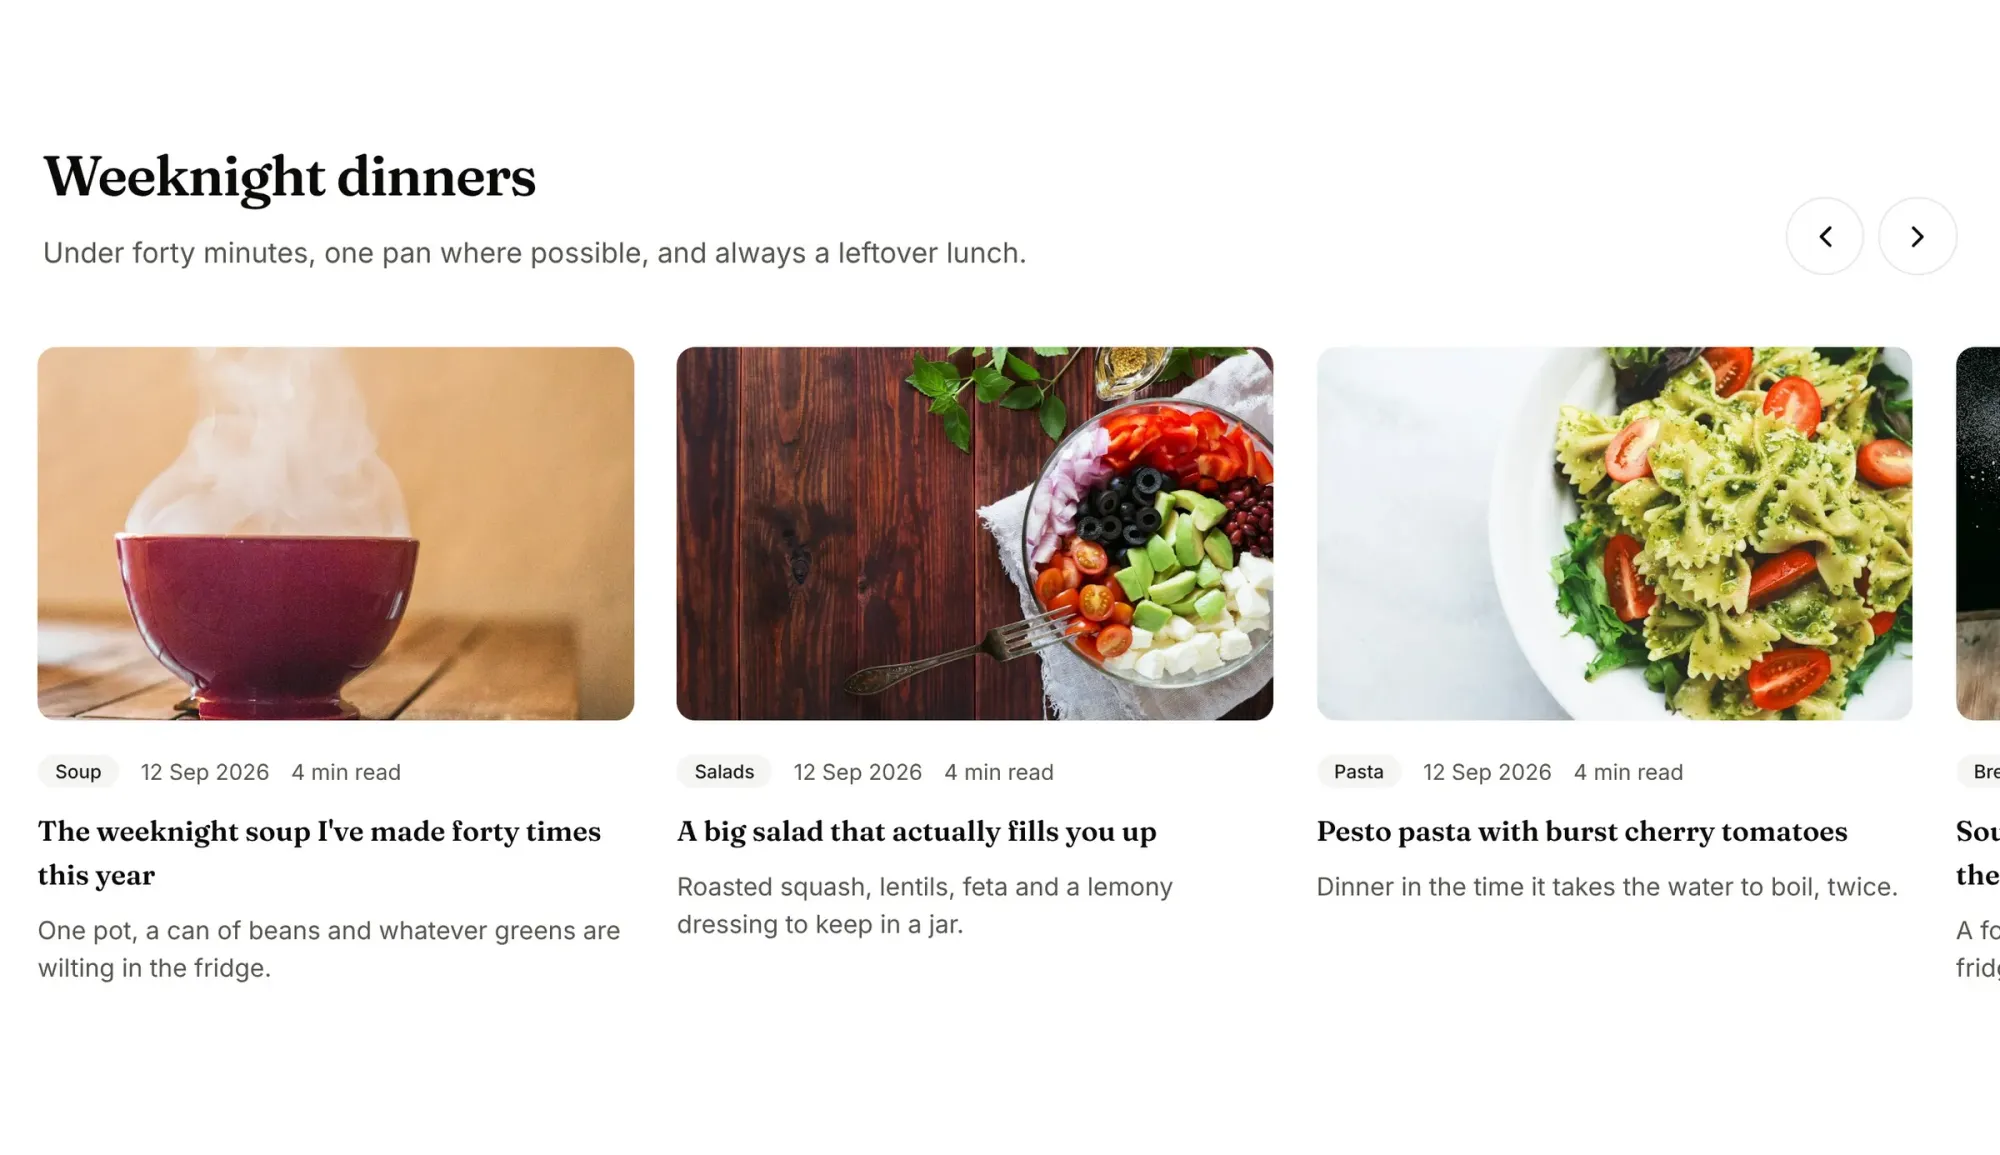
- Tag the recipes in Ghost, for example Weeknight.
- In Ectobuilder, click the row. Under Posts from Ghost, set Posts to show to Posts with a tag and type the tag's slug,
weeknight. - Set How many to 8 or 12, and double-click the heading and the line under it to describe the collection.
- Click Deploy.
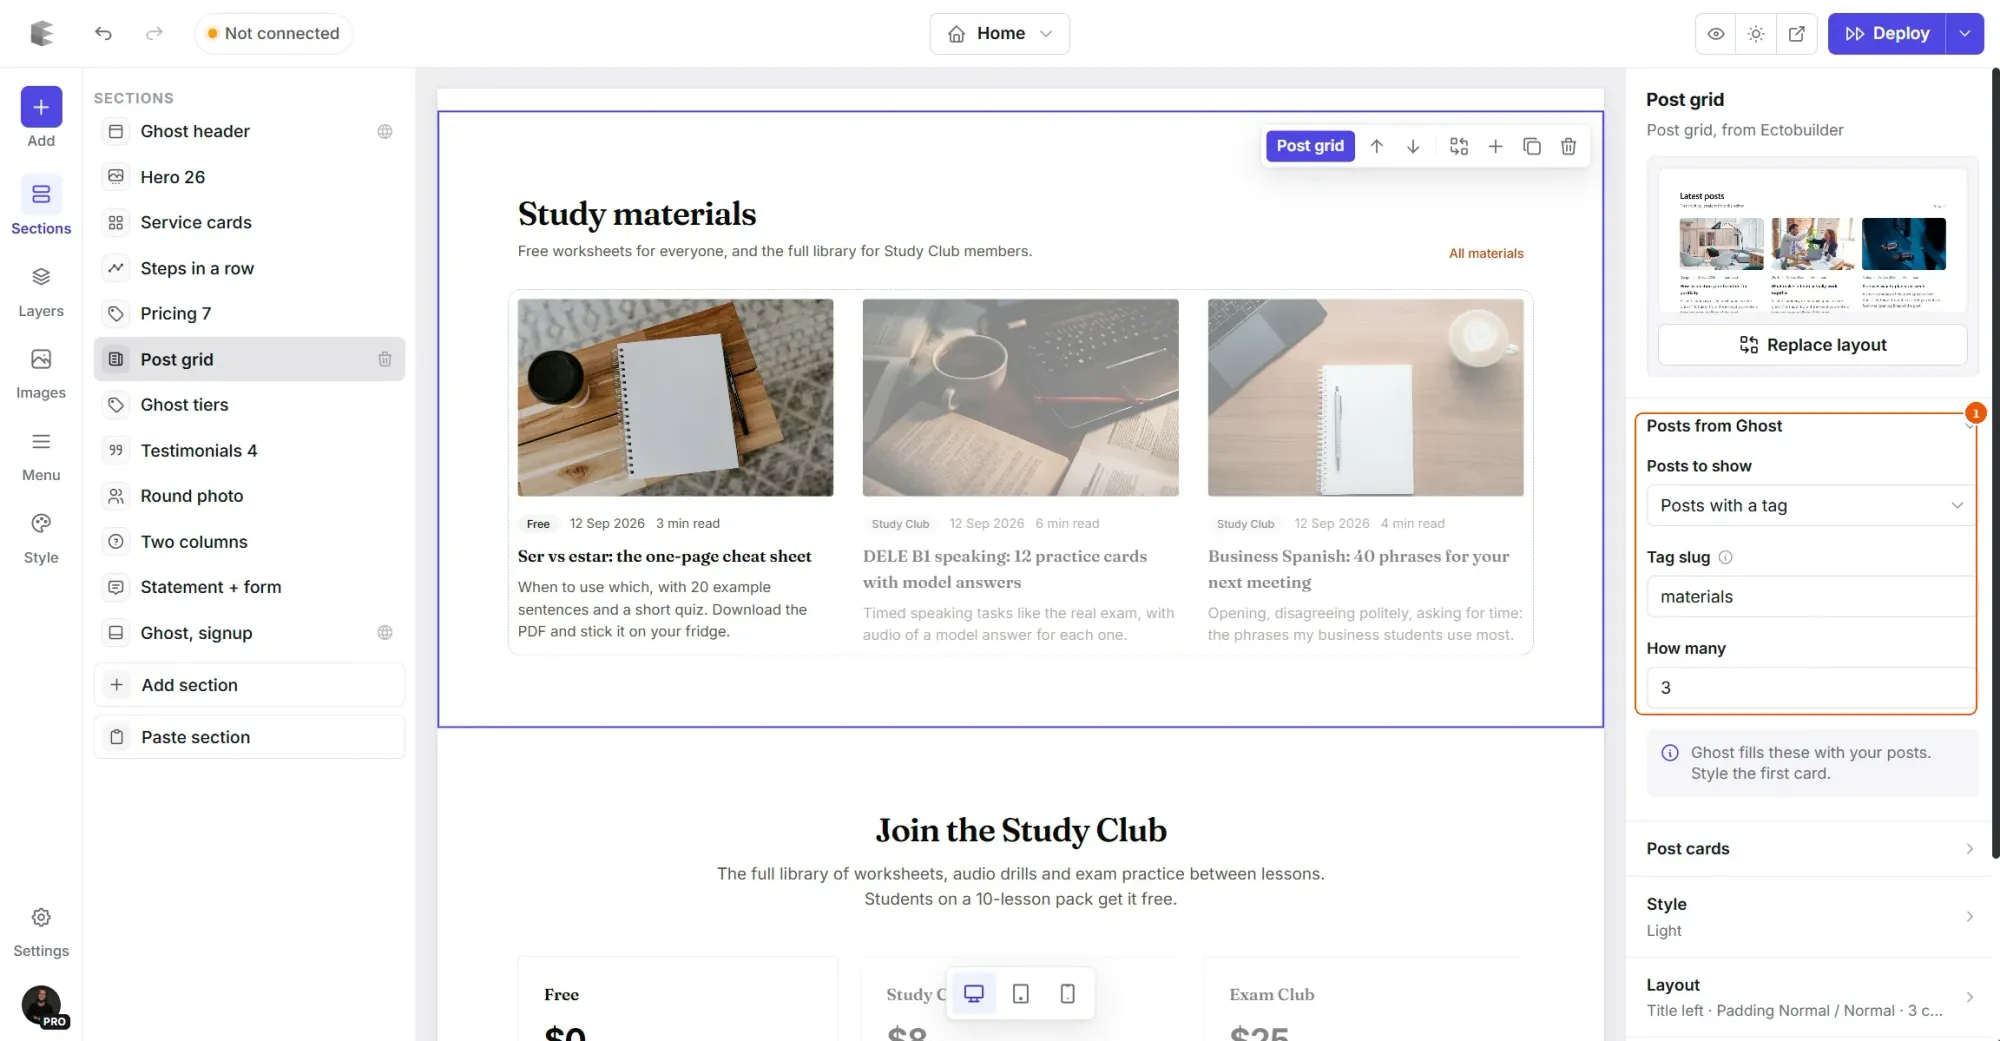
Want a row for baking and another for soups? Copy the section with the copy button in its toolbar and set a different tag on each.
Mark members' recipes at a glance with tag icons: a small icon on the photo for a tag like Members.
Part 3: Sell a membership
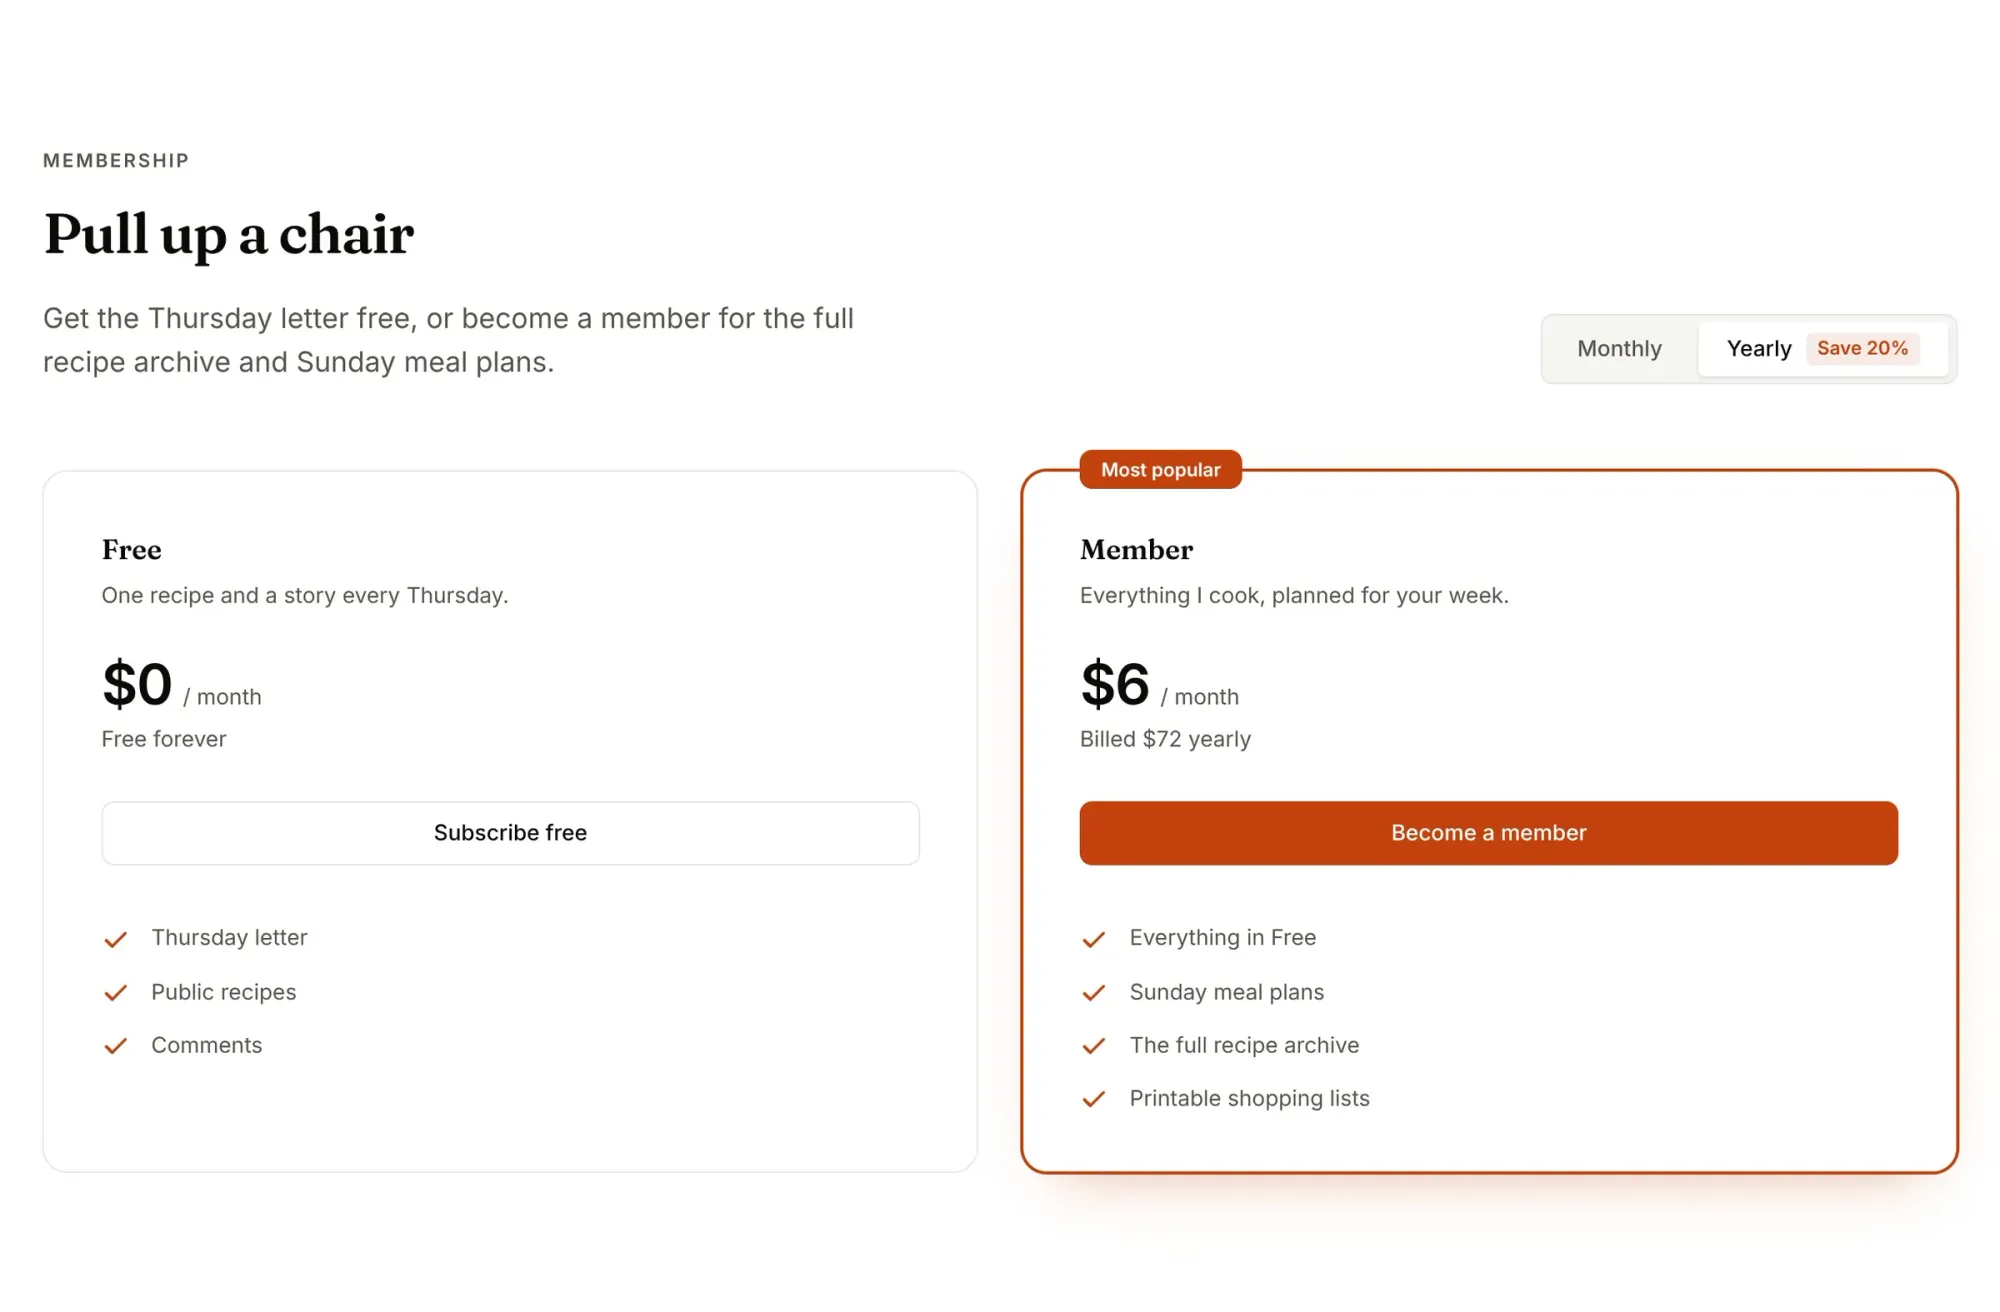
The Pull up a chair section shows a free plan and a paid one, with a monthly and yearly switch. Ghost handles the sign-ups and the payments, and takes no cut.
Step 1: Set up tiers in Ghost
- In Ghost Admin, open Settings → Membership and connect Stripe.
- Under Tiers, set the price of your paid tier, monthly and yearly, and what it includes.
Step 2: Link the plans
In Ectobuilder, click the membership section. Under Pricing, pick the Ghost tier for each plan. Linked plans take their prices from Ghost, and their buttons open that tier's sign-up, so the prices on your site are always right.
Choose which billing the switch shows first, star the plan to recommend, and double-click the lists to say what members get. Specific beats generic: "Sunday meal plans and printable shopping lists" sells better than "Exclusive content".
For more on pricing tables, read How to build a pricing page in Ghost.
Part 4: Show your kitchen
From my kitchen this week is a grid of five photos: one big, four small. It's the most personal part of the page, so make it yours.
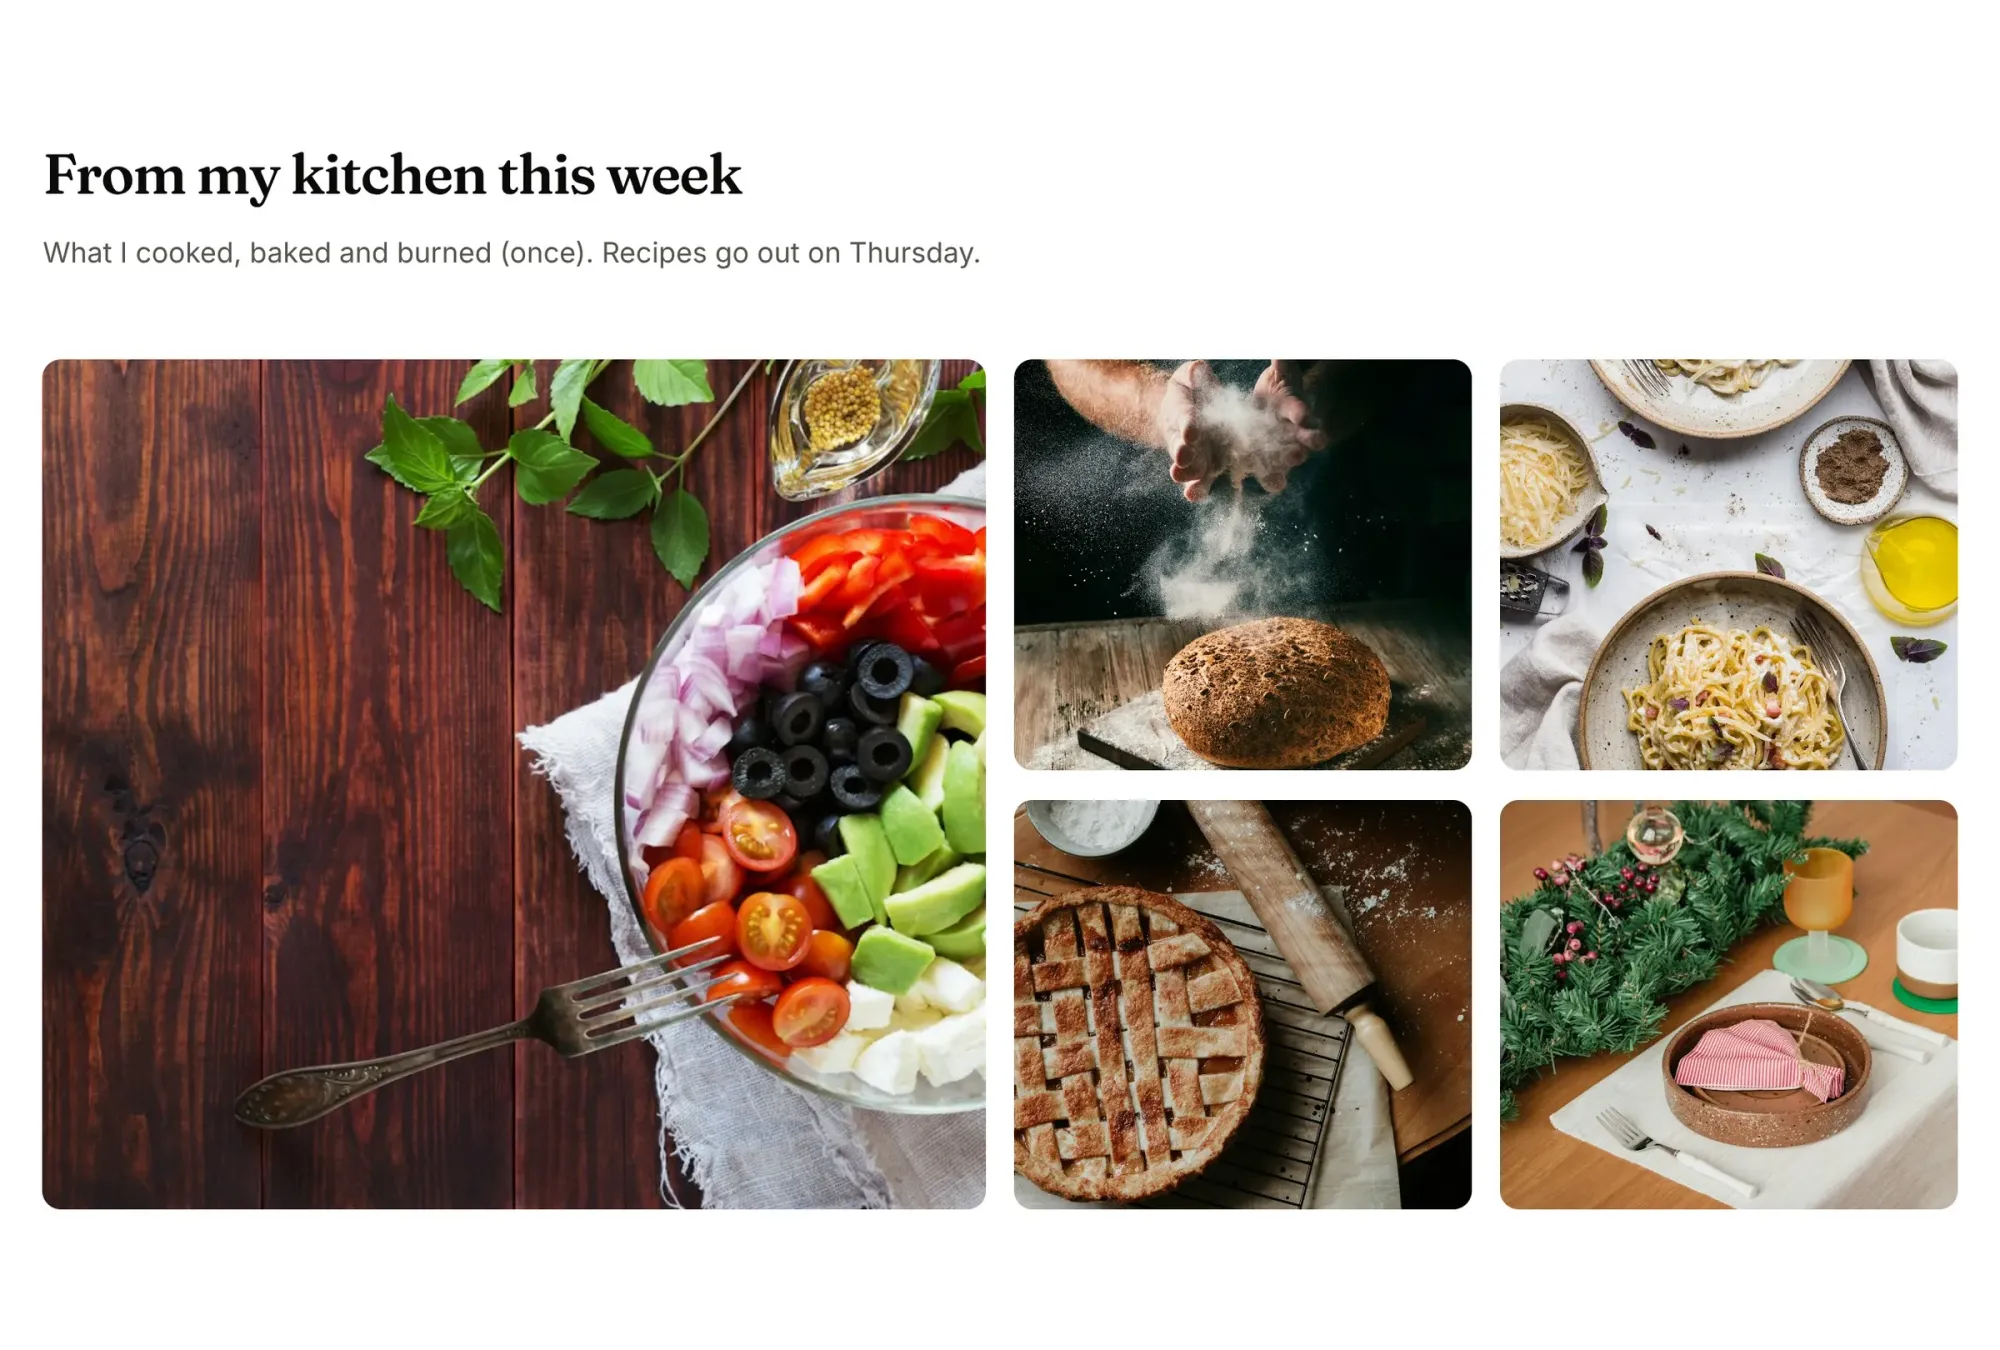
- Click each photo, then Replace, and upload your own in the Images panel. Put your best photo in the big spot. See how to add images to your Ghost theme.
- Fill in the Description for each picture, or let the sparkle button write it.
- Update the grid when you have new photos, and deploy.
Photos load fast: Ghost serves them in the right size for each screen, and pictures further down the page load as readers scroll.
Ready to build yours? Everything in this guide works on your own copy of the Food Blog theme. Start free, connect your Ghost site when you’re ready, and only pay if you like the result.
Next steps
- Turn on full-text search, so readers can find a recipe by an ingredient, not just its title.
- Add share buttons: recipes are shared more than almost anything else. Pinterest is worth switching on.
- Change the colors and fonts under Style. The theme uses Fraunces for headings.
- Coming from Substack? Move your posts and paid subscribers in one go.
Written by
Founder of Ectobuilder, the AI-powered visual theme editor for Ghost. Indie software builder in Wrocław and co-author of The AdTech Book. I write about Ghost themes, newsletters and building websites with AI.
Comments
Questions or thoughts? Share them below.
Keep reading
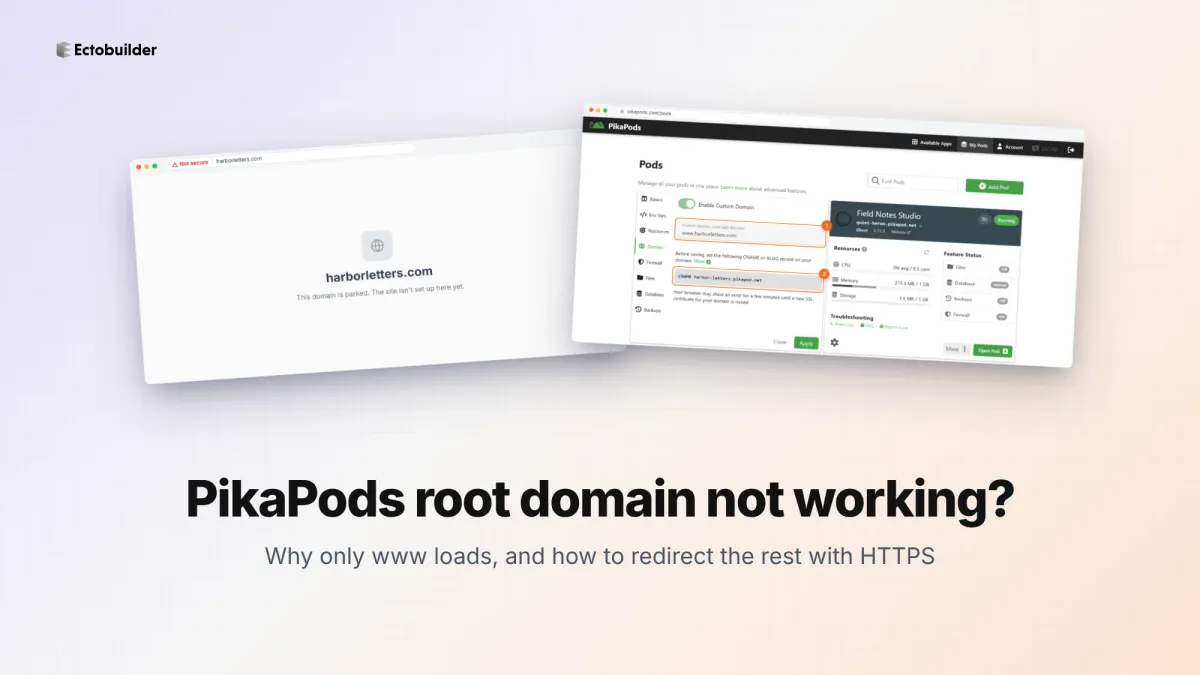
PikaPods Custom Domain: Why Only www Works (and How to Fix the Root Domain)
PikaPods maps one custom domain per pod, so yourdomain.com without www stays on a parked page with no SSL. Here's why, and three ways to redirect it to www over HTTPS without touching your email records.
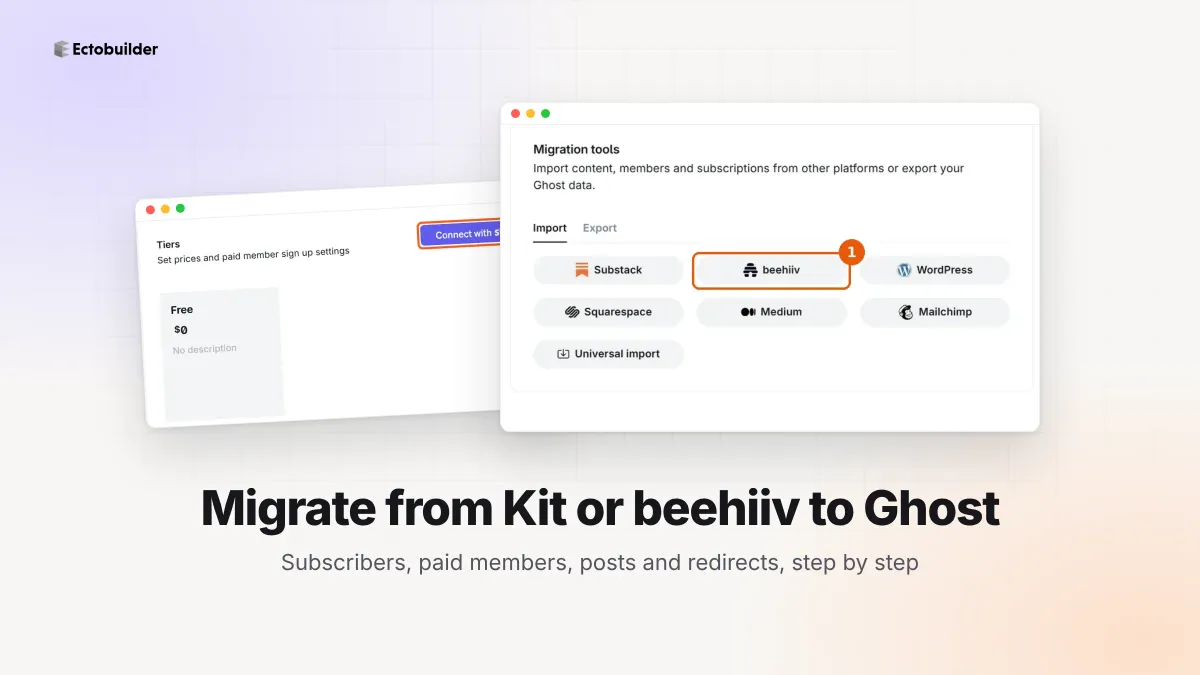
How to Migrate from Kit or beehiiv to Ghost (Subscribers, Paid Members, Posts and Redirects)
Move your newsletter from Kit (ConvertKit) or beehiiv to Ghost step by step: export and import subscribers, deal with paid members and Stripe, bring your posts across, set up redirects and your domain, warm up email sending, and make the new site look right.
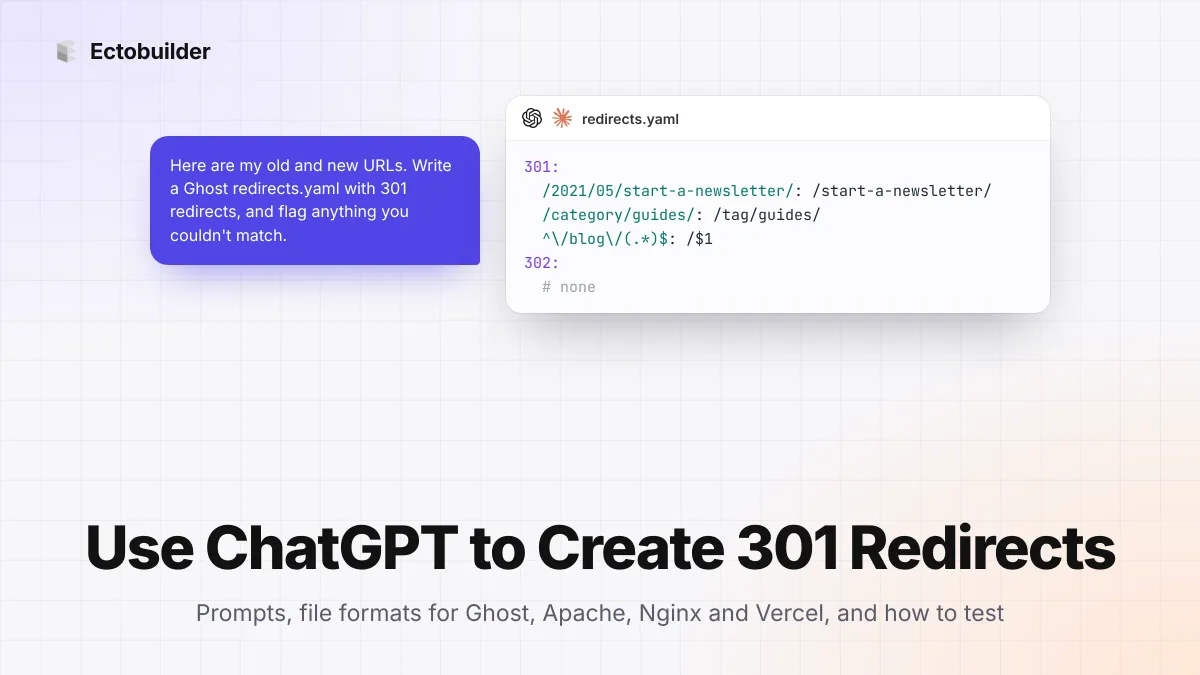
How to Use ChatGPT to Create 301 Redirects (Prompts, File Formats and Testing)
Let ChatGPT or Claude match your old URLs to new ones and write the redirect file for Ghost, Apache, Nginx, Netlify or Vercel. Prompts to copy, the mistakes to avoid, and how to test every redirect.