
Yoga Studio Theme for Ghost: List Your Classes, Take Bookings and Sell Memberships
A step-by-step guide to the Yoga Studio theme for Ghost: list your classes with prices, take bookings from every Book button, sell memberships with a monthly and yearly switch, and set up your studio photos, reviews, FAQ, menu and SEO.

Michal Wlosik
· 8 min read
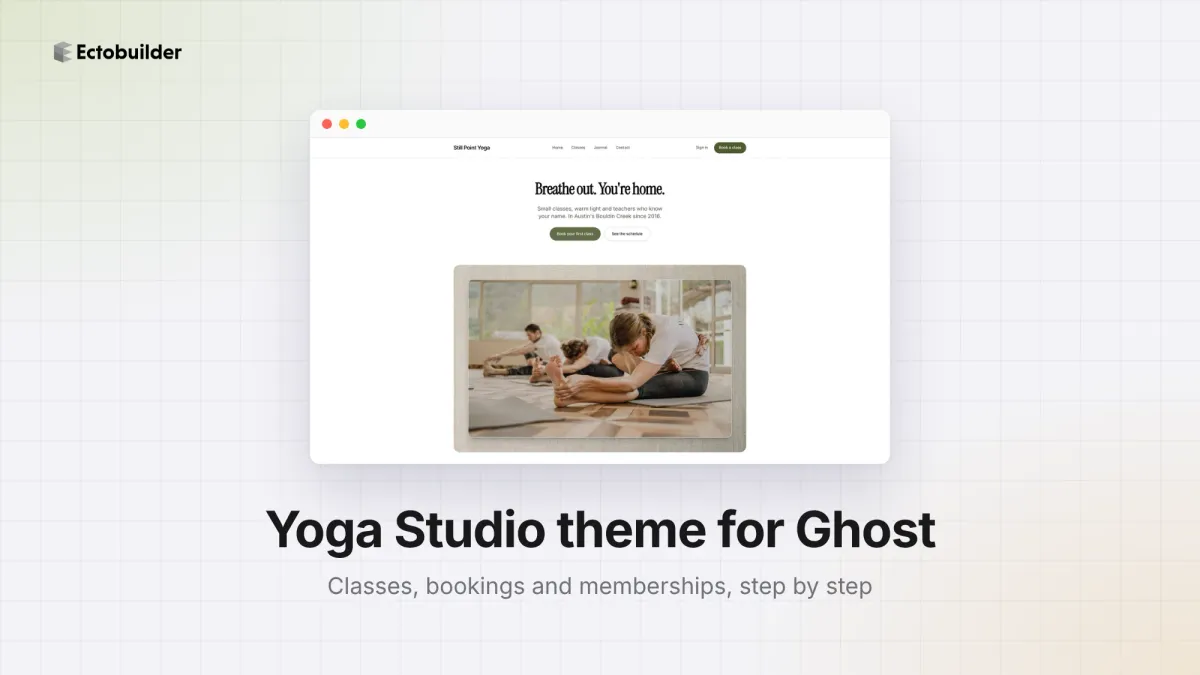
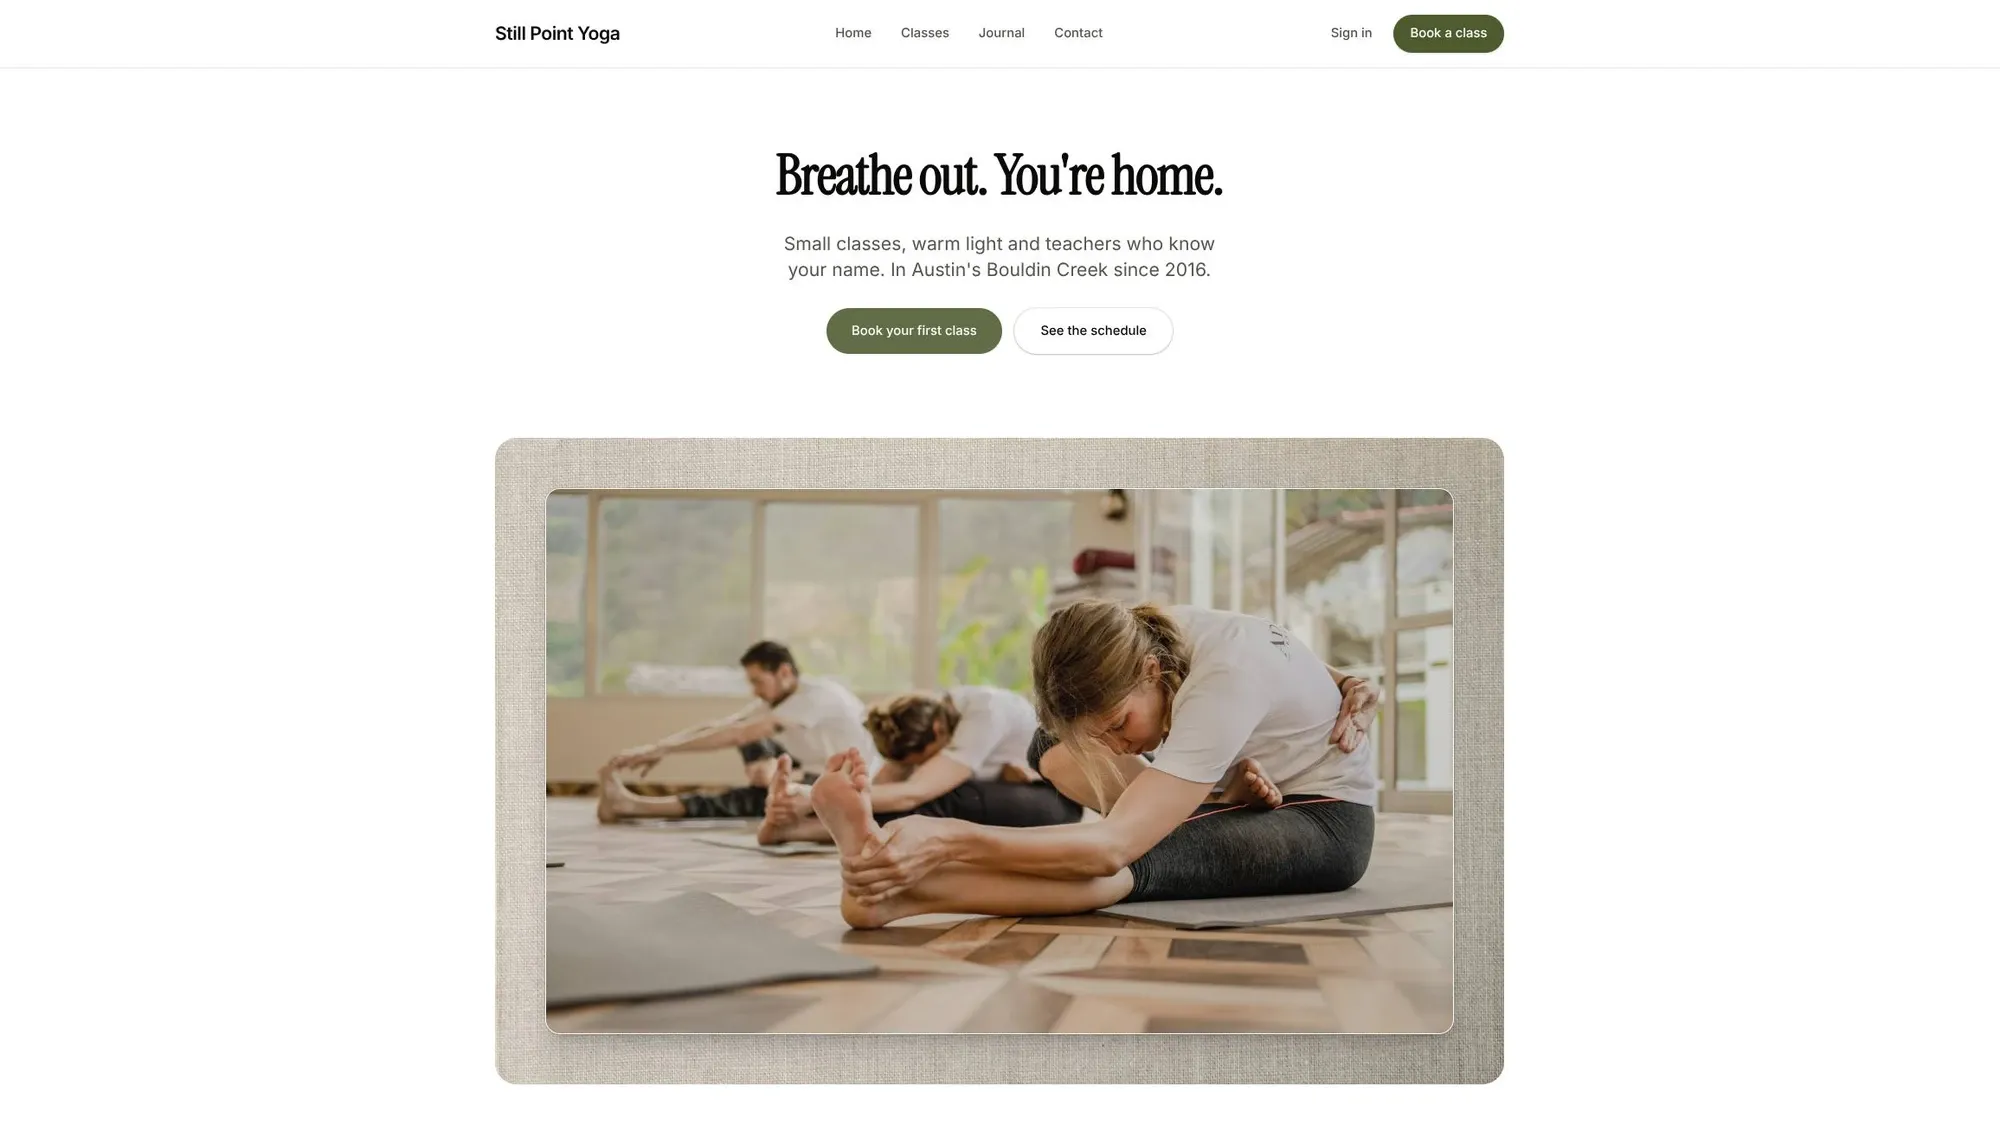
The Yoga Studio theme is an Ectobuilder theme for yoga, pilates and movement studios running their site on Ghost. Its homepage opens with a framed photo on a linen background and a Book your first class button, then shows your classes with lengths, prices and Book buttons, a drifting strip of studio photos, student reviews, memberships with a monthly and yearly switch, and an FAQ.
This guide walks through what most studios set up first:
- Set up your class list, with lengths and prices.
- Take class bookings from every Book button.
- Add your memberships, with a monthly and yearly switch.
- Show the studio and student reviews.
- Answer questions from new students in the FAQ.
- Set up your menu, in the header and the footer.
- Check your SEO with Site audit before you launch.
To follow along, open the theme from the Ectobuilder theme gallery and connect your Ghost site under Settings → Integrations → Ghost Admin API.

Want this theme for your site? Open the Yoga Studio theme in Ectobuilder and make it yours. Starting is free, and you only pay if you’re happy with the design.
Part 1: Set up your class list
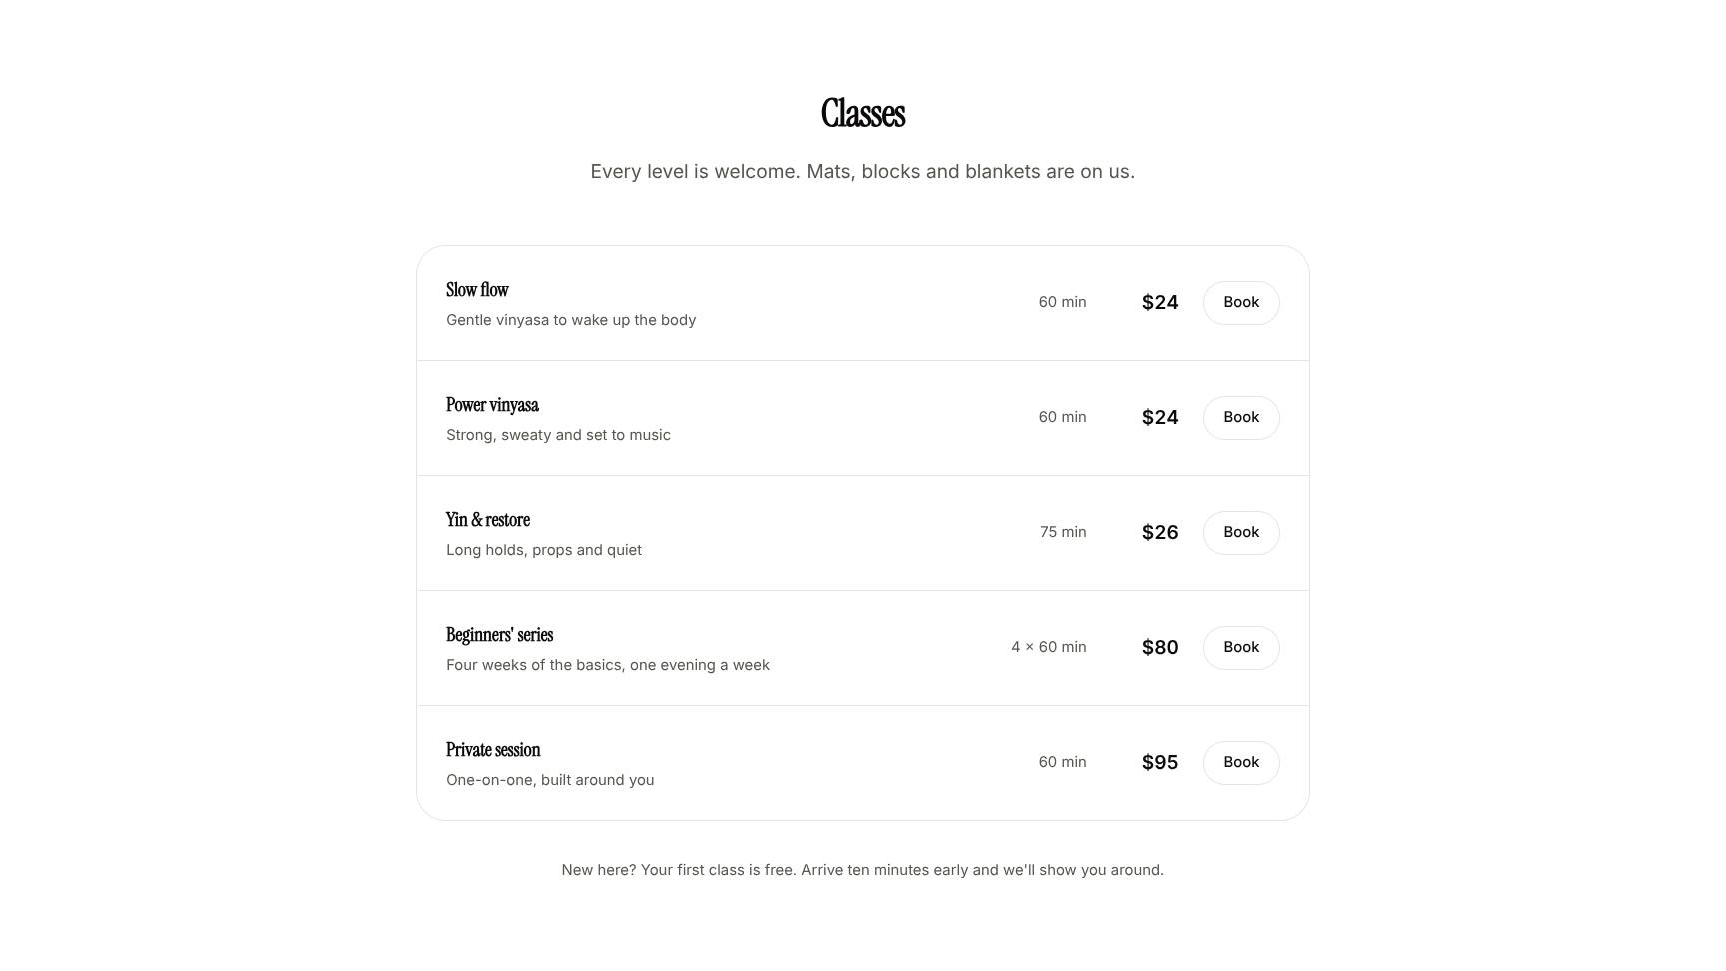
The Classes section lists what you teach, one row per class: a name, a short line about it, the length, the price and a Book button. The sample studio has five: Slow flow, Power vinyasa, Yin & restore, a Beginners’ series and a Private session.
Step 1: Change the classes
- Double-click a class name, its description, length or price to type over it. Write the length the way students think of it: 60 min, or 4 × 60 min for a course.
- To add a class, click an existing row and use Items in the panel on the right to duplicate it, then type over the copy. The arrows move it up or down, and the cross removes it.
- Put your most popular class or your beginner option at the top. That’s the one new visitors look for.
Step 2: Keep the offer for new students
Under the list sits one line: New here? Your first class is free. Arrive ten minutes early and we’ll show you around. If you have an intro offer, write it here in plain words. If you don’t, say what to expect on the first visit instead.
The classes are part of the theme, so a change goes live when you click Deploy. That suits a timetable that changes each term. For this week’s substitutes and cancellations, use your booking tool or a short Ghost post.
Part 2: Take class bookings
The theme has Book buttons in three places: Book a class in the header, Book your first class on the hero, and one on every class. They all link to #booking, so they open your booking page as soon as you add it.
Step 1: Add your booking page
- Copy the address of your schedule in the booking tool you already use, such as Mindbody, Momence or Arketa. For private sessions only, a Calendly or Cal.com page works too.
- In Ectobuilder, open Settings → Integrations → Booking page and paste it.
- Click Deploy and try a Book button on your phone. Most students book from one.
Calendly, Cal.com, Google Calendar, TidyCal and Acuity open in a window over your site; services that don’t allow that open in a new tab.
Step 2: Send a class to its own page
If your booking tool has a page per class or per course, click that class’s Book button and set its link to the class’s own address. The other buttons keep using #booking. The See the schedule button on the hero scrolls down to the class list.
To get bookings from Google Search and Maps as well, read How to add online booking to your Ghost site.
Part 3: Add your memberships
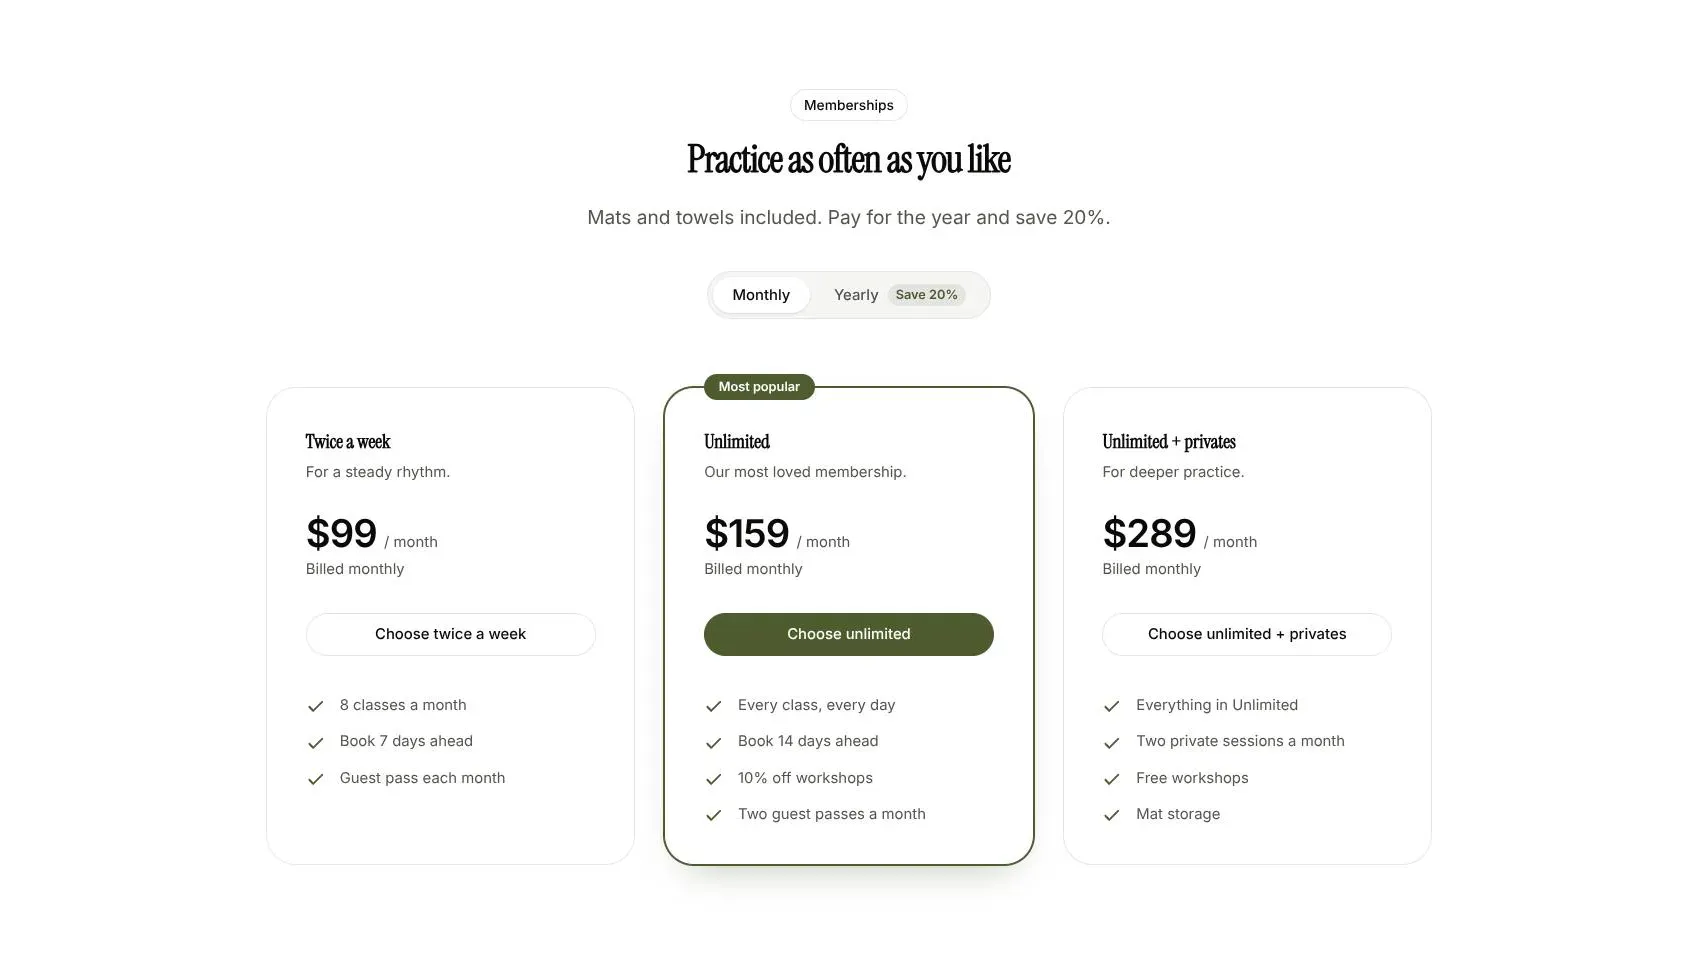
The Memberships section, headed Practice as often as you like, shows three plans side by side: Twice a week, Unlimited and Unlimited + privates. Above them a switch flips the prices between Monthly and Yearly, with a Save 20% label.
Step 1: Set plans and prices
- Click the section. The Pricing group in the panel lists your plans with their names and prices.
- Under Billing, keep Both to show the switch, or choose Monthly or Yearly if you only sell one. Show first picks which prices visitors see before they touch the switch.
- Type the monthly and yearly price for each plan. Then update the Billed $948 yearly line under each yearly price, and the Save 20% label if your discount is different.
- Click the star next to a plan to make it the recommended one, with the Most popular badge. Add plan adds another card.
Edit what each plan includes, like 8 classes a month or Book 14 days ahead, right on the page.
Step 2: Connect the buttons
The Choose… buttons go nowhere yet. Most studios sell memberships in their booking tool, so select each button and set its link to that plan’s checkout page there. If you sell memberships through Ghost instead, pick the plan’s Ghost tier in the panel: its prices then come from Ghost, and the button opens that tier’s signup.
For more on the switch, the recommended plan and the payments line, read How to build a pricing page in Ghost.
Part 4: Show the studio and student reviews
Inside the studio is a strip of eight photos that drifts slowly sideways. It shows people what the room feels like before they walk in.
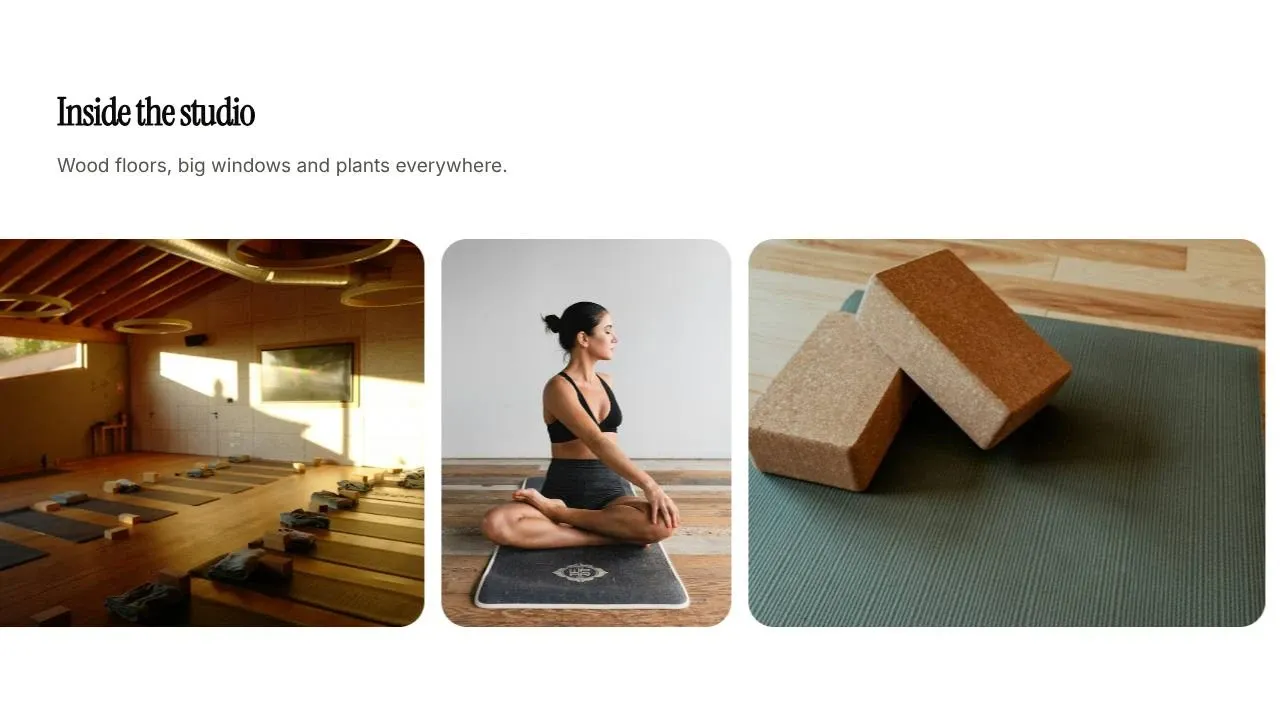
- Click a photo, then Replace in the Image panel to upload your own. Mix the empty room, a class in progress and small details like props or plants.
- Fill in each photo’s Description. Screen readers and image search use it.
- Click the section to change how it moves. Under Scrolling strip, set Speed and Direction, turn on Pause under the pointer, or turn the strip off to show the photos still.
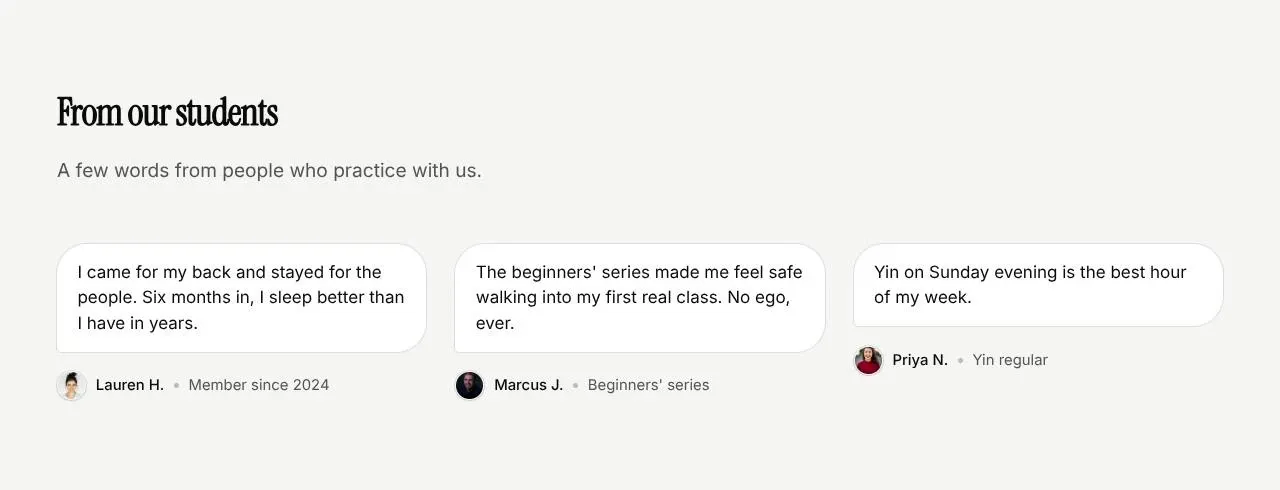
Below it, From our students has three short reviews, each with a name, a photo and a line like Member since 2024 or Yin regular. Replace them with real words from your students, with their permission. Short, specific reviews about a class or a teacher read better than long ones.
Part 5: Answer questions from new students
Good to know is an FAQ that opens one answer at a time. The sample covers where to start, what to bring, how to cancel, parking and pausing a membership.
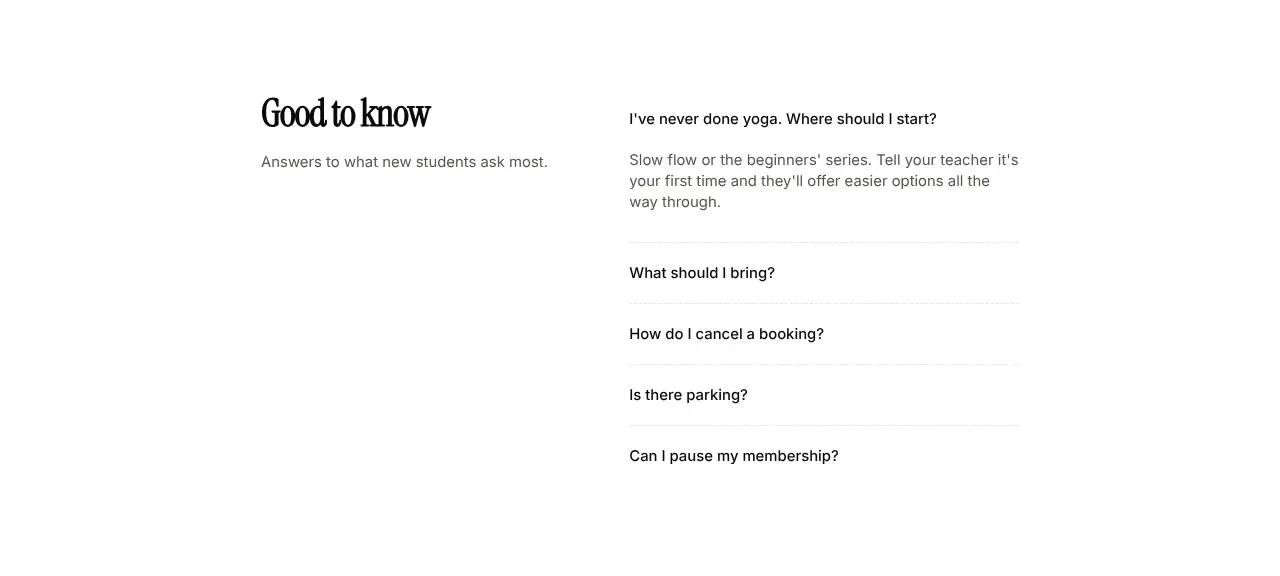
Double-click a question or an answer to type over it, and use Items to add or remove one. Write your real cancellation window, here up to 6 hours before class, in the same words as your booking tool, so nobody gets charged by surprise.
Part 6: Set up your menu
The header shows Home, Classes, Journal and Contact, and the footer has Classes, Privacy and Contact. These links live in Ghost, and you edit them in the Menu panel in the left rail, right beside your page.
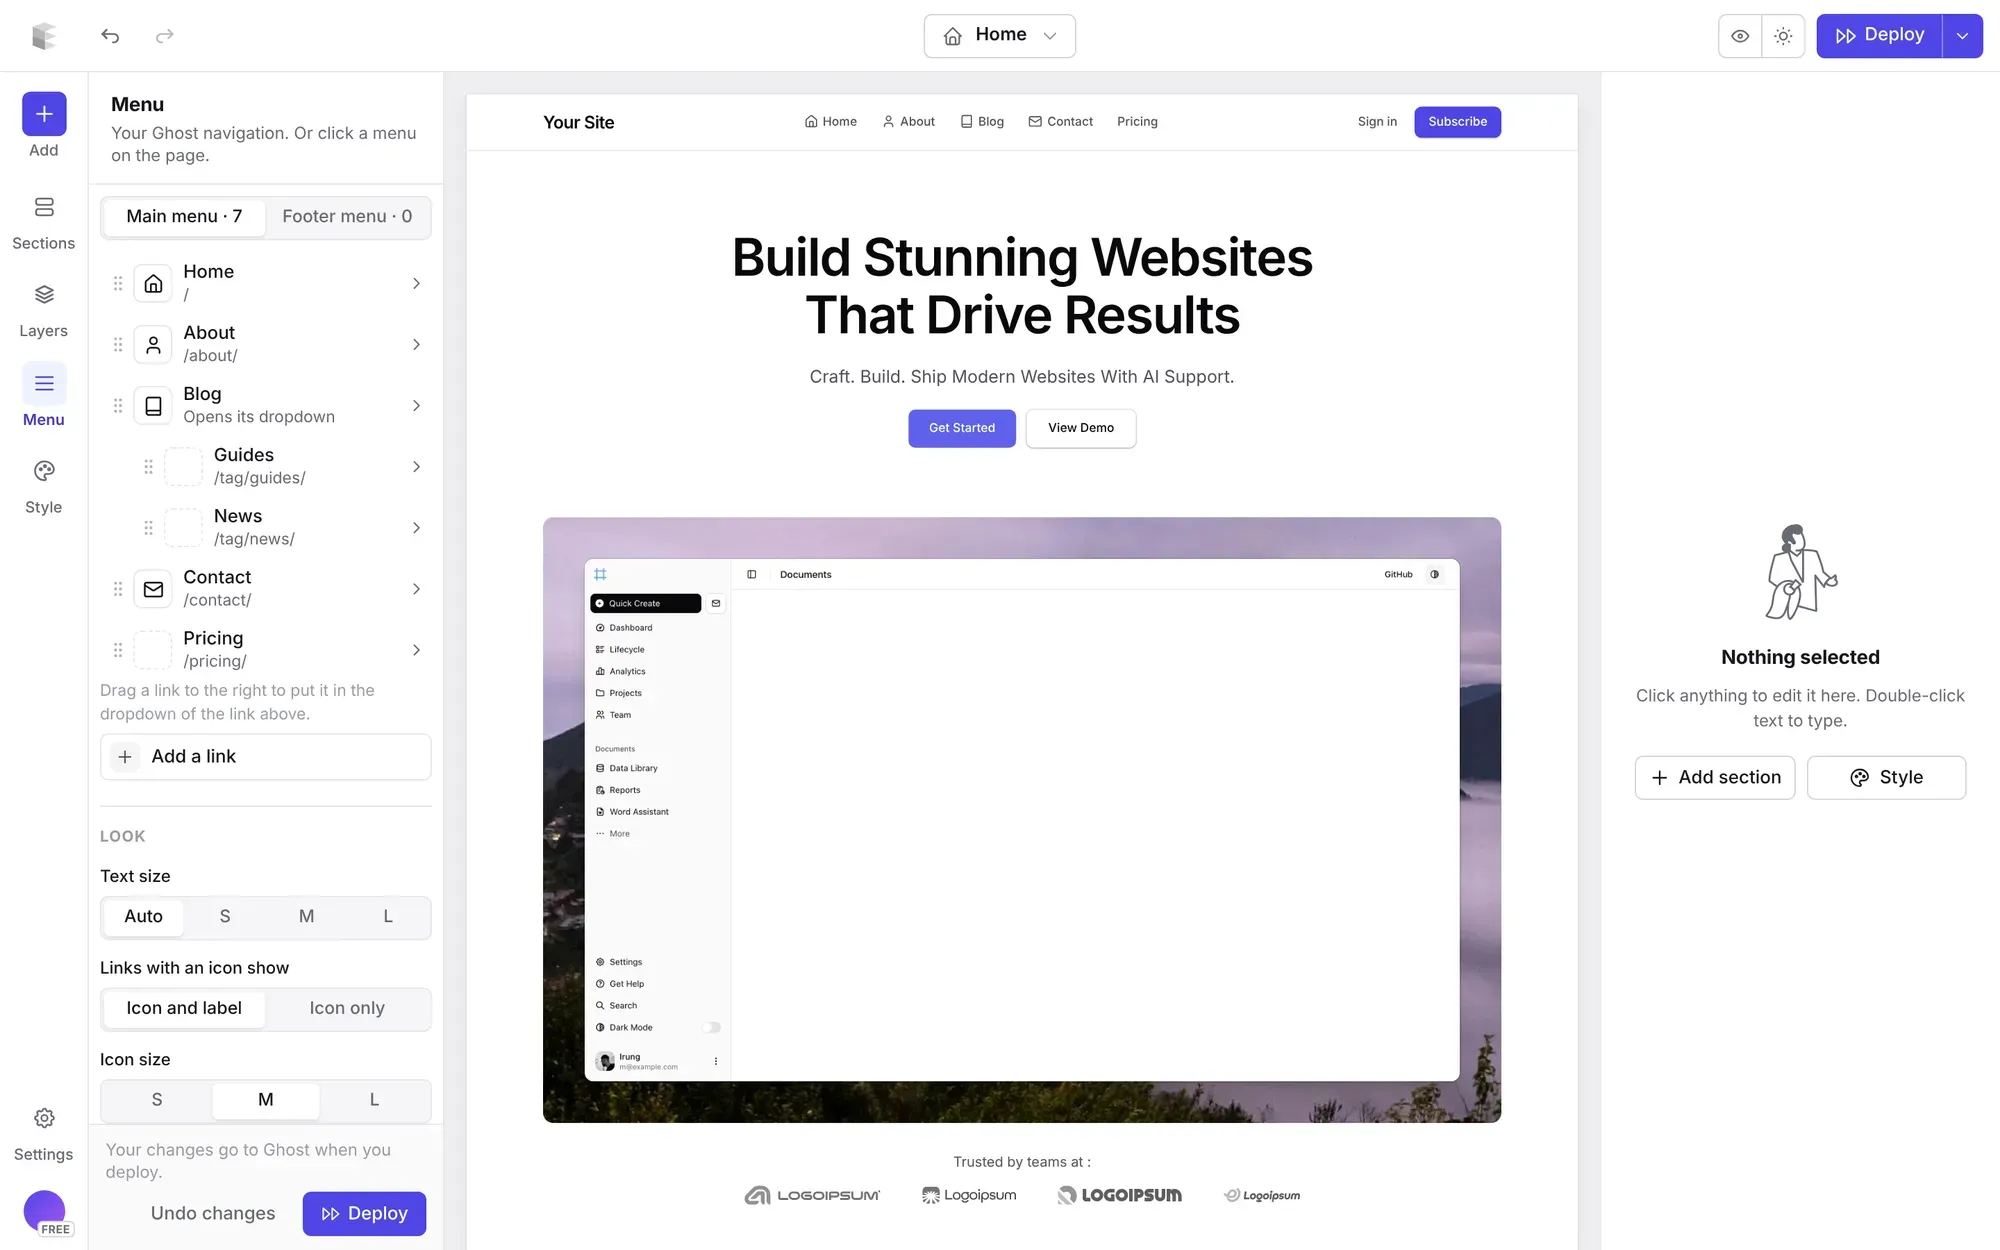
- Add, rename and reorder links. Add a link for Memberships or Teachers, rename Journal to Blog, and drag links into the order you want.
- Dropdowns. Drag a link slightly to the right to put it under the one above, for example Workshops and Teacher training under Classes.
- Footer columns. Switch to the Footer menu and set Layout to Columns for a Studio column and a Classes column.
- Icons. Give a link an icon, like a calendar next to Classes.
There’s no separate save. Your changes go to Ghost when you click Deploy. You need a Ghost staff token once, under Settings → Integrations. The menu editor guide covers every step.
Part 7: Check your SEO with Site audit
People find a studio by searching yoga near me or yin yoga Austin. Before you launch, check what search engines see.
- Open Settings → Site audit and click Run audit. It reads every public page of your Ghost site in about a minute.
- Read the two lists. To fix holds what costs you visibility now, like pages with no meta description or links that lead nowhere. To improve holds the rest, like an empty site description or no sharing image.
- Click Auto fix to have the descriptions written for you. You see every suggestion first, can edit or untick any of them, and nothing is saved until you click Apply.
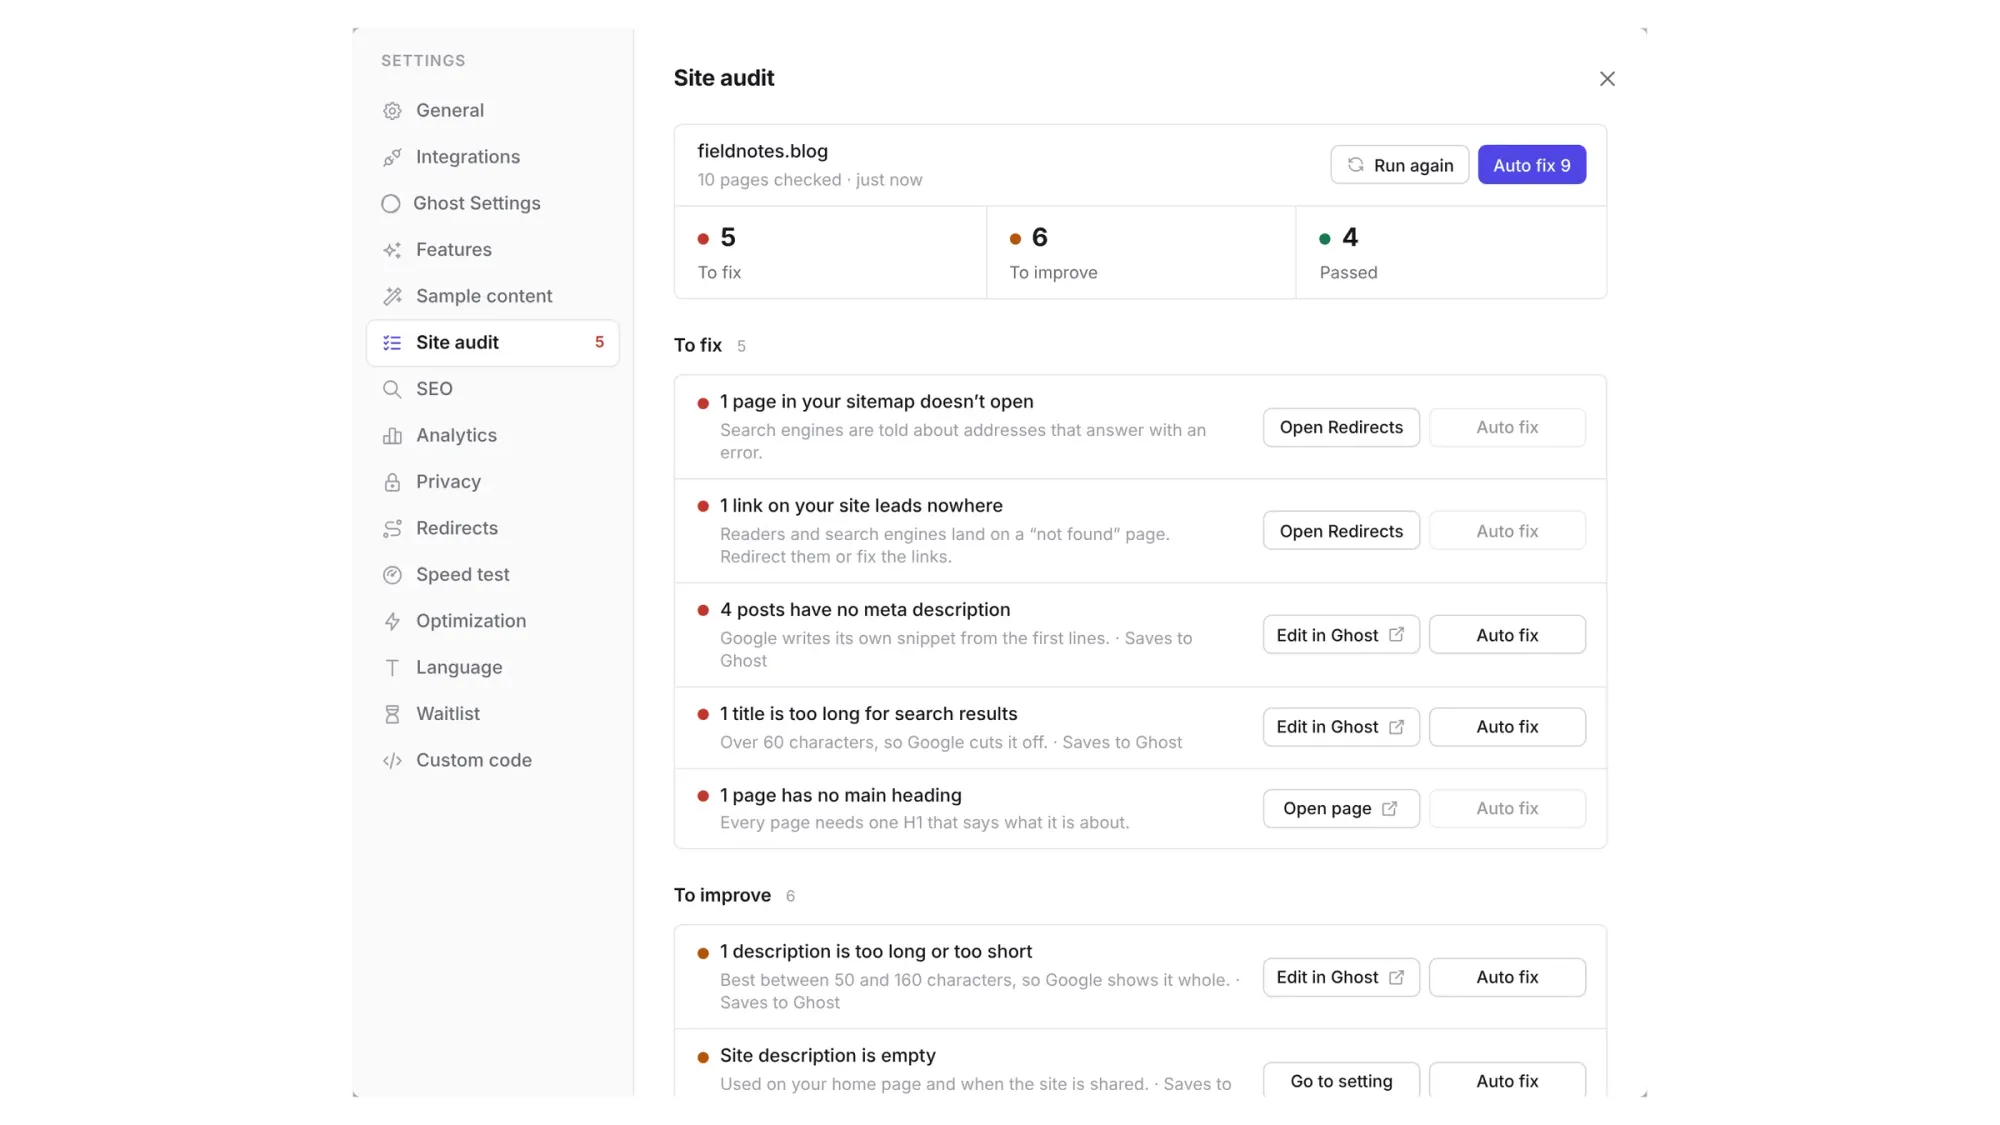
For a studio, start with three things: a site description that names your style and neighborhood, a sharing image so links in group chats show the studio and not a blank card, and a description on each page. If you moved from an old site, look for broken links in the list and send each old address to its new page under Settings → Redirects. More in the Site audit guide.
Ready to build yours? Everything in this guide works on your own copy of the Yoga Studio theme. Start free, connect your Ghost site when you’re ready, and only pay if you like the result.
Next steps
- Use the footer’s Get the studio letter signup for new schedules and workshops. Set up your newsletter in Ghost Admin under Settings → Newsletters, then send a post with Publish and email.
- Change the colors and fonts under Style. They apply to every page at once. To use your studio’s own font, see custom fonts in Ghost.
- Give visitors a dark version of the site with a dark mode switch, handy for anyone checking the schedule late at night.
- Use the Journal for teacher introductions, workshop news and pose guides. They help people find you in search.
- Teach in another language? Translate the theme in one click.
Written by
Founder of Ectobuilder, the AI-powered visual theme editor for Ghost. Indie software builder in Wrocław and co-author of The AdTech Book. I write about Ghost themes, newsletters and building websites with AI.
Comments
Questions or thoughts? Share them below.
Keep reading
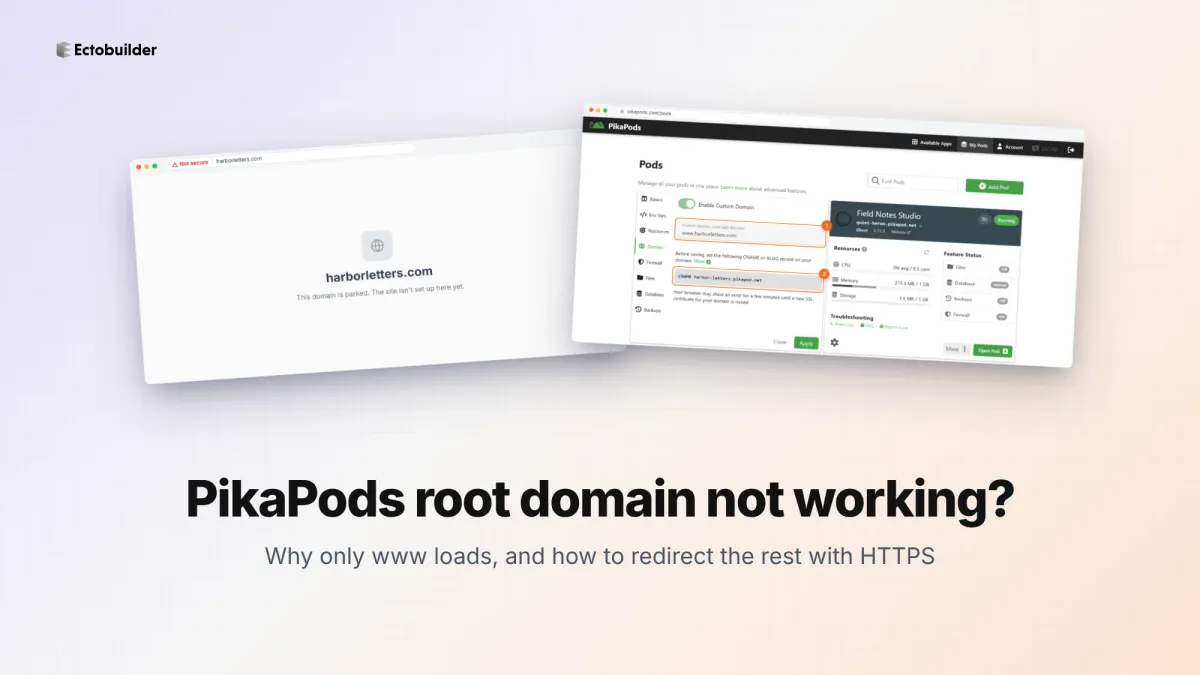
PikaPods Custom Domain: Why Only www Works (and How to Fix the Root Domain)
PikaPods maps one custom domain per pod, so yourdomain.com without www stays on a parked page with no SSL. Here's why, and three ways to redirect it to www over HTTPS without touching your email records.
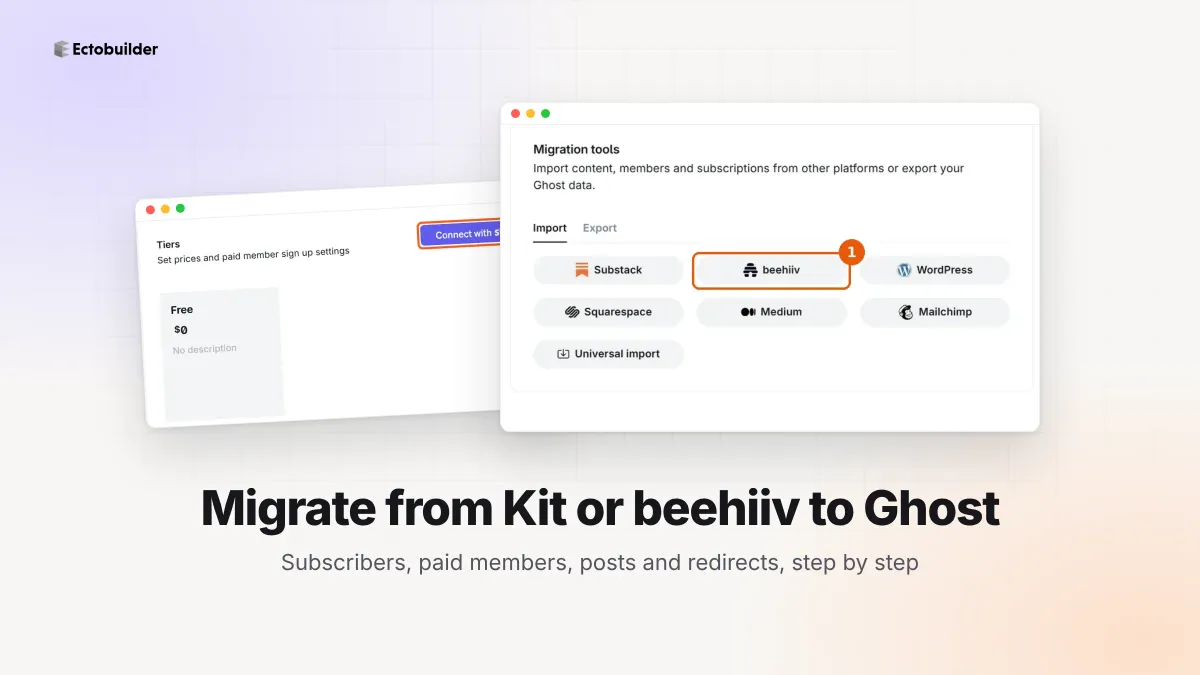
How to Migrate from Kit or beehiiv to Ghost (Subscribers, Paid Members, Posts and Redirects)
Move your newsletter from Kit (ConvertKit) or beehiiv to Ghost step by step: export and import subscribers, deal with paid members and Stripe, bring your posts across, set up redirects and your domain, warm up email sending, and make the new site look right.
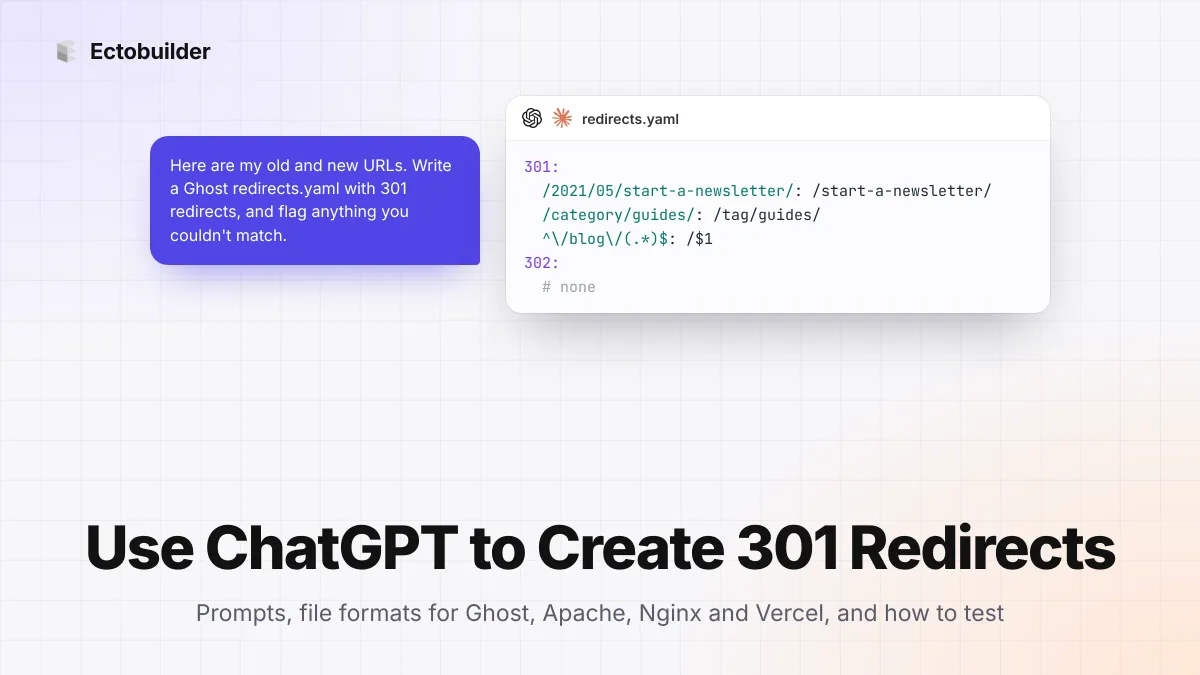
How to Use ChatGPT to Create 301 Redirects (Prompts, File Formats and Testing)
Let ChatGPT or Claude match your old URLs to new ones and write the redirect file for Ghost, Apache, Nginx, Netlify or Vercel. Prompts to copy, the mistakes to avoid, and how to test every redirect.