
Architecture Studio Theme for Ghost: Show Your Work, Explain Your Process and Win New Projects
A step-by-step guide to the Architecture Studio theme for Ghost: introduce your studio and services, show selected work in a bento, explain your process in four steps, add client words, and set up the contact block, map, menu and SEO.

Michal Wlosik
· 7 min read
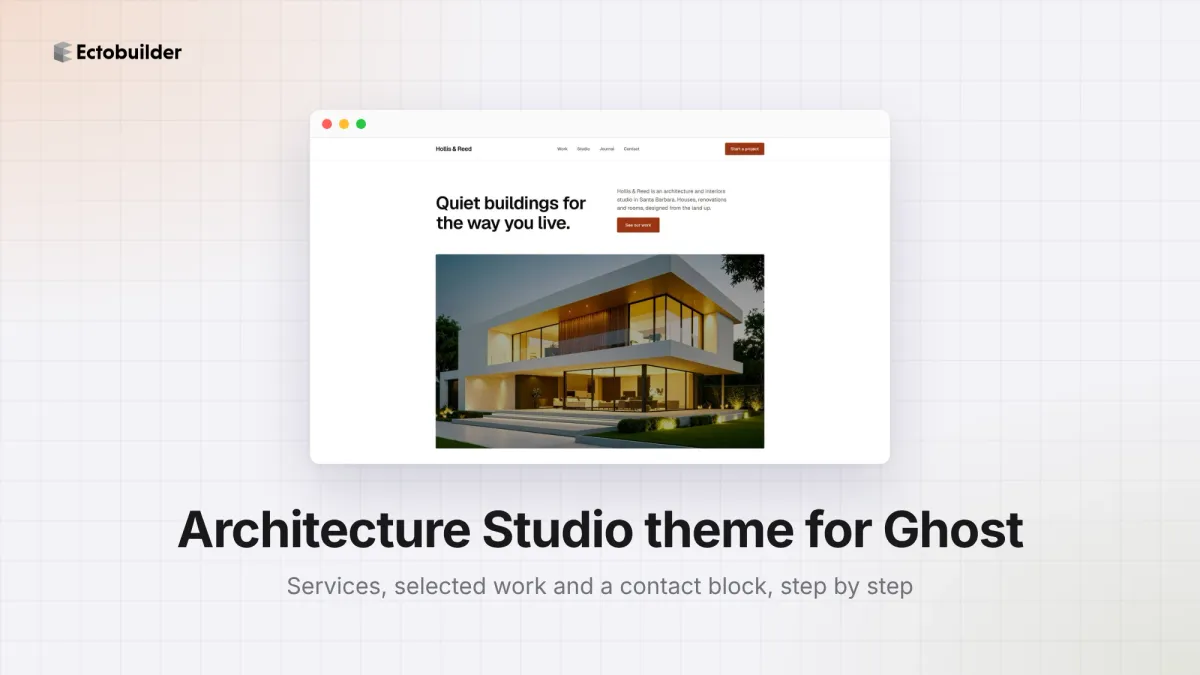
The Architecture Studio theme is an Ectobuilder theme for architects, interior designers and small design practices running their site on Ghost. Its homepage opens with a two-column headline over one big photo of your work, then introduces the studio and its services, shows a bento of selected projects, explains your process in four steps, quotes past clients and ends with a contact block and a map.
This guide walks through what most studios set up first:
- Introduce the studio and its services.
- Show your selected work, and turn projects into case studies.
- Explain how you work, from first visit to handover.
- Add words from your clients.
- Set up the contact block and map.
- Set up your menu, in the header and the footer.
- Check your SEO with Site audit before you launch.
To follow along, open the theme from the Ectobuilder theme gallery and connect your Ghost site under Settings → Integrations → Ghost Admin API.

Want this theme for your site? Open the Architecture Studio theme in Ectobuilder and make it yours. Starting is free, and you only pay if you’re happy with the design.
Part 1: Introduce the studio and its services
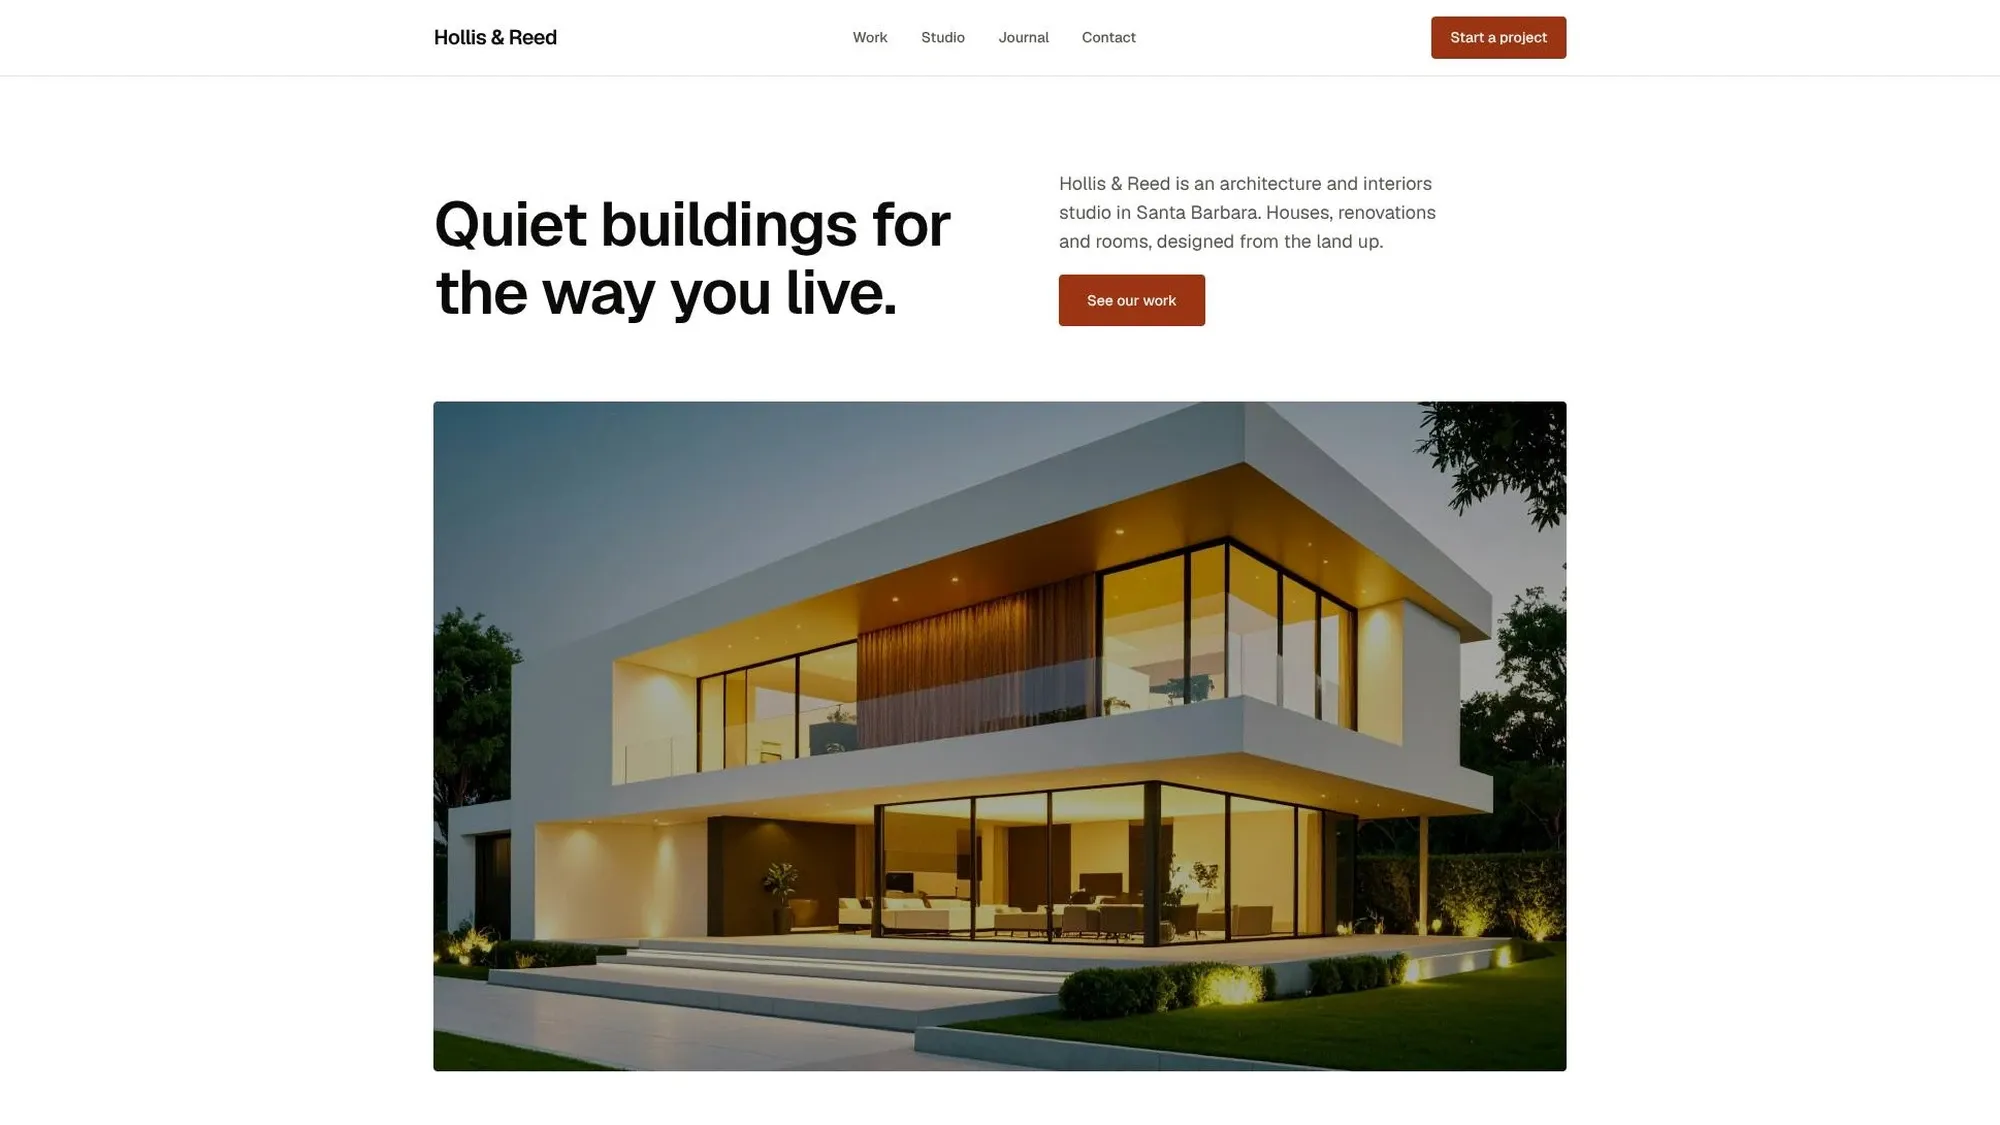
The hero says what you do in one line, Quiet buildings for the way you live., with a short introduction beside it and a See our work button that scrolls down to your projects. Under it, one large photo carries the page.
Step 1: Change the hero
- Double-click the headline and the introduction to type your own. Name your city and what you design: the sample says an architecture and interiors studio in Santa Barbara.
- Click the photo, then Replace in the Image panel. Pick one finished building, shot wide and in good light. A dusk photo with the lights on, like the sample, works well on a white page.
- Fill in the photo’s Description, for example Two-story timber and glass house in Montecito at dusk. It helps image search and screen readers.
Step 2: Write the studio intro and services
The next section, Architecture and interiors. One studio, start to finish., has two paragraphs about the studio and a list of four services: New houses, Renovations, Interiors and Landscape. Each service is a bold name and one sentence.
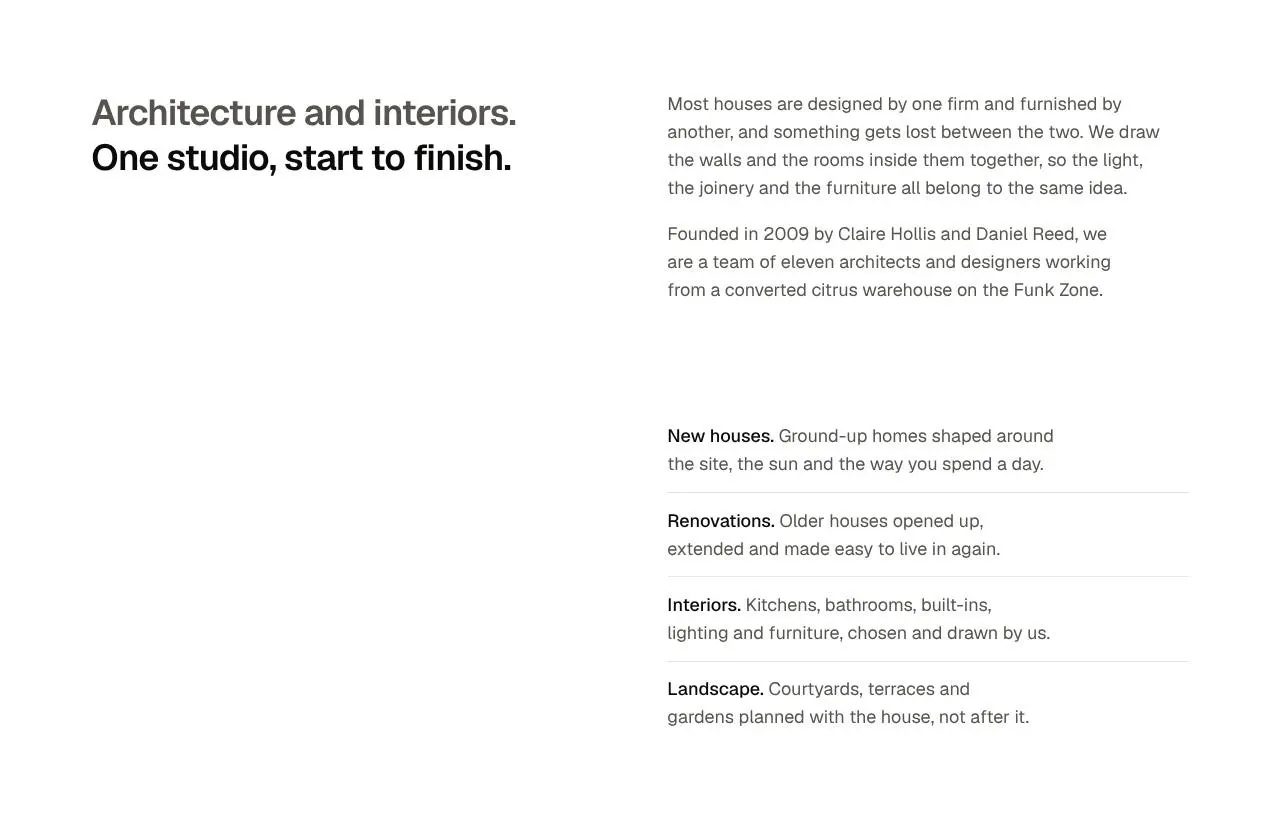
Write the first paragraph about how you work, and the second about who you are: when you started, how many people, where your office is. Then change the services to what you actually take on. If you only do interiors, list the rooms you design instead. Use Items in the panel to add or remove a service.
Part 2: Show your selected work
Selected work is a bento of five photos: one large on the left and four smaller ones beside it. The header’s Work link and the hero button both lead here.
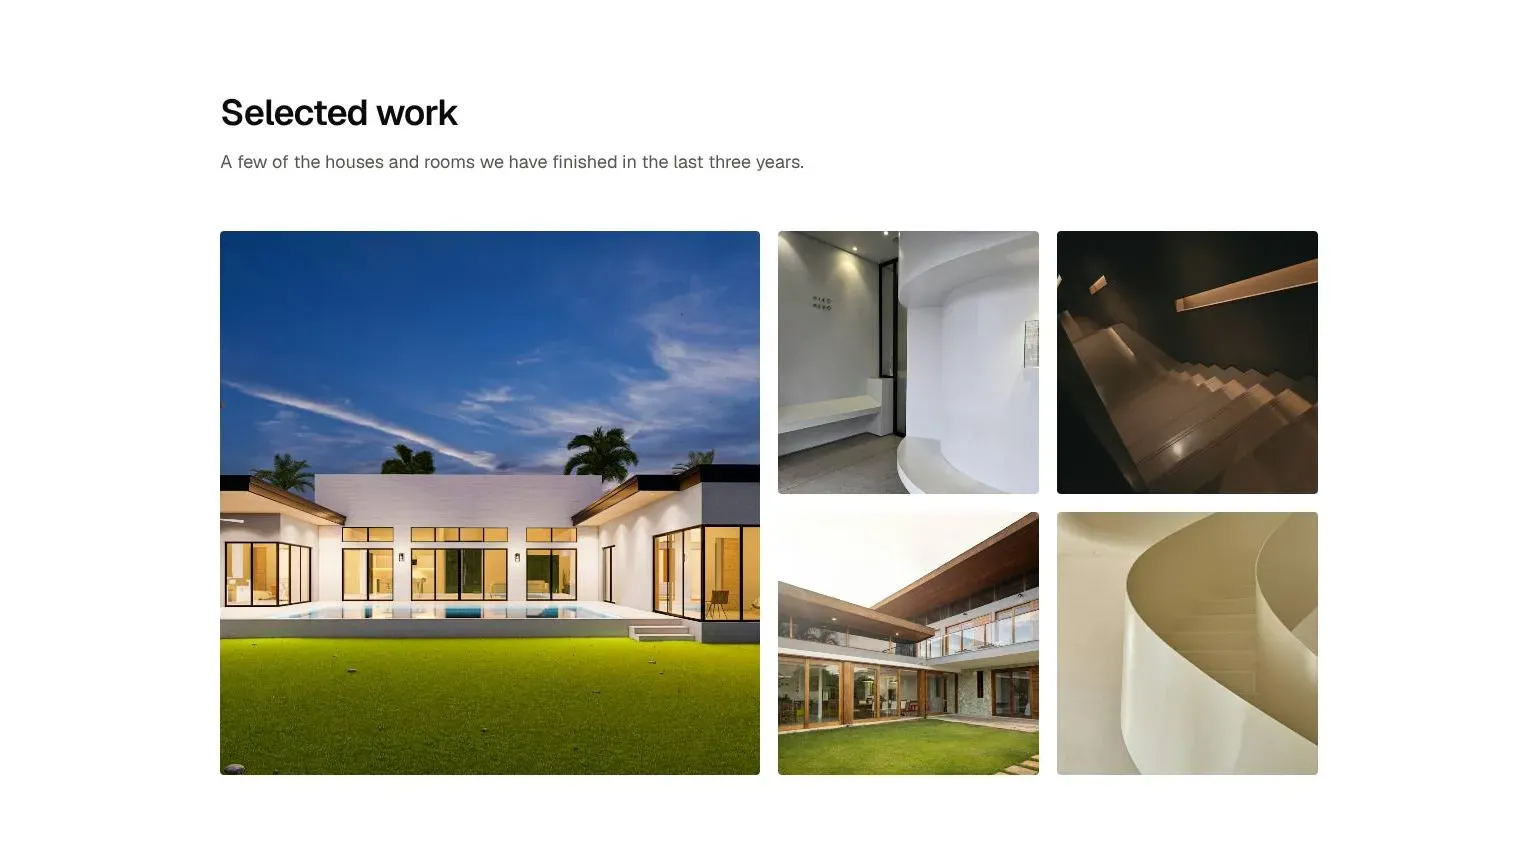
- Put your strongest project in the large tile. Use the smaller tiles for details that show how you think: a staircase, a kitchen, a window seat.
- Click each photo and use Replace to upload your own. The tiles crop to fit, so keep the subject in the middle of the frame.
- Write a Description for each one that names the project and the place, like Renovated ranch house, Montecito.
To let visitors open the photos full size, set Click to enlarge to All under Settings → Features. For architecture, where people want to look closely, it’s worth turning on. More in the lightbox guide.
Write each project as a case study
The bento shows five pictures. The full story of a project belongs in a Ghost post: the brief, the site, the drawings and ten or twenty photos. Publish it under the Journal and tag it, for example Houses or Interiors. Case studies are what people find in search when they look for architect for a hillside house, and each one is a page you can send a prospective client.
Part 3: Explain how you work
Clients who have never hired an architect want to know what happens next. From a sketch to the keys answers that in four numbered steps: Site visit, Concept, Drawings & permits, and Build.
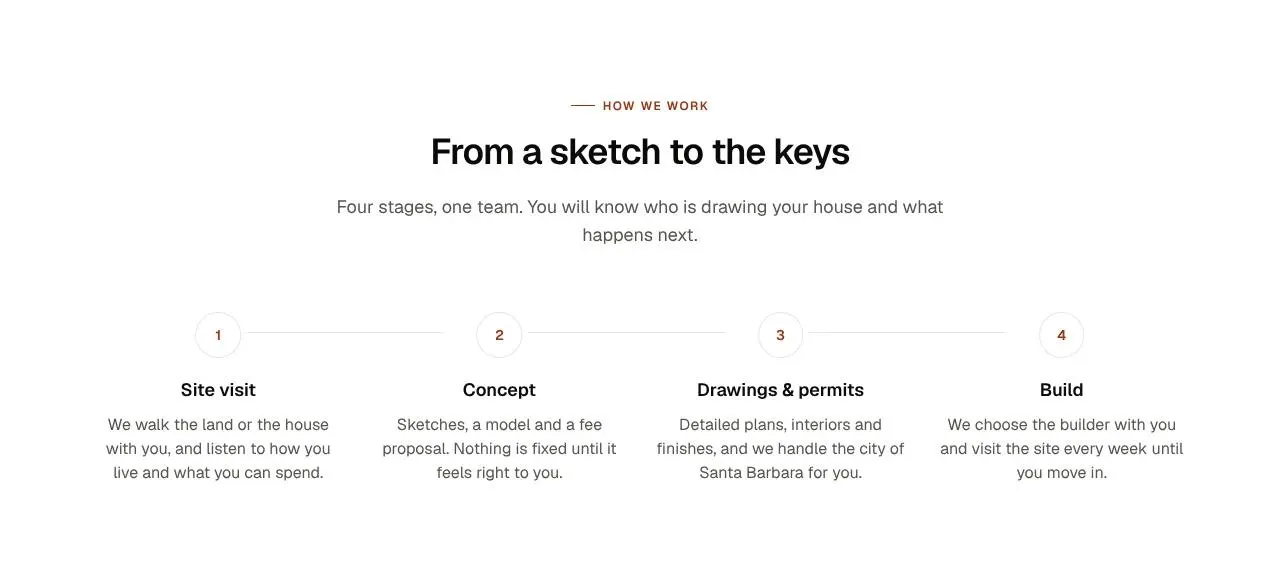
Double-click a step’s name or text to change it. Say what the client gets at each stage and what you need from them. The sample’s Sketches, a model and a fee proposal tells a client when they’ll learn the price, which is often the first thing they want to know. If you work in five stages, use Items to duplicate one.
Part 4: Add words from your clients
Clients, a few years in holds three short quotes, each with a name, a small photo and the project, like Renovation, Montecito.
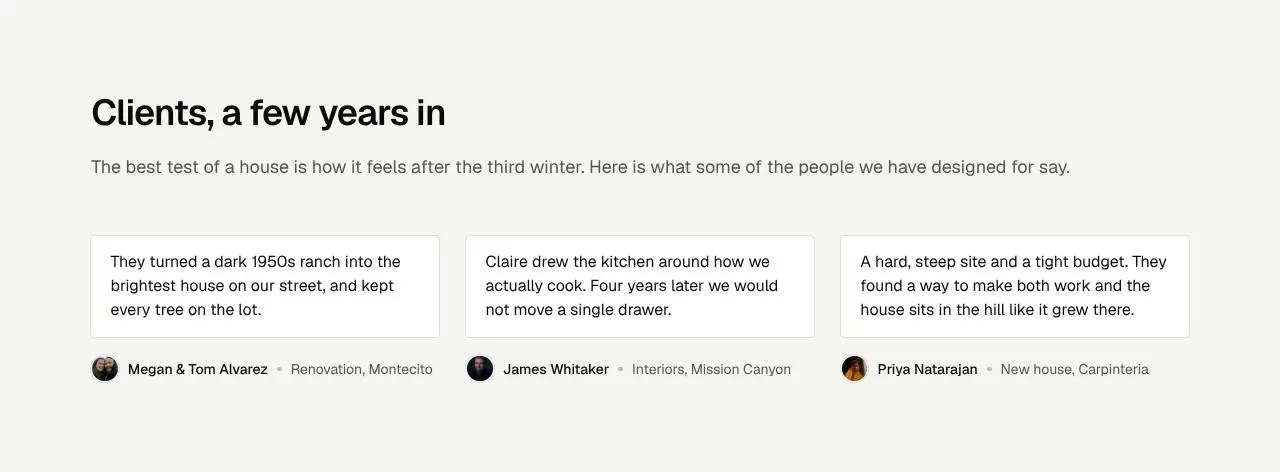
Ask clients who have lived in the house for a while. A line about the third winter or a drawer that’s still in the right place says more than a general thank-you. Replace the photos with clients’ own, or a photo of their house, and get their permission to use their names.
Part 5: Set up the contact block and map
Start a project sits at the bottom of the page: a short invitation, your address, studio hours, phone and email on the left, and a map on the right. The header’s Start a project button and the Contact links in the menu and footer all scroll to it.
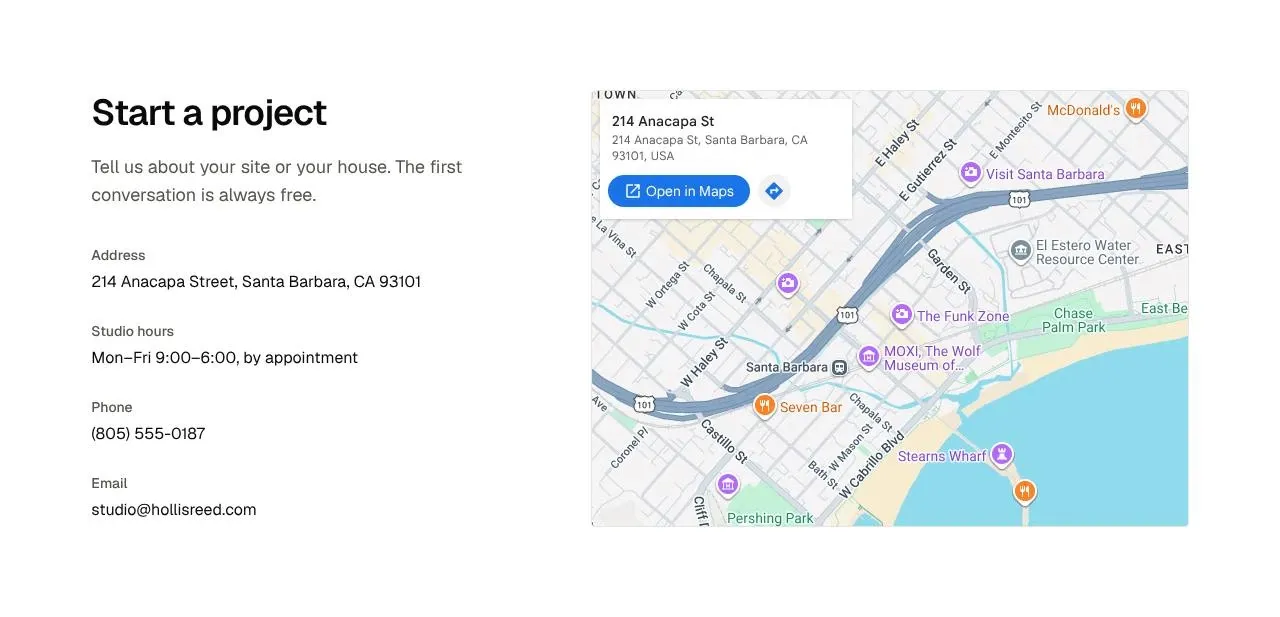
- Click the map. Under Map in the panel, type your address in Address. Anything Google Maps can find works, including the studio’s name.
- Double-click the address, hours, phone and email to type yours.
- Click the phone number and the email address and update their links too, so a tap on a phone starts a call or a new email.
If you see clients by appointment only, say so in the hours, as the sample does. To collect enquiries on the site as well, with a short form that emails each message to you, read How to add a contact form to your Ghost site.
Part 6: Set up your menu
The header shows Work, Studio, Journal and Contact, and the footer has Studio, Privacy and Contact. These links live in Ghost, and you edit them in the Menu panel in the left rail, right beside your page.
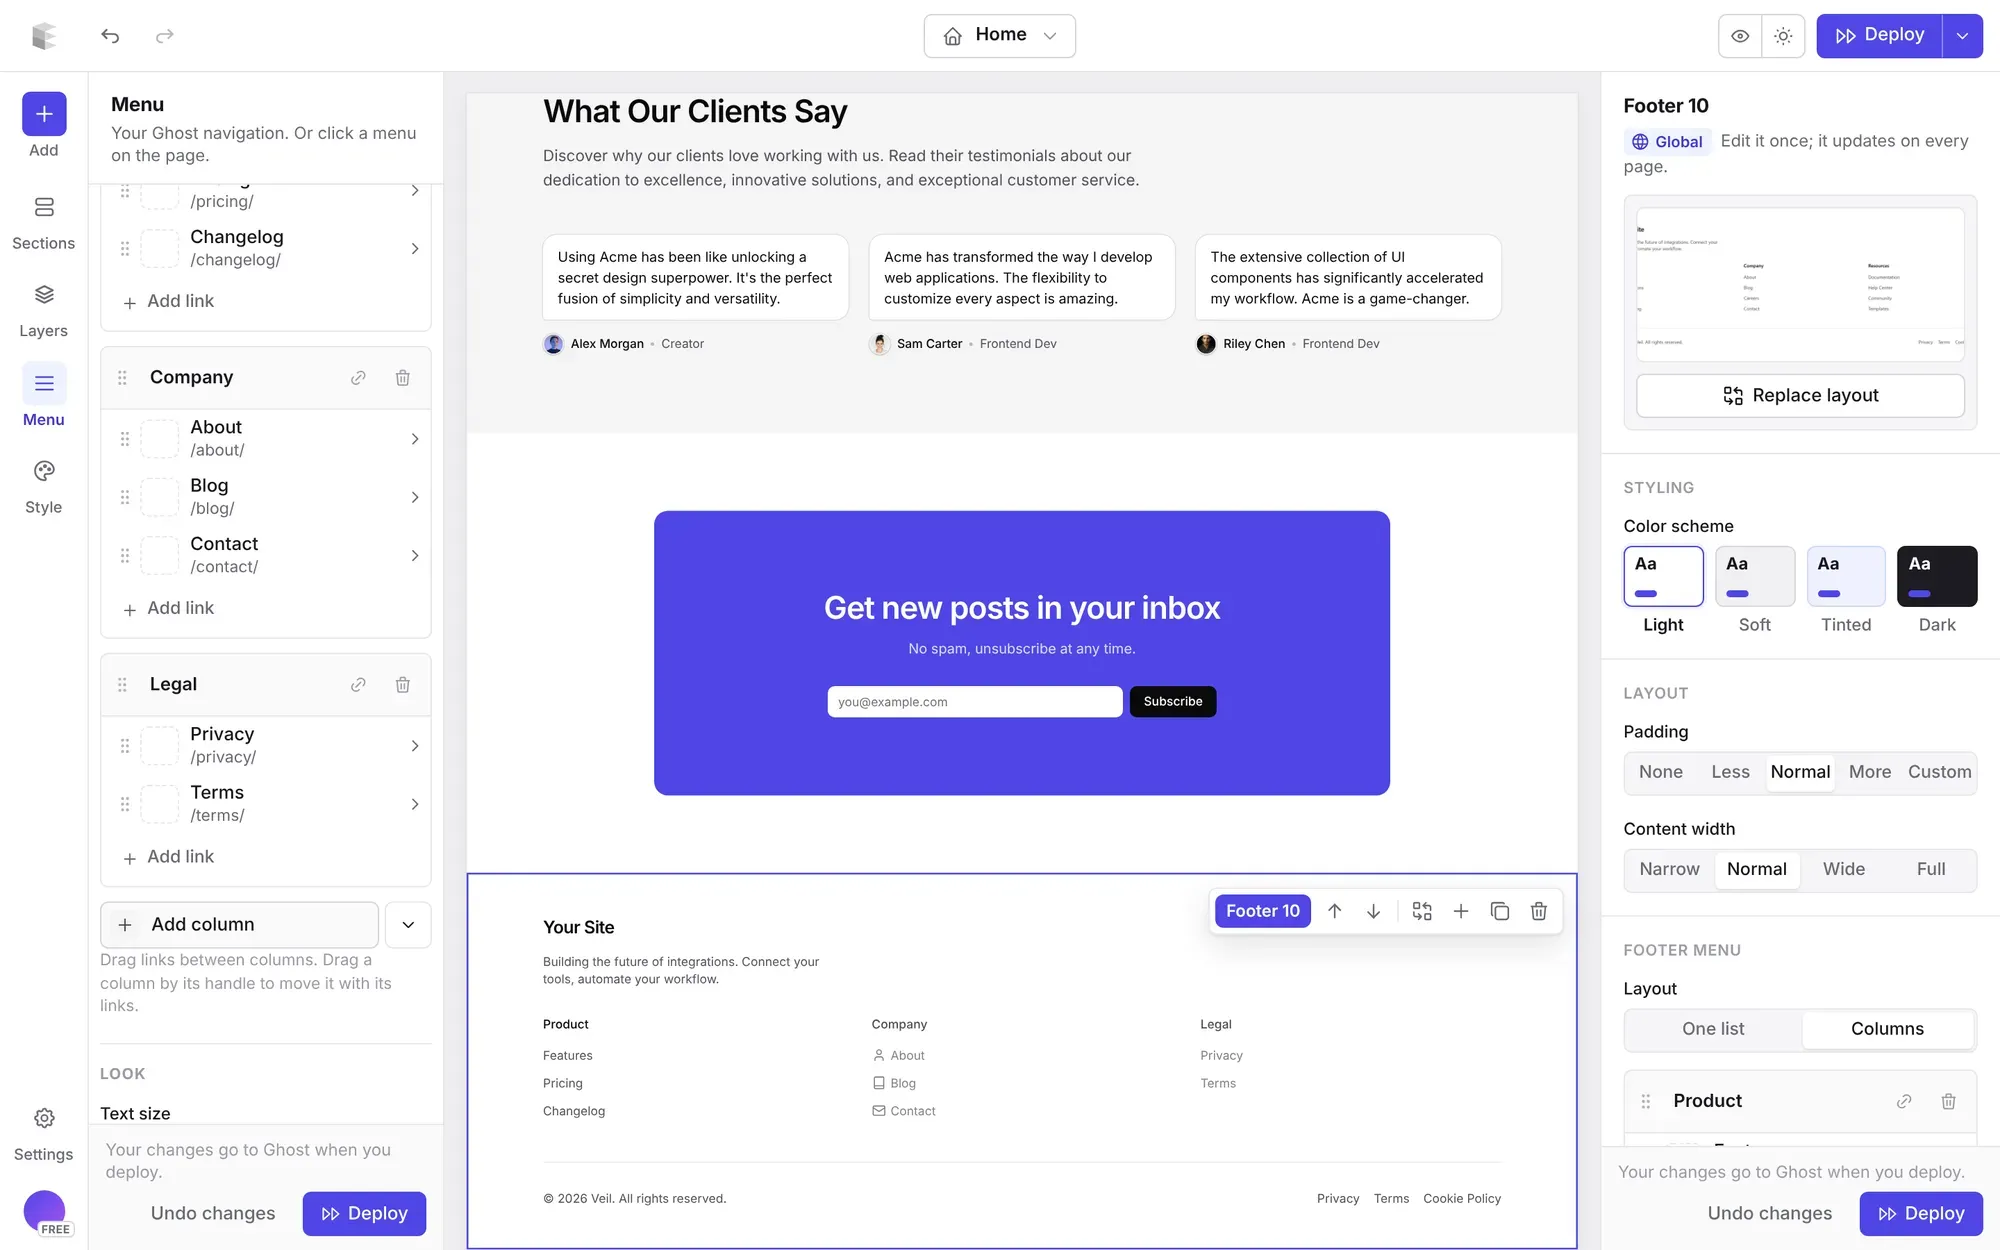
- Add, rename and reorder links. The Studio link goes to
/about/, so create an About page in Ghost or point it elsewhere. Rename Journal to Projects if you mostly post case studies. - Dropdowns. Drag a link slightly to the right to put it under the one above, for example Houses, Renovations and Interiors under Work, each linking to its tag.
- Footer columns. Switch to the Footer menu, set Layout to Columns, and add a Studio column and a Work column.
- Icons. Give a link an icon, like a pin next to Contact.
There’s no separate save. Your changes go to Ghost when you click Deploy. You need a Ghost staff token once, under Settings → Integrations. The menu editor guide covers every step.
Part 7: Check your SEO with Site audit
Most clients find an architect by searching for one in their town, then read a few project pages. Before you launch, check what search engines see.
- Open Settings → Site audit and click Run audit. It reads every public page of your Ghost site in about a minute.
- Read the two lists. To fix holds what costs you visibility now, like case studies with no meta description or links that lead nowhere. To improve holds the rest, like an empty site description or no sharing image.
- Click Auto fix to have descriptions written from each post’s own text. You see every suggestion first, can edit or untick any of them, and nothing is saved until you click Apply.
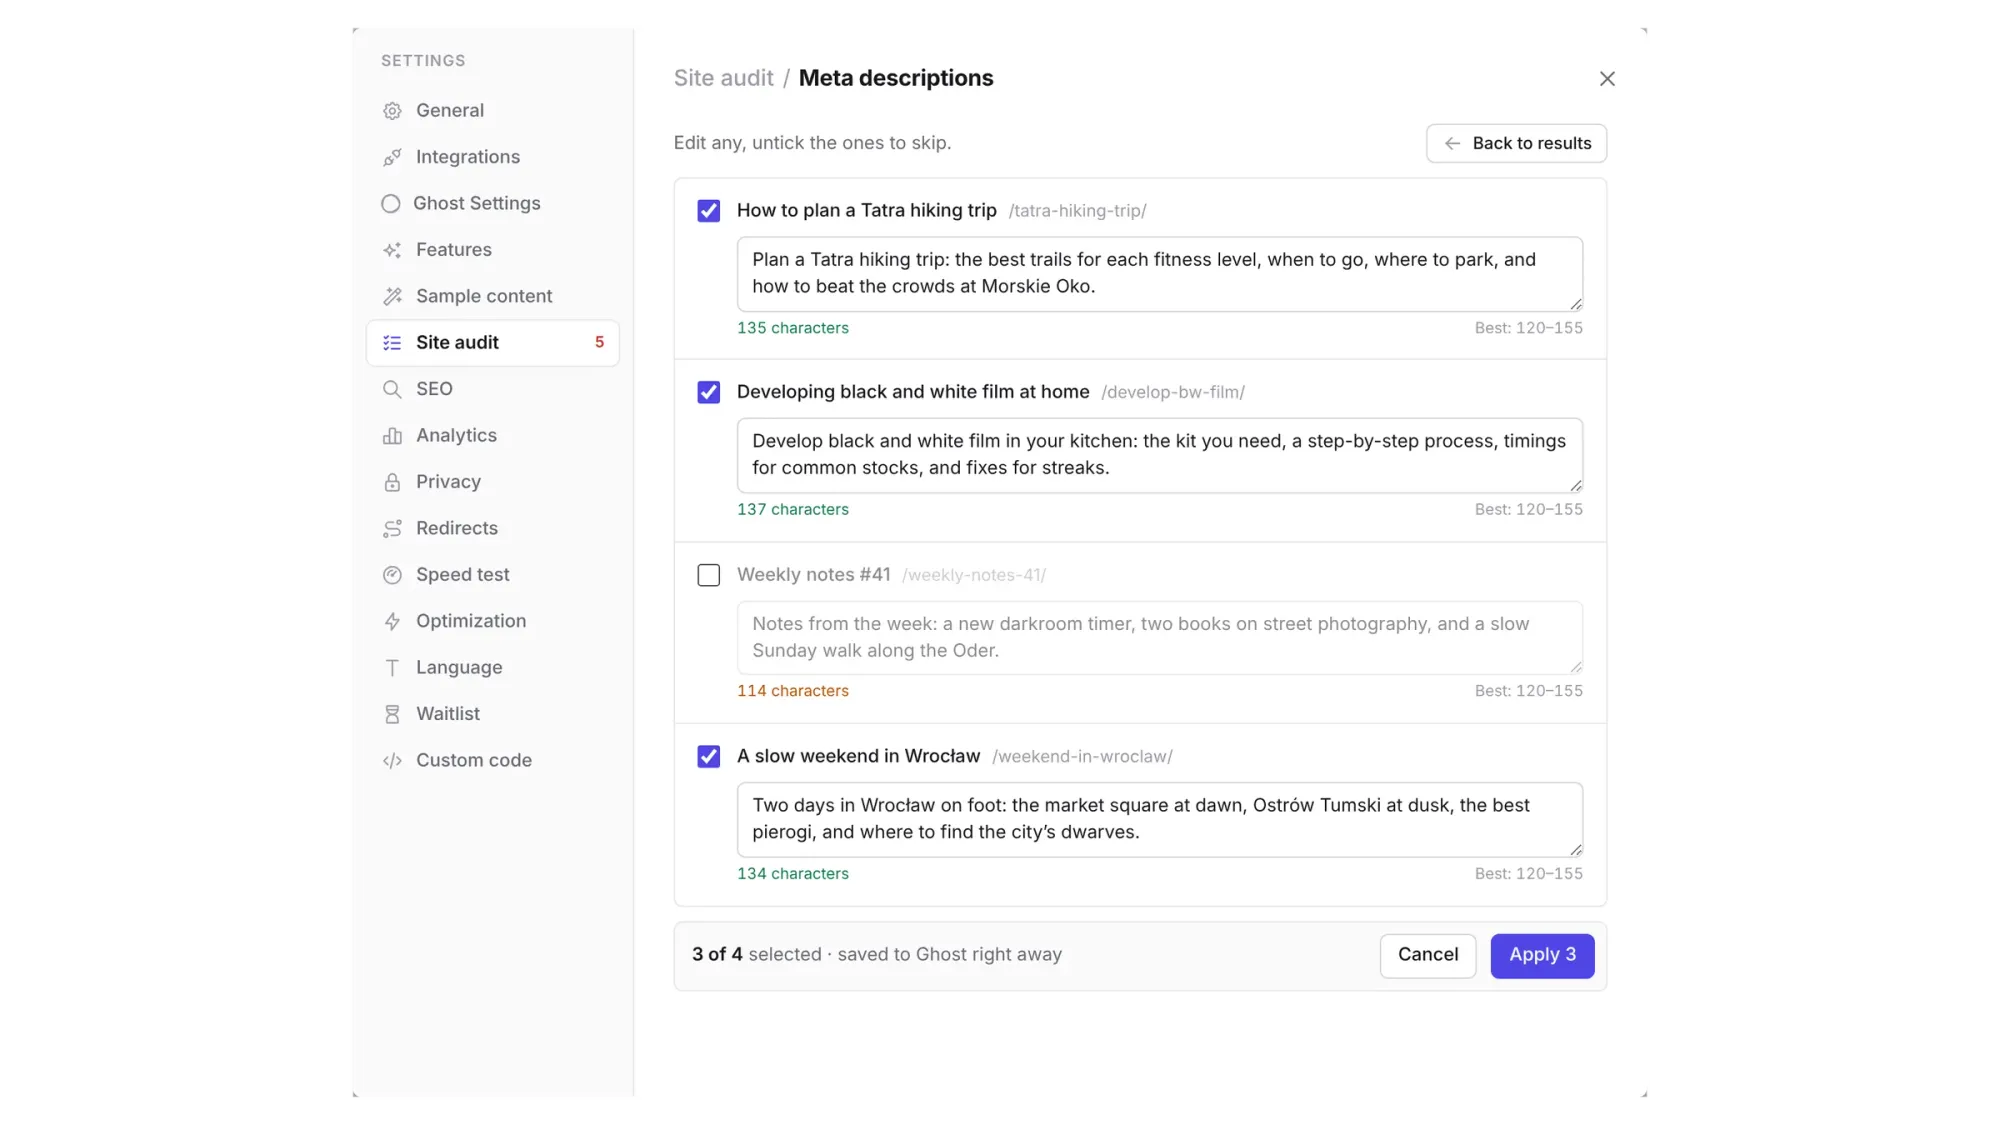
For a studio, start with three things: a site description that names what you design and where, a sharing image of your best building for links sent by email or chat, and the Images check, which lists photos with no alt text. Portfolios have a lot of them. If you moved from an old portfolio site, look for broken links and send each old project address to its new post under Settings → Redirects. More in the Site audit guide.
Ready to build yours? Everything in this guide works on your own copy of the Architecture Studio theme. Start free, connect your Ghost site when you’re ready, and only pay if you like the result.
Next steps
- Use the footer’s Get studio notes signup to send new projects a few times a year. Set up your newsletter in Ghost Admin under Settings → Newsletters, then send a post with Publish and email.
- Change the colors and fonts under Style. They apply to every page at once. To use your studio’s own typeface, see custom fonts in Ghost.
- Give visitors a dark version of the site with a dark mode switch. Night photos of your buildings look good on it.
- Write one case study a month in the Journal. They help people find you in search and give clients something to share.
Written by
Founder of Ectobuilder, the AI-powered visual theme editor for Ghost. Indie software builder in Wrocław and co-author of The AdTech Book. I write about Ghost themes, newsletters and building websites with AI.
Comments
Questions or thoughts? Share them below.
Keep reading
PikaPods Custom Domain: Why Only www Works (and How to Fix the Root Domain)
PikaPods maps one custom domain per pod, so yourdomain.com without www stays on a parked page with no SSL. Here's why, and three ways to redirect it to www over HTTPS without touching your email records.
How to Migrate from Kit or beehiiv to Ghost (Subscribers, Paid Members, Posts and Redirects)
Move your newsletter from Kit (ConvertKit) or beehiiv to Ghost step by step: export and import subscribers, deal with paid members and Stripe, bring your posts across, set up redirects and your domain, warm up email sending, and make the new site look right.
How to Use ChatGPT to Create 301 Redirects (Prompts, File Formats and Testing)
Let ChatGPT or Claude match your old URLs to new ones and write the redirect file for Ghost, Apache, Nginx, Netlify or Vercel. Prompts to copy, the mistakes to avoid, and how to test every redirect.