
Psychotherapist Theme for Ghost: Explain Your Fees, Offer a Free First Call and Keep a Calm Journal
A step-by-step guide to the Psychotherapist theme for Ghost: describe how you can help, explain the first weeks and your fees, answer common questions, set up a private contact page for a free call, and add your office, journal and newsletter.

Michal Wlosik
· 8 min read
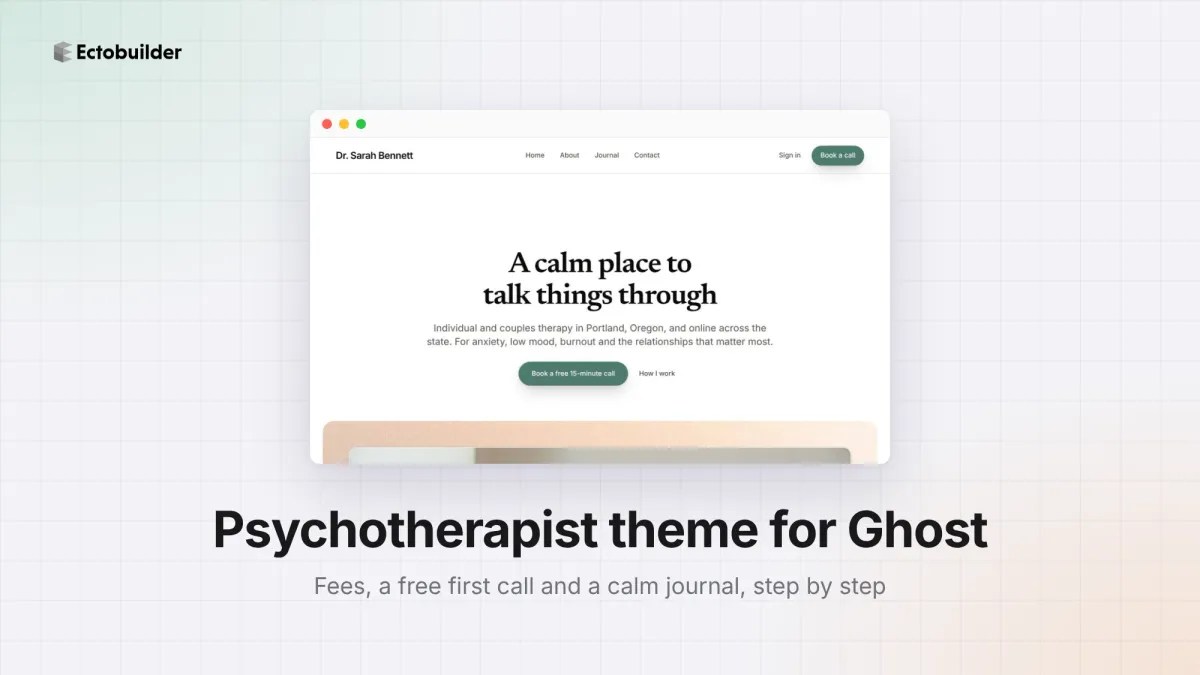
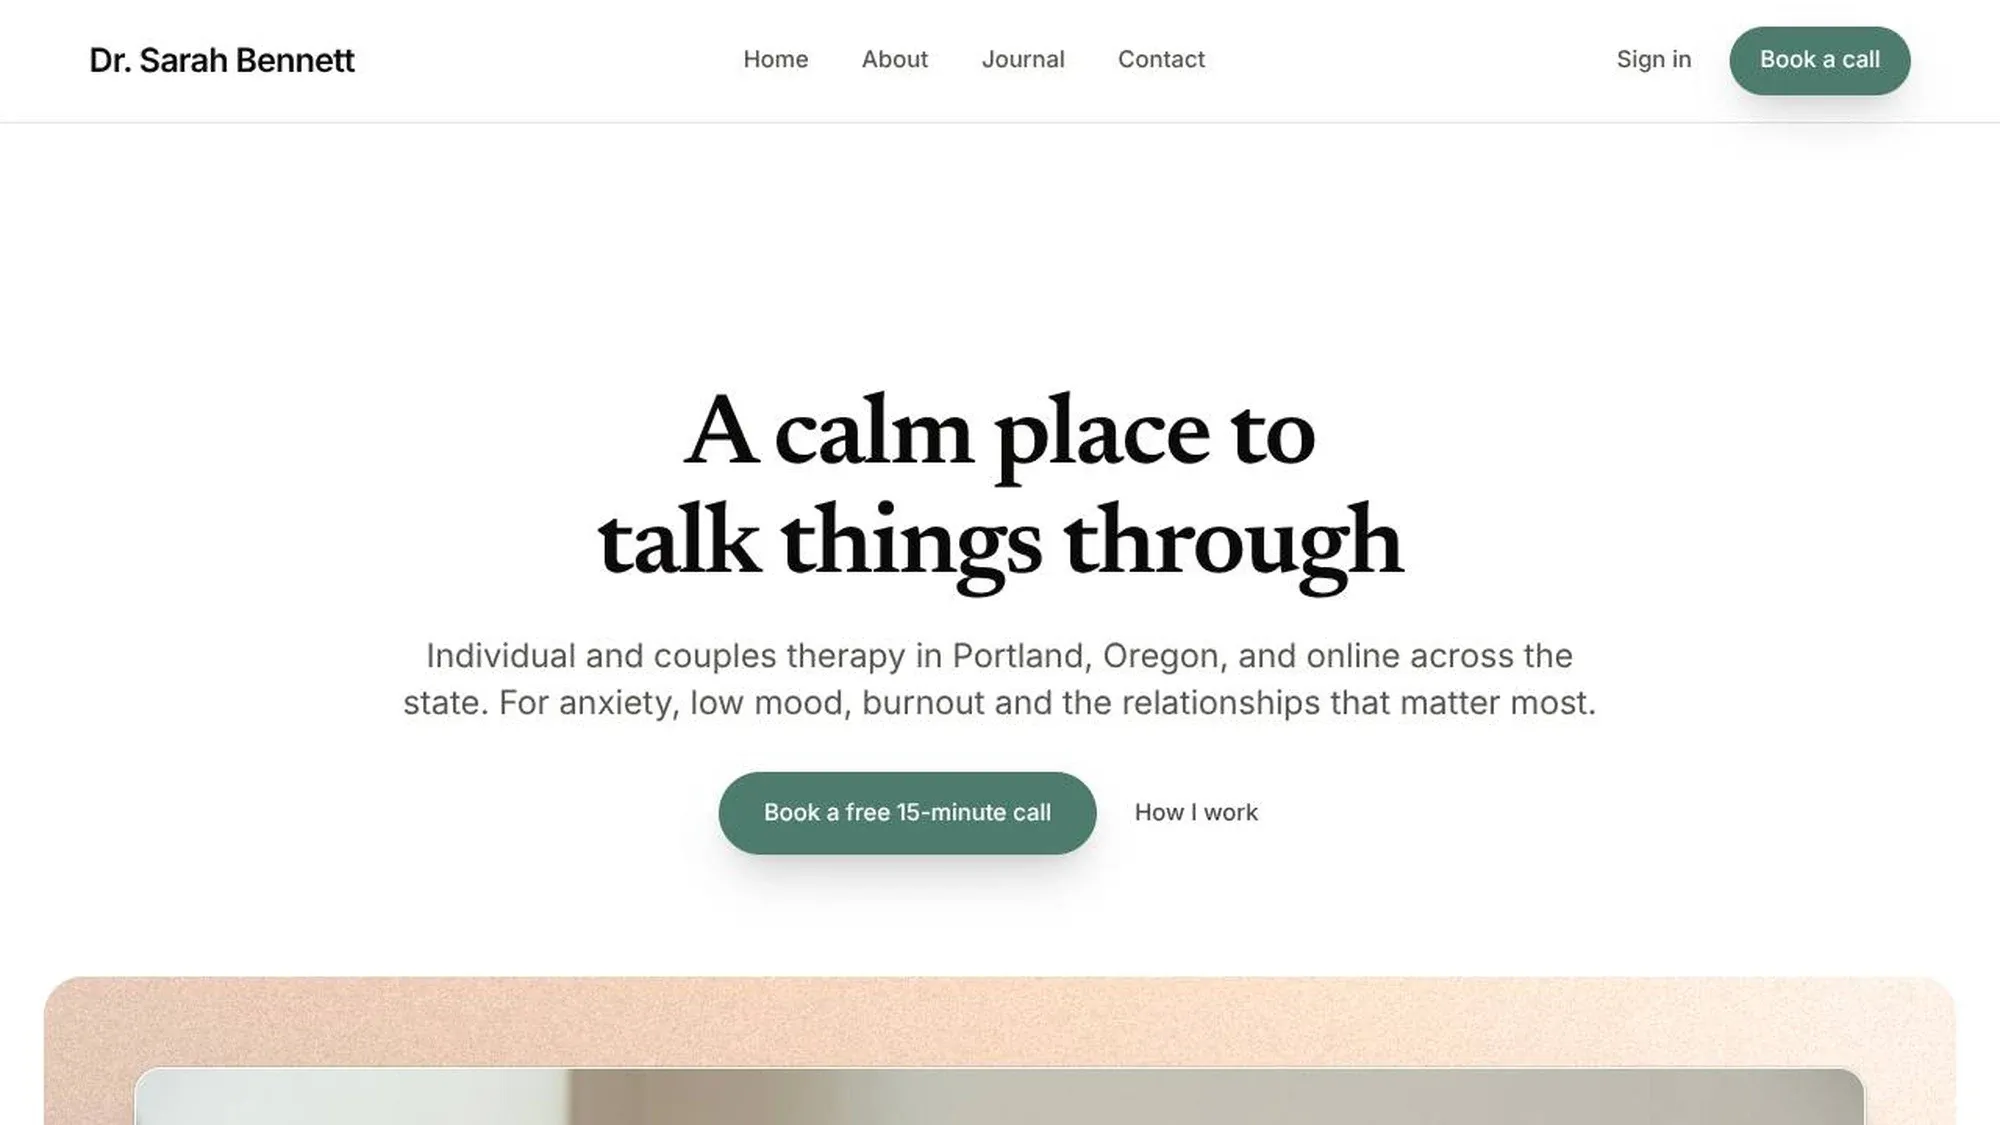
The Psychotherapist theme is a calm, light Ectobuilder theme for therapists, counselors and psychologists running their site on Ghost. Its homepage opens with A calm place to talk things through and a button to book a free 15-minute call, then shows your areas of focus, a short introduction, what the first weeks look like, your fees and insurance, common questions, a journal and a map of your office. A separate contact page lets people ask for that first call.
This guide walks through what most practices set up first:
- Describe how you can help, and introduce yourself.
- Explain the first weeks and your fees.
- Answer common questions, including confidentiality.
- Set up the contact page and free call, with privacy in mind.
- Add your office, journal and newsletter.
- Set up your menu in the menu editor.
- Check your SEO with Site audit.
To follow along, open the theme from the Ectobuilder theme gallery and connect your Ghost site under Settings → Integrations → Ghost Admin API.

Want this theme for your site? Open the Psychotherapist theme in Ectobuilder and make it yours. Starting is free, and you only pay if you’re happy with the design.
Part 1: Describe how you can help
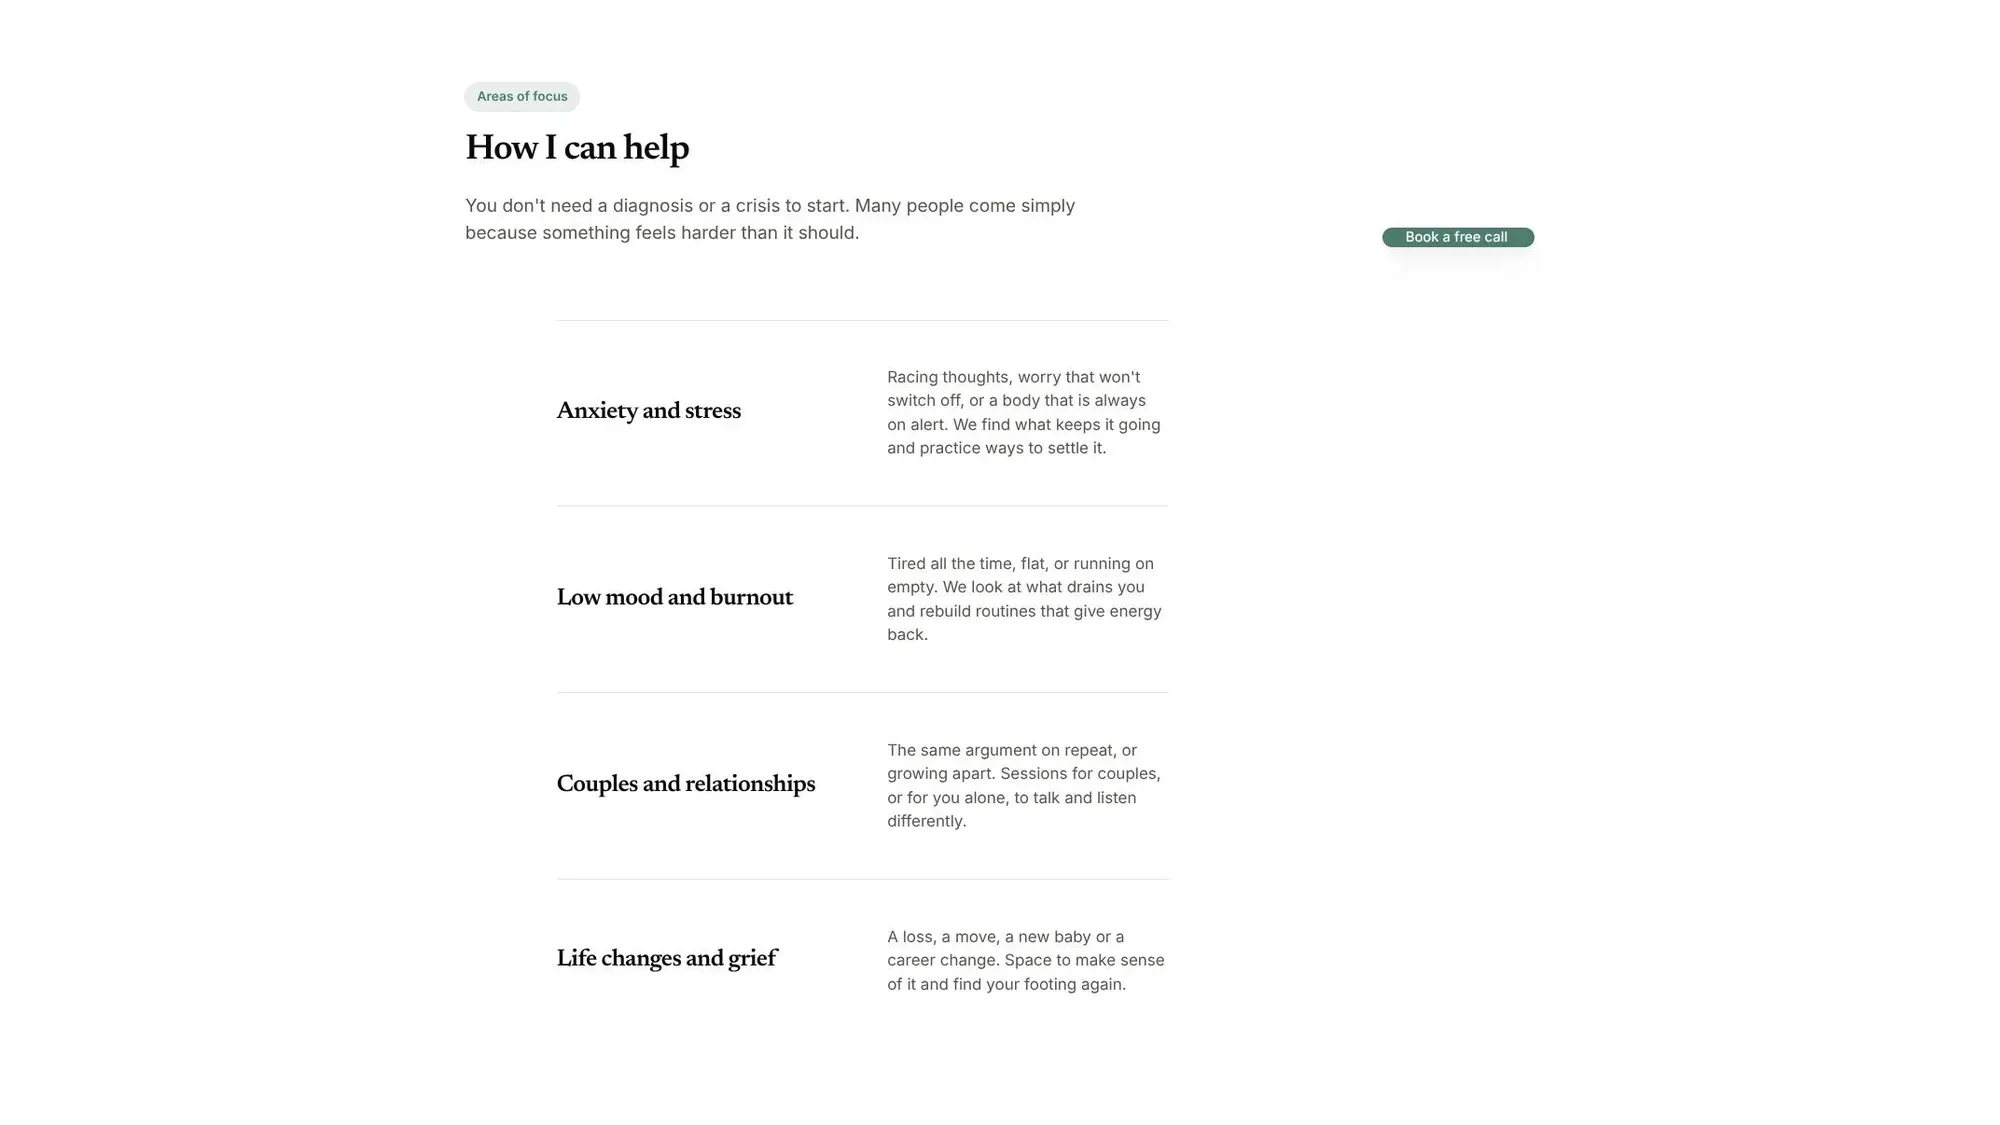
How I can help lists four areas of focus in plain words: Anxiety and stress, Low mood and burnout, Couples and relationships and Life changes and grief. The line above them says You don't need a diagnosis or a crisis to start.
Step 1: Write your areas of focus
- Double-click an area or its description to type over it. Describe what it feels like from the inside, not the method you use.
- To add an area, click one and use Items in the panel on the right to duplicate it. The arrows move it, and the cross removes it. Four to six areas is plenty.
Step 2: Introduce yourself
Hi, I'm Sarah is a short introduction next to a photo: your training, your approach and how sessions feel. Keep it to a few sentences, in the first person.

Click the photo, then Replace in the Image panel. A warm photo of you, or of your room, works better than a formal headshot. Never show a real client.
Part 2: Explain the first weeks and your fees
What the first weeks look like tells people what happens after they reach out, in four steps: a free 15-minute call on day 1, your first session in week 1, working together in weeks 2 to 6, and checking in along the way.
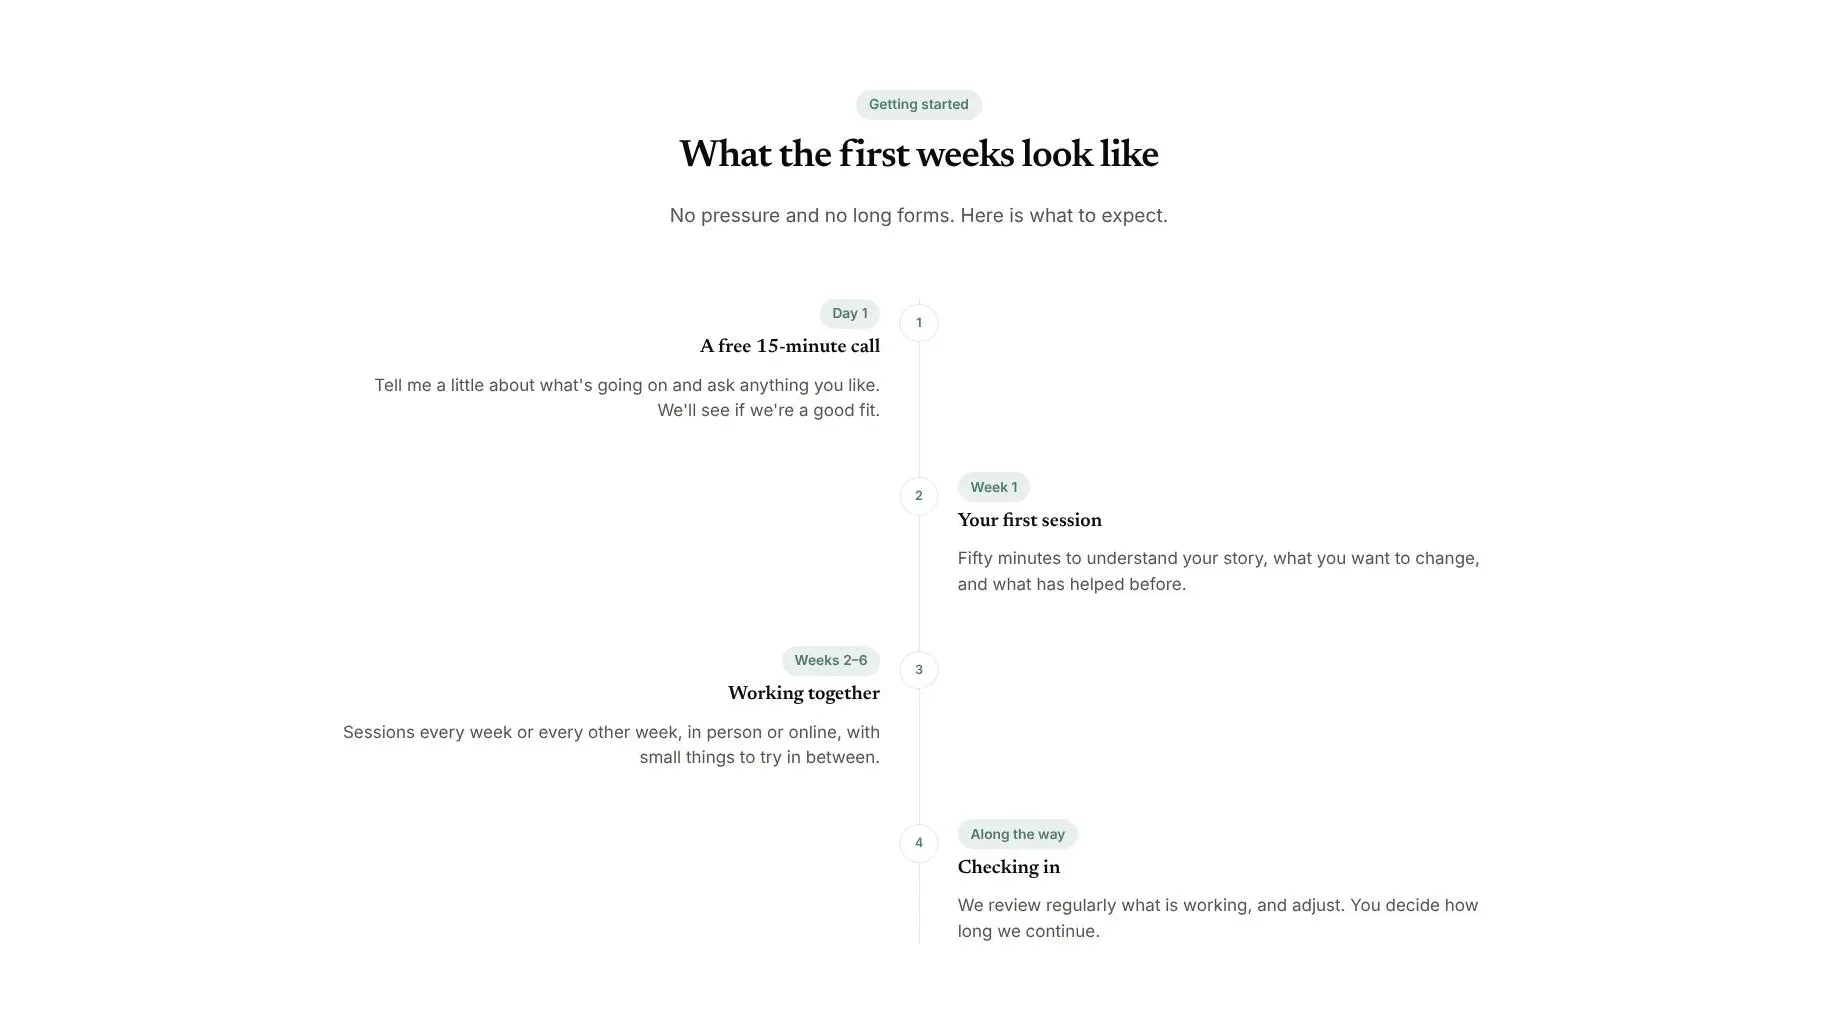
Double-click each label, title and line to match how you work. If your first session is 60 or 90 minutes, say so here.
Fees and insurance sits right under it. The sample lists an individual session at $180 for 50 minutes, a couples session at $220 for 75 minutes, and an insurance note about superbills and sliding-scale spots.
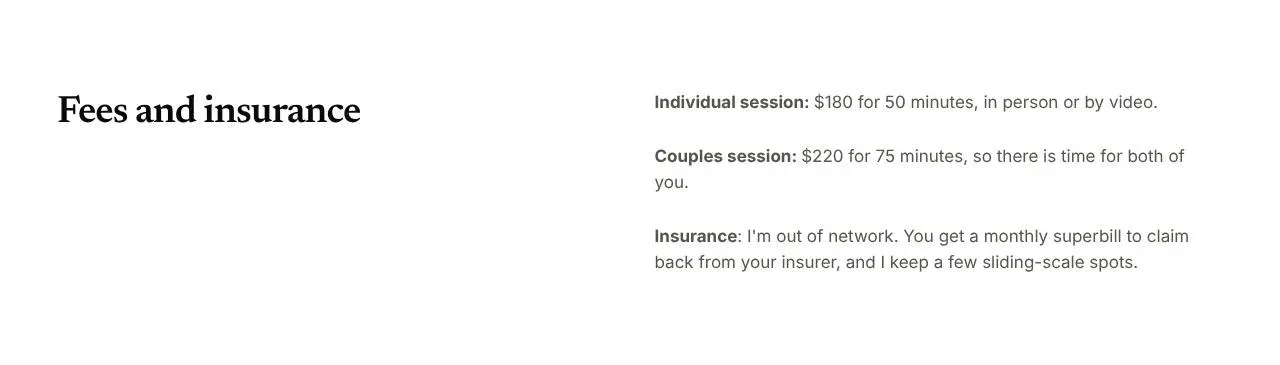
Write your real fees, and be clear about insurance: in network, out of network, or a mix.
Part 3: Answer common questions
Common questions covers what people wonder about before they write: whether therapy is right for them, online sessions, confidentiality, how long it takes and cancellations.
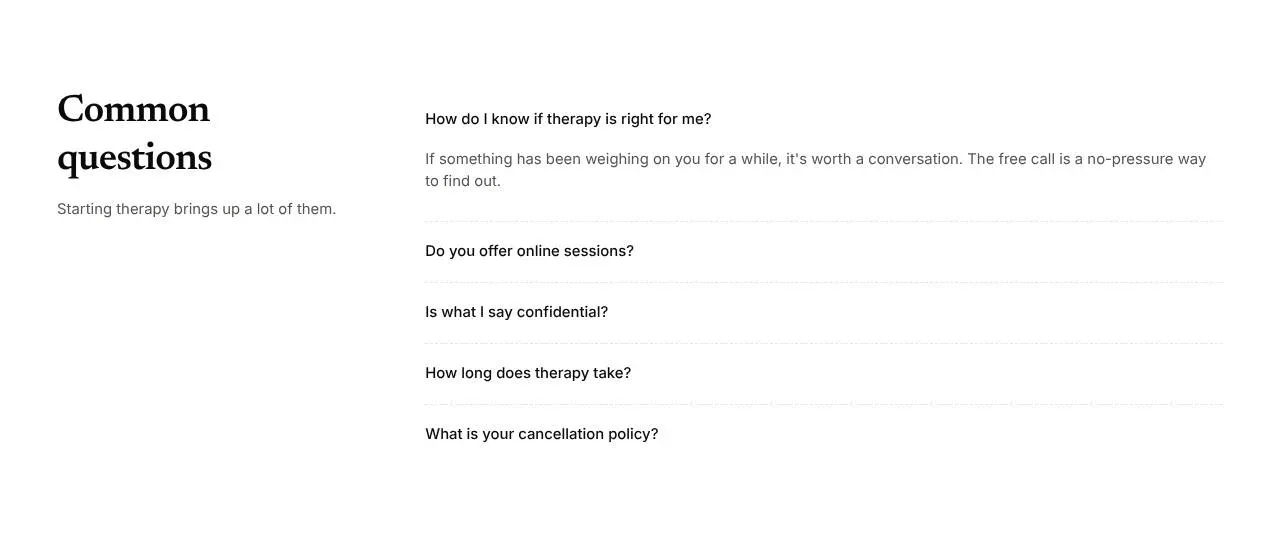
- Double-click a question or answer to type over it. Use Items to add or remove questions.
- Check the online-sessions answer against where you're licensed to practice. The sample says anywhere in Oregon.
- Keep the confidentiality answer short and accurate.
Part 4: Set up the contact page and free call
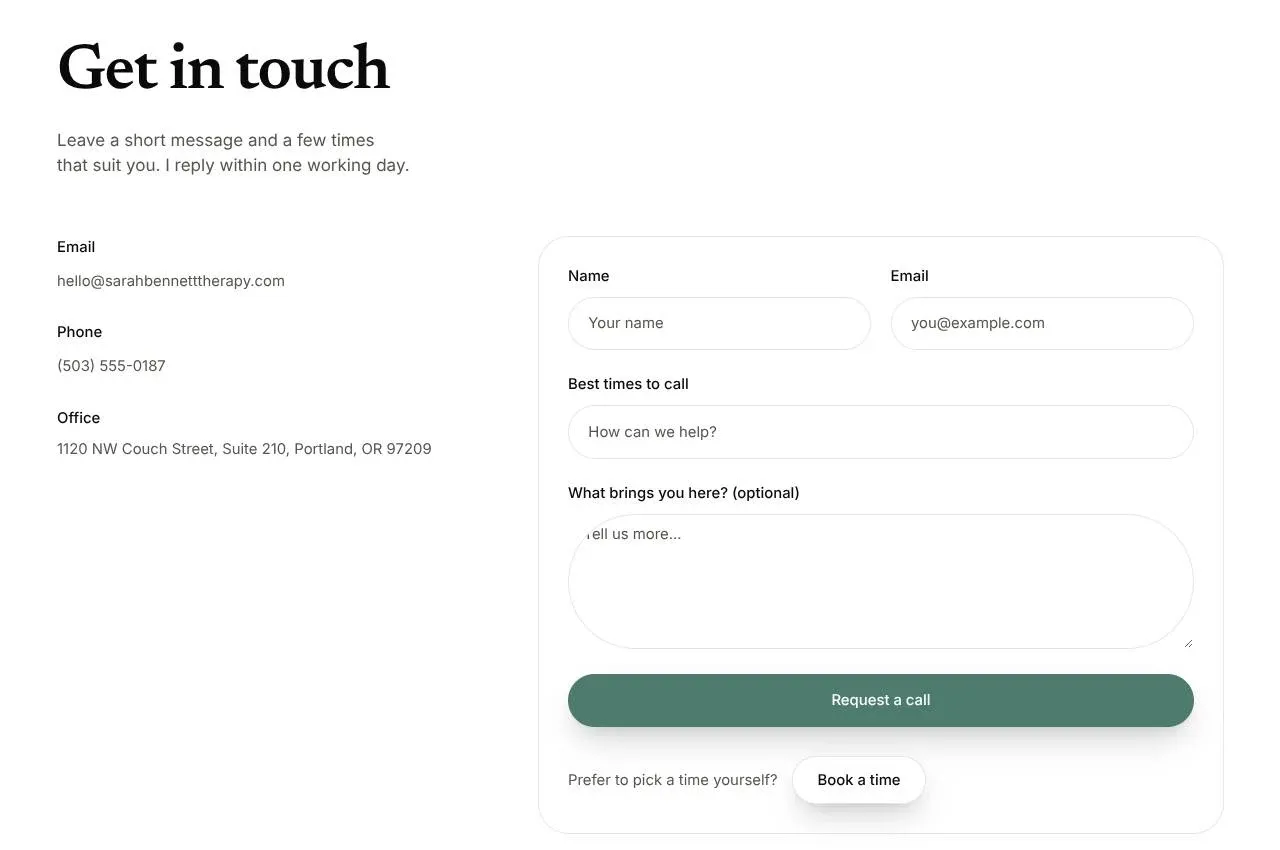
Every Book a call and Book a free call button links to /contact/. The theme has a Contact template for that page: the heading Book a free call, your email, phone and office, a short form and a Before you write note.
Step 1: Make the form send to your inbox
- Get a free access key from Web3Forms with the email address where requests should arrive.
- In Ectobuilder, open Settings → Integrations → Web3Forms and paste the key.
- Click Deploy.
- In Ghost Admin, create a page called Contact, set its URL to
contact, choose Contact under Template in the page settings and publish it.
Send yourself a test message from the live site, and check your spam folder the first time. How to add a contact form to your Ghost site has every detail.
Step 2: Ask for as little as possible
Messages from a contact form arrive by ordinary email, and email isn't a private place for health details. Keep the form to what you need to call someone back: a name, an email and the best times to call. Click the form and look at its fields in the Contact form settings on the right:
- Leave What brings you here? optional, or remove it. Don't add fields for diagnoses, medication, insurance numbers or dates of birth. Collect those later, through your own secure intake.
- Give Best times to call a helpful placeholder, such as Weekday evenings after 6.
- Under After sending, choose Message and write what happens next, like Thank you. I'll reply within one working day.
Keep the Before you write note under the form. It asks people to keep messages brief and tells them what to do in a crisis. If you practice outside the US, replace 988 with your local crisis line, here and in the footer.
Step 3: Let people pick a time themselves
Under the form, Prefer to pick a time yourself? has a Book a time button. Open Settings → Integrations → Booking page and paste the address of your scheduling page. Every Book a time button opens it. To show only the form, or only the button, select the contact section and set Booking button to Off or Instead. More in How to add online booking to your Ghost site.
Part 5: Add your office, journal and newsletter
The office shows your address, session hours, phone and email next to a map. Click the map and type your address in Address under Map in the panel, then double-click the details to type yours. Keep the line on how to find you, like two blocks from the streetcar. If you only work online, remove the section.
From the journal shows your three latest posts. The samples are tagged Anxiety, Relationships and Wellbeing.
The footer invites readers to Get the monthly note, with a reminder that it is not a substitute for care. Set up the newsletter in Ghost Admin under Settings → Newsletters, then send a post with Publish and email.
Part 6: Set up your menu
The header shows Home, About, Journal and Contact, plus the Book a call button. The footer has About, Privacy and Contact. These links live in Ghost, not in the design, and Ectobuilder lets you edit them right beside your page.
Step 1: Open the Menu panel
- Add a Ghost staff token once, under Settings → Integrations → Ghost staff token. It must belong to an Administrator or the site's Owner.
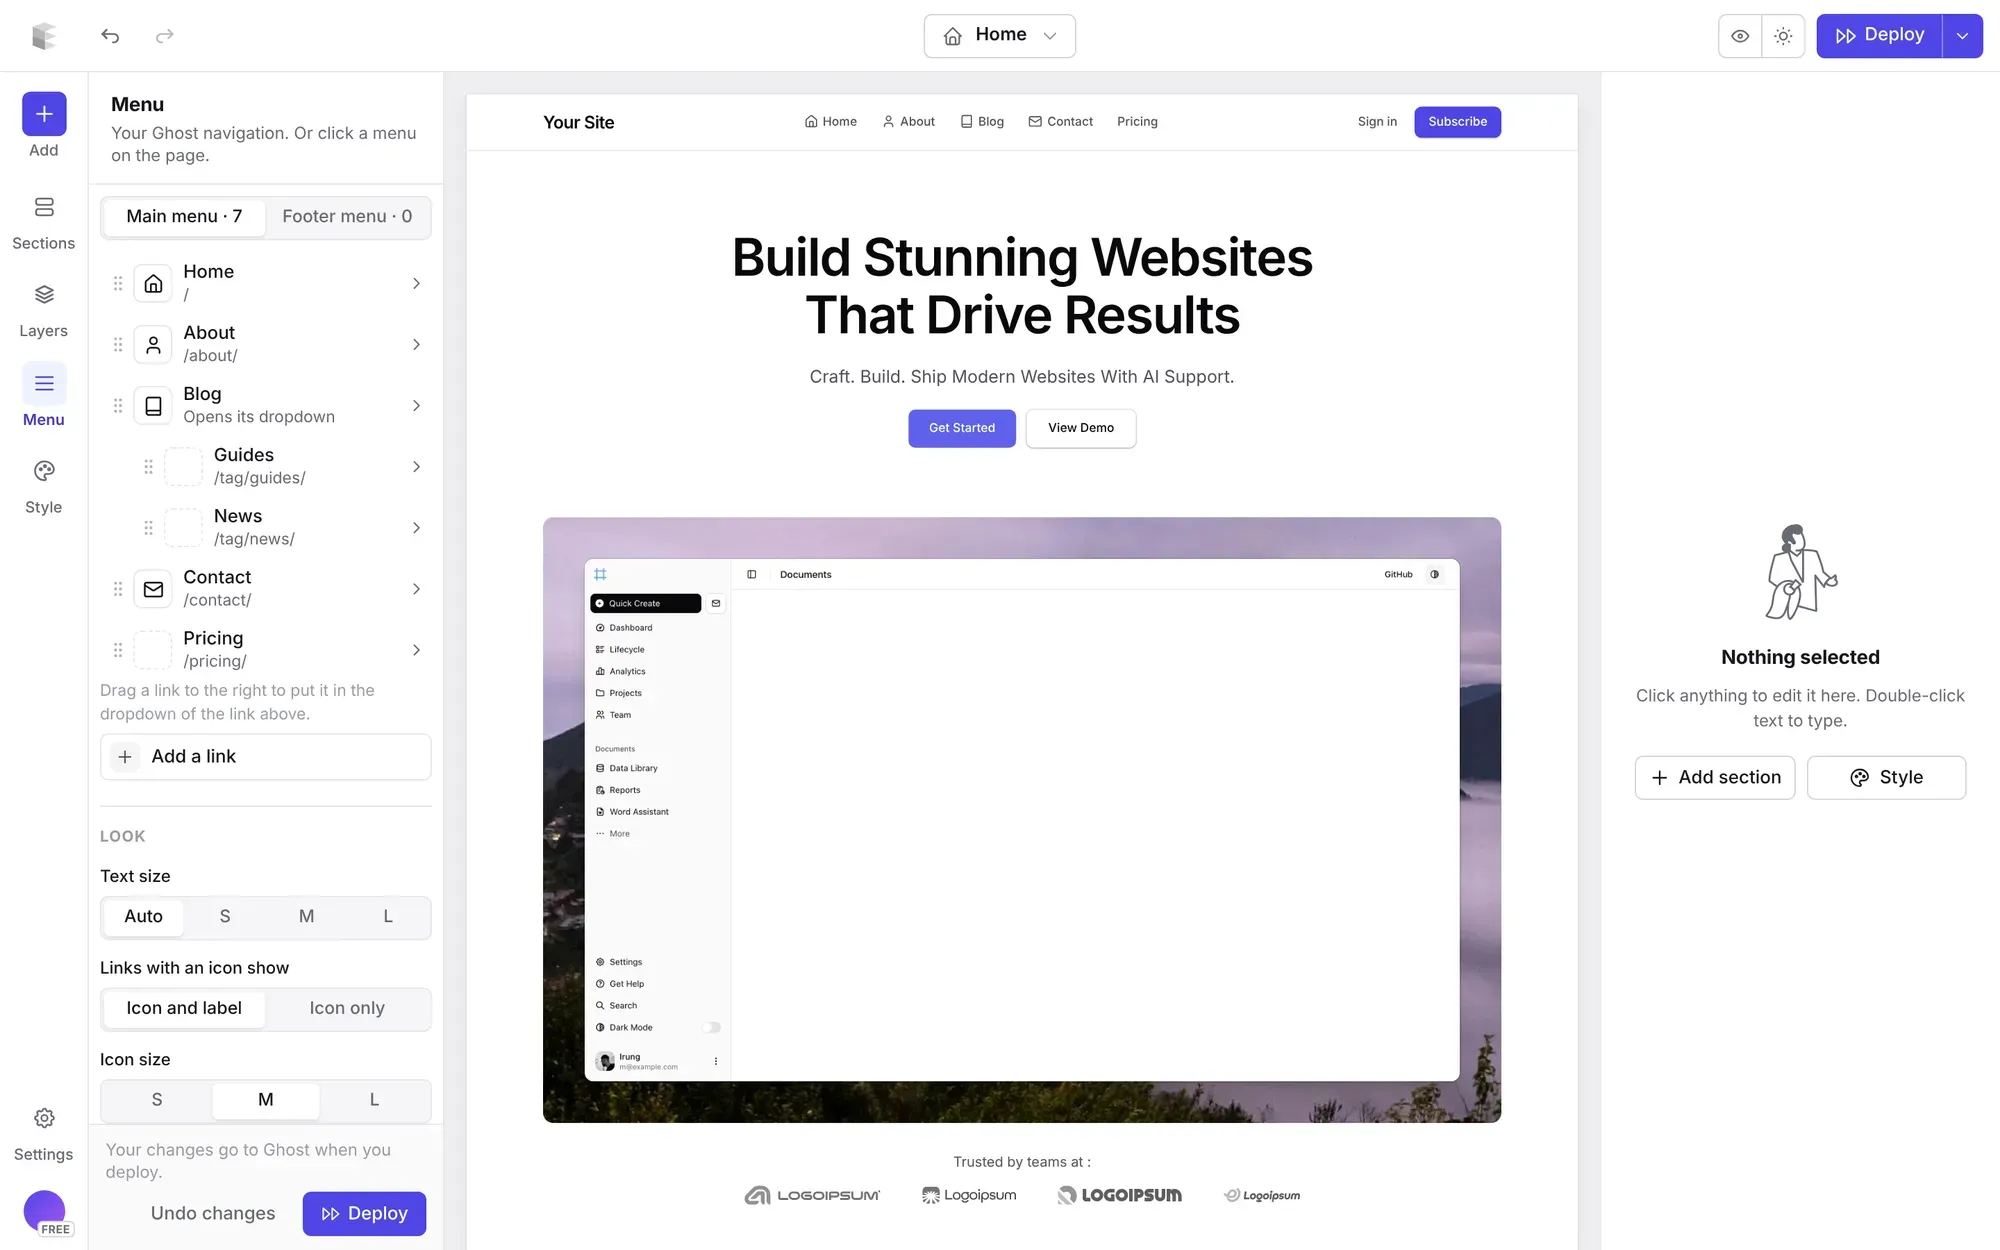
- Click Menu in the left rail. Switch between Main menu (the header) and Footer menu.
Step 2: Add, rename and reorder links
- Click Add a link, give it a label, then type an address or click Pick to choose one of your pages, posts or tags.
- Click a link to rename it. Drag it by its handle to move it.
- Drag a link slightly to the right to put it in a dropdown under the link above it.
- Click the square next to Icon to give a link an icon.
- In the Footer menu, set Layout to Columns and use Add column for footer columns with headings.
For a practice, keep the main menu short and calm. A Fees link and an Online sessions link answer the two things people most want to know. Keep Privacy in the footer, and link it to a page that says how you handle messages and data. The Sign in link is for newsletter members; remove it if you don't need it.
Step 3: Deploy
There's no separate save. Your menu changes go to Ghost when you click Deploy, together with the rest of your design. Undo changes brings back what Ghost has. The full walkthrough is in How to edit your Ghost menu in Ectobuilder.
Part 7: Check your SEO with Site audit
People search for a therapist near them, often on a phone. Check that Google shows your site clearly.
Step 1: Run the audit
- Connect your Ghost site under Settings → Integrations → Ghost Admin API, if you haven't yet.
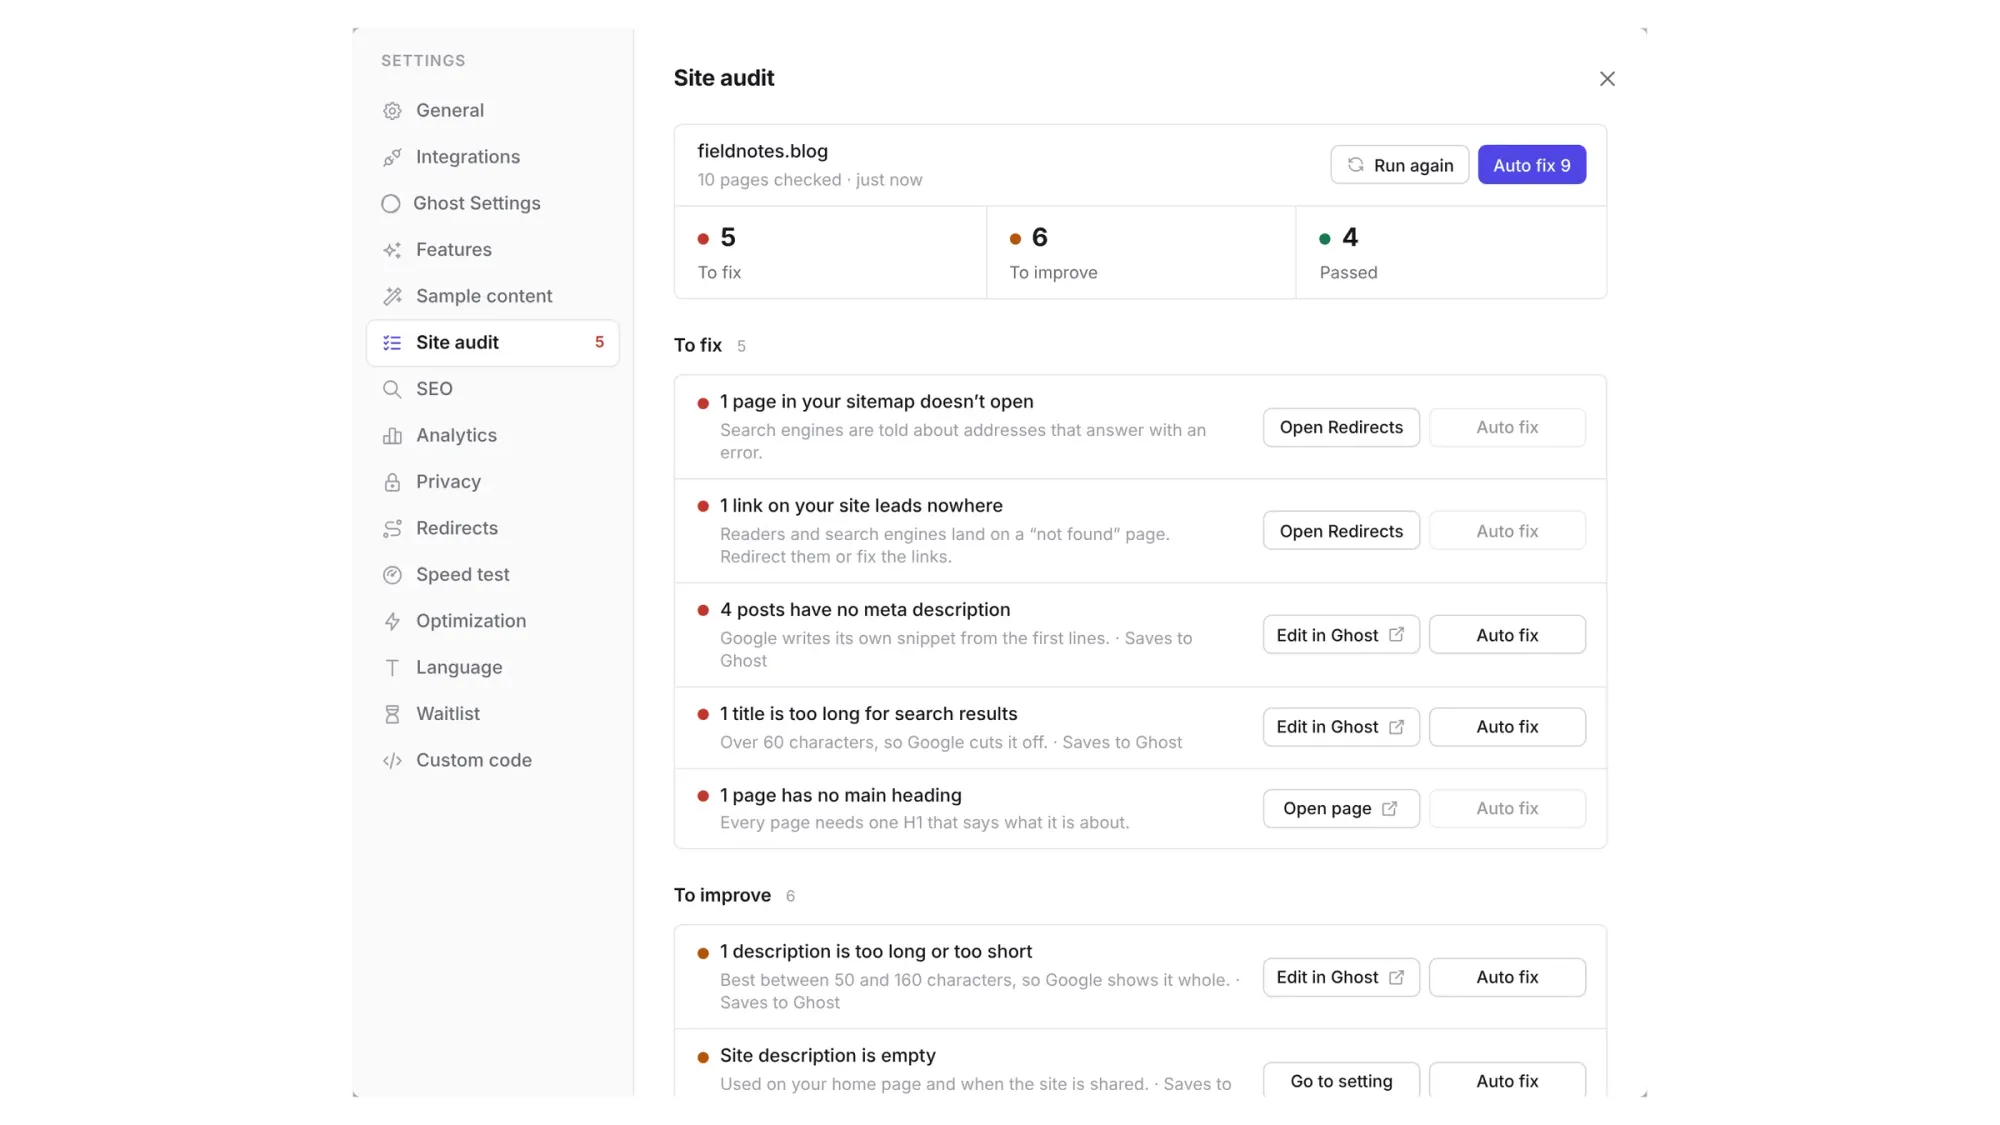
- Open Settings → Site audit and click Run audit. It reads every public page, about a minute for 100 pages.
Step 2: Work through the list
Issues come in two groups. To fix costs you visibility now: missing descriptions, cut-off titles, broken links. To improve can wait a little. Each row has a button that takes you where the fix belongs, and Auto fix where Ectobuilder can do it for you. Auto fix writes meta descriptions, SEO titles and tag descriptions from your own text, and shows you every suggestion first. Edit or untick any of them, then click Apply.
For a practice, look out for these:
- Site description. Say who you help and where, such as Therapy for anxiety, burnout and couples in Portland, Oregon, and online across the state.
- Page descriptions. Auto fix writes one for each journal post and page from its own text. Read each one: the tone should match yours.
- Sharing image. What shows when someone sends your site to a friend or partner. A calm photo of your room works well.
- Broken links. Moving from an old website? Old addresses still in Google lead nowhere. Send each one to the right page under Settings → Redirects.
Run it again after you fix things: the second list is usually short. More in Ghost SEO audit: find and fix search problems.
Ready to build yours? Everything in this guide works on your own copy of the Psychotherapist theme. Start free, connect your Ghost site when you’re ready, and only pay if you like the result.
Next steps
- Change the colors and fonts under Style. They apply to every page at once.
- Adding analytics? Read Cookie consent on Ghost first. A practice site should hold back trackers until visitors agree.
- Write a few journal posts before launch on your areas of focus. They show how you think and help people find you.
Written by
Founder of Ectobuilder, the AI-powered visual theme editor for Ghost. Indie software builder in Wrocław and co-author of The AdTech Book. I write about Ghost themes, newsletters and building websites with AI.
Comments
Questions or thoughts? Share them below.
Keep reading
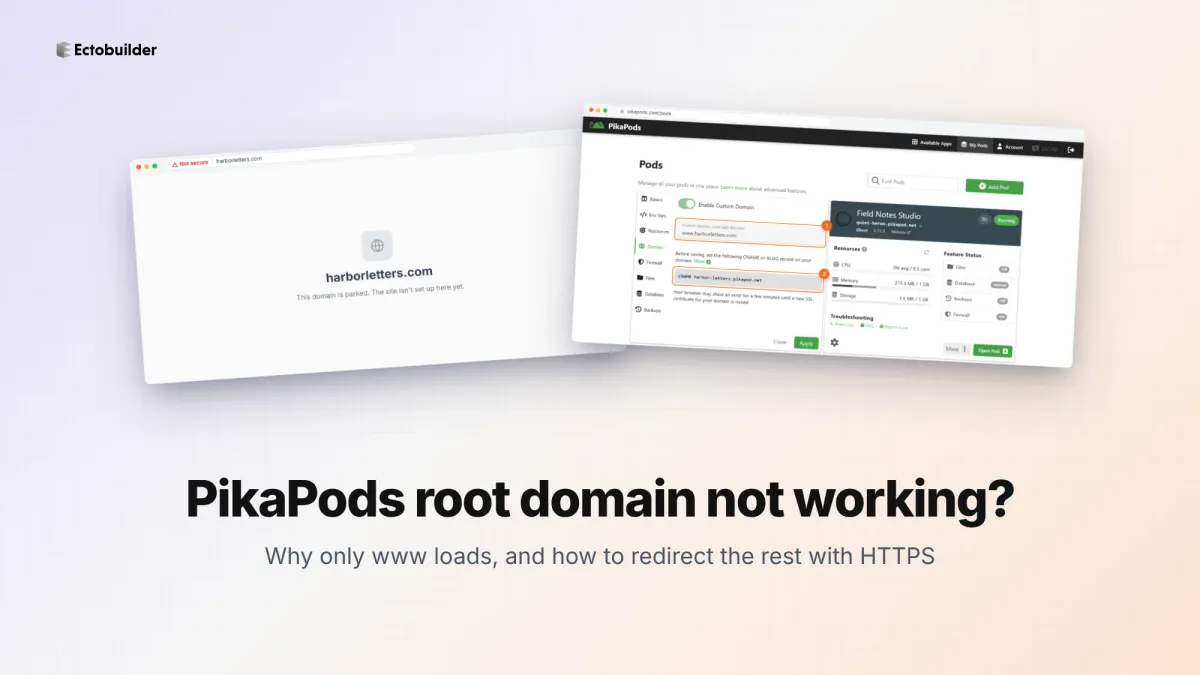
PikaPods Custom Domain: Why Only www Works (and How to Fix the Root Domain)
PikaPods maps one custom domain per pod, so yourdomain.com without www stays on a parked page with no SSL. Here's why, and three ways to redirect it to www over HTTPS without touching your email records.
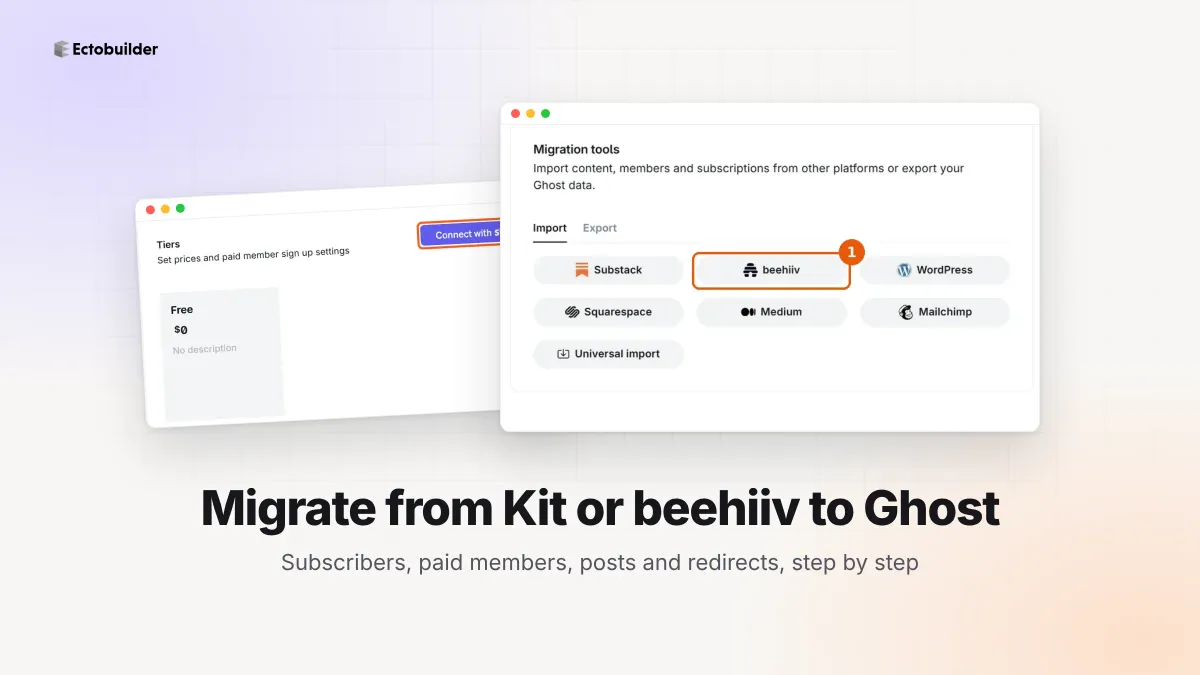
How to Migrate from Kit or beehiiv to Ghost (Subscribers, Paid Members, Posts and Redirects)
Move your newsletter from Kit (ConvertKit) or beehiiv to Ghost step by step: export and import subscribers, deal with paid members and Stripe, bring your posts across, set up redirects and your domain, warm up email sending, and make the new site look right.
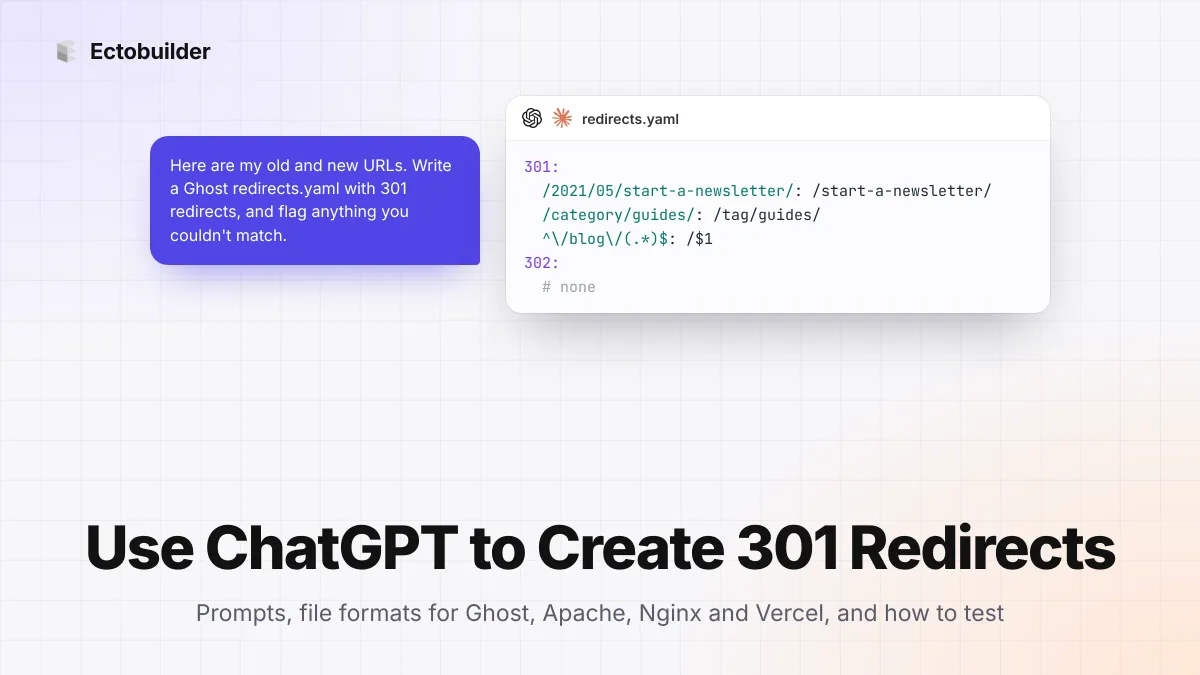
How to Use ChatGPT to Create 301 Redirects (Prompts, File Formats and Testing)
Let ChatGPT or Claude match your old URLs to new ones and write the redirect file for Ghost, Apache, Nginx, Netlify or Vercel. Prompts to copy, the mistakes to avoid, and how to test every redirect.