
Personal Trainer Theme for Ghost: Sell Packages, Book Free Consults and Send a Weekly Newsletter
A step-by-step guide to the Personal Trainer theme for Ghost: describe how you coach, list sessions and packages with prices, send every button to your booking page, add client stories and FAQs, and start a training journal with a weekly newsletter.

Michal Wlosik
· 8 min read
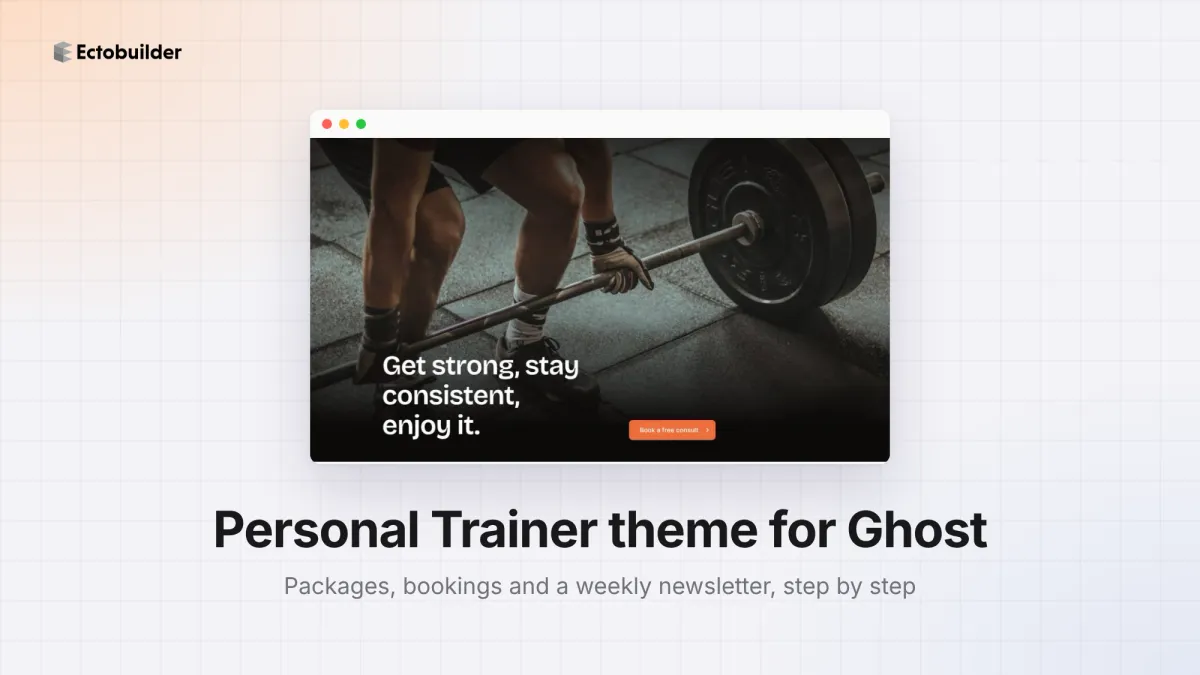
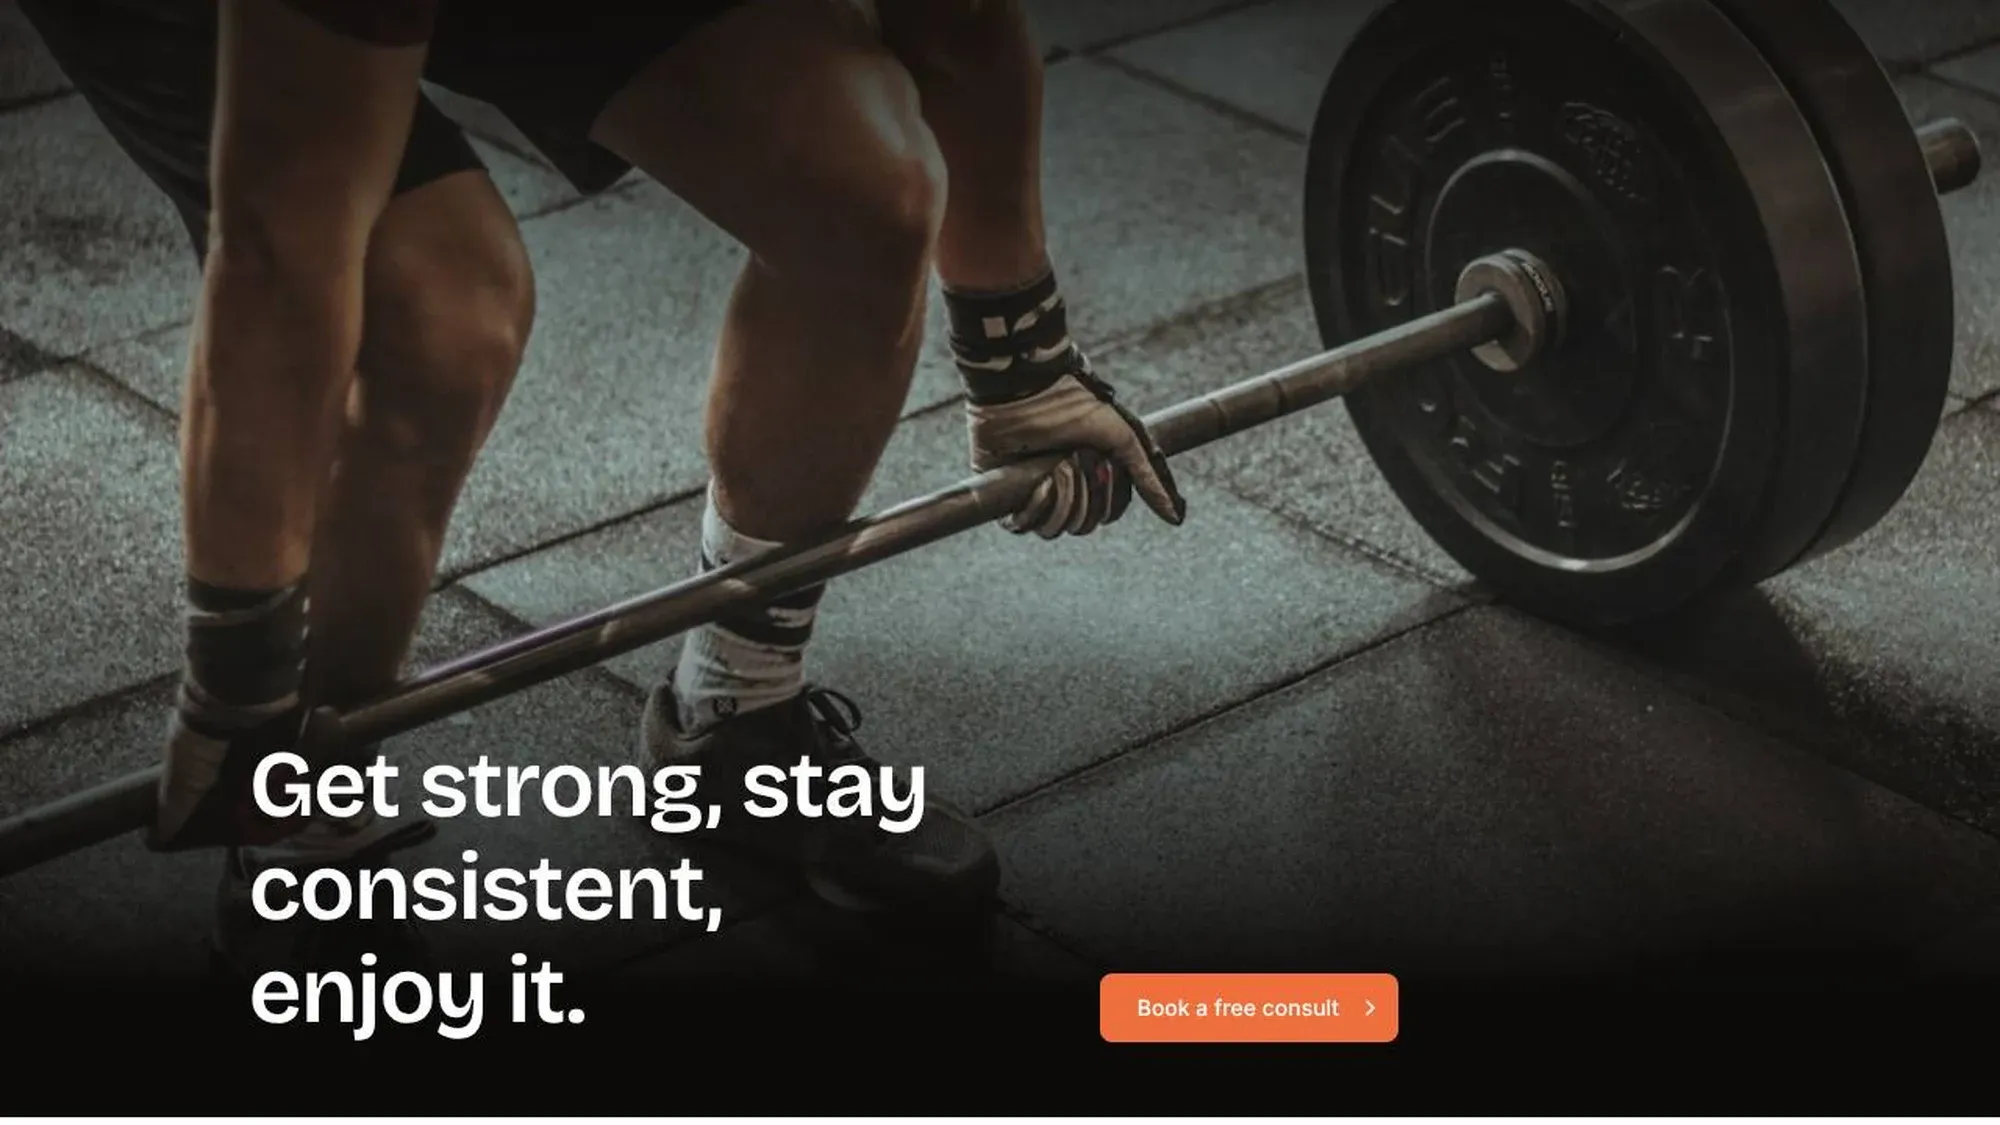
The Personal Trainer theme is an Ectobuilder theme for personal trainers, coaches and small studios running their site on Ghost. Its homepage opens with a full-width training photo and a Book a free consult button, then explains how you coach, shows a four-step start, your sessions and packages with prices, client stories, a free-session offer, your training journal and common questions. The footer signs people up for a weekly newsletter.
This guide walks through what most trainers set up first:
- Describe how you coach and how a new client starts.
- Add your sessions and packages, with prices.
- Take bookings and free consults from every button.
- Add client stories and answers to the questions people ask.
- Start the training journal and newsletter.
- Set up your menu in the menu editor.
- Check your SEO with Site audit.
To follow along, open the theme from the Ectobuilder theme gallery and connect your Ghost site under Settings → Integrations → Ghost Admin API.

Want this theme for your site? Open the Personal Trainer theme in Ectobuilder and make it yours. Starting is free, and you only pay if you’re happy with the design.
Part 1: Describe how you coach
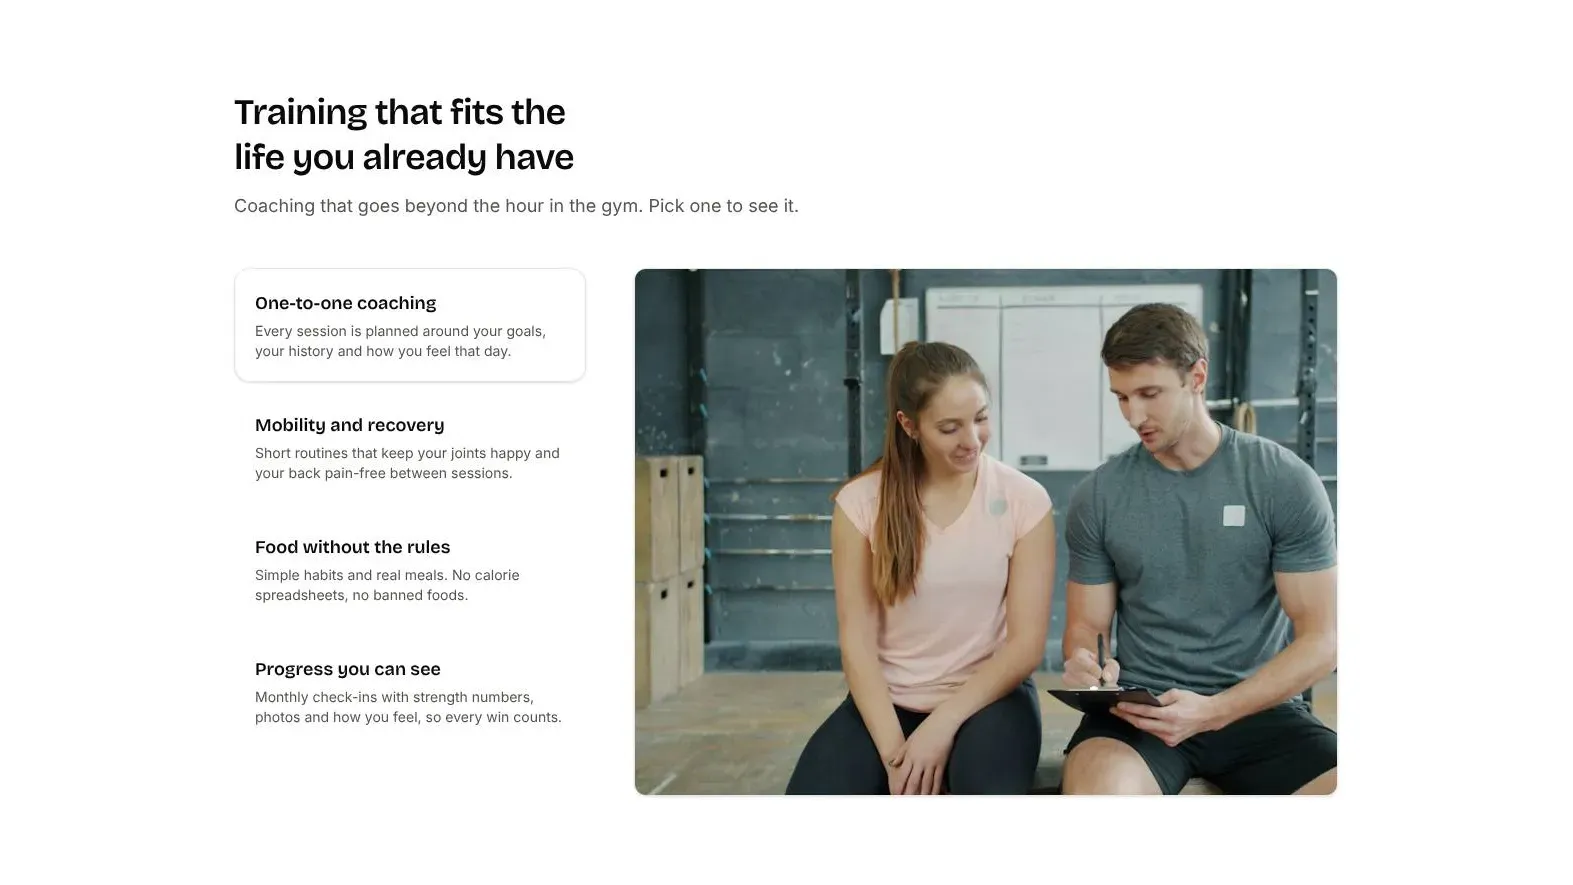
Two sections tell visitors what working with you is like. Training that fits the life you already have has four tabs, One-to-one coaching, Mobility and recovery, Food without the rules and Progress you can see, each with a short line and its own photo.
Step 1: Write your four tabs
- Double-click a tab title or its line to type over it. Write what you actually offer: if you don't do nutrition, turn that tab into something you do, like Pre- and postnatal training.
- Click the photo, then Replace in the Image panel to use your own. Photos of you coaching real clients beat stock photos.
Step 2: Explain how a new client starts
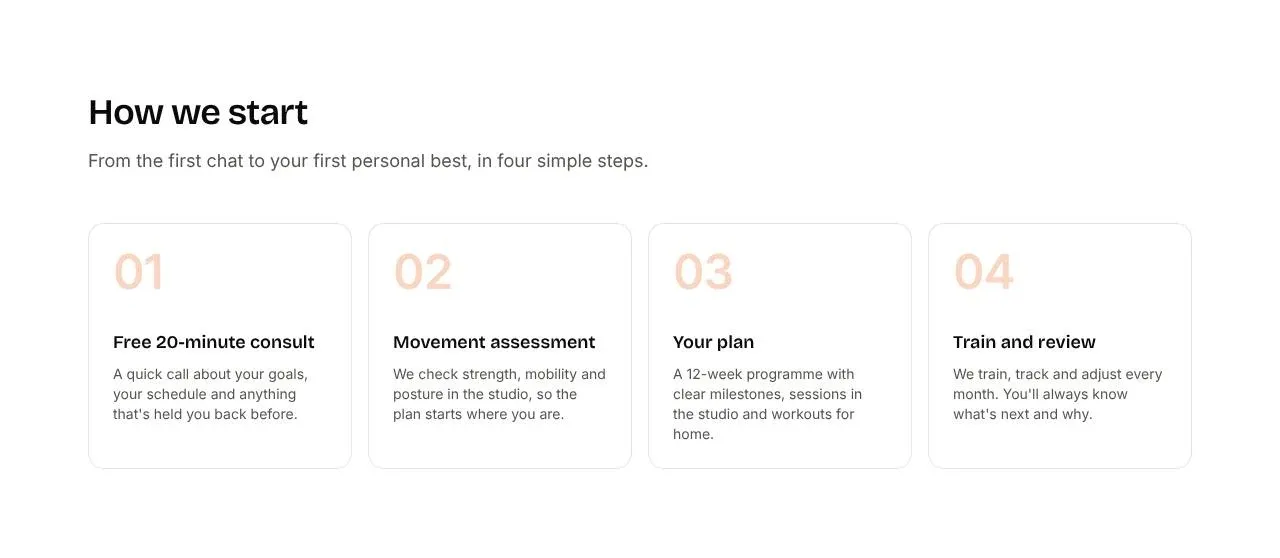
How we start shows four numbered cards: a free 20-minute consult, a movement assessment, your plan and train and review. Edit them to match your own process. Keep each card to one or two sentences.
Part 2: Add your sessions and packages
Sessions & packages lists what you sell, one row each: a name, a short line, the length, the price and a Book button. The sample has a single session for $70, a 10-session pack for $600, partner training, online coaching at $150 a month and a small group class.
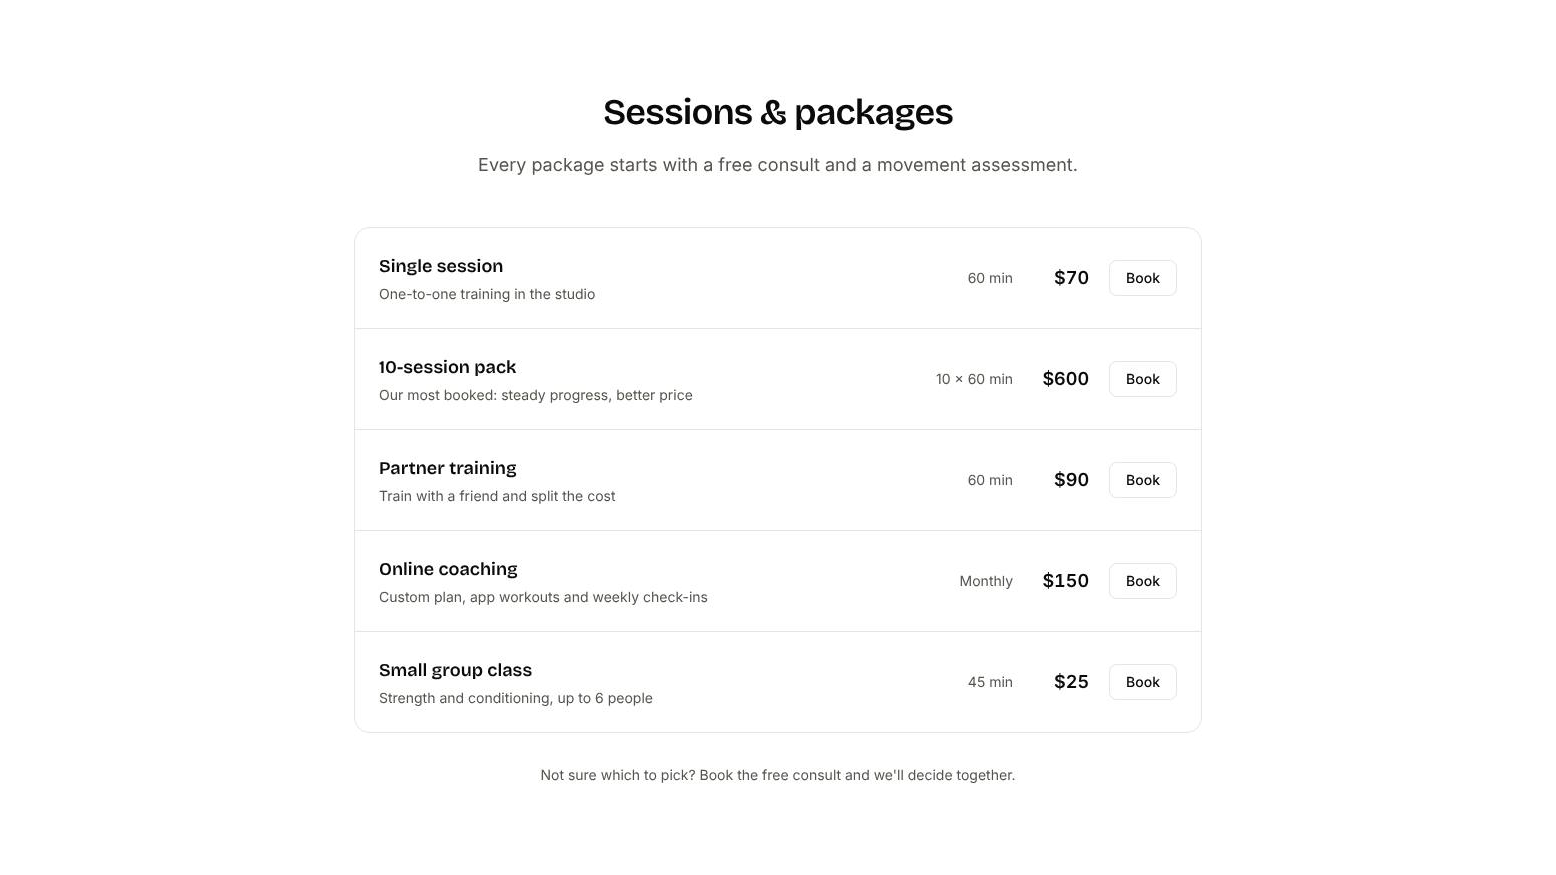
- Double-click a name, line, length or price to type over it.
- To add a package, click a row and use Items in the panel to duplicate it. The arrows move it, and the cross removes it.
- Keep the line under the list, Not sure which to pick? Book the free consult and we'll decide together. It gives undecided visitors an easy next step.
Part 3: Take bookings and free consults
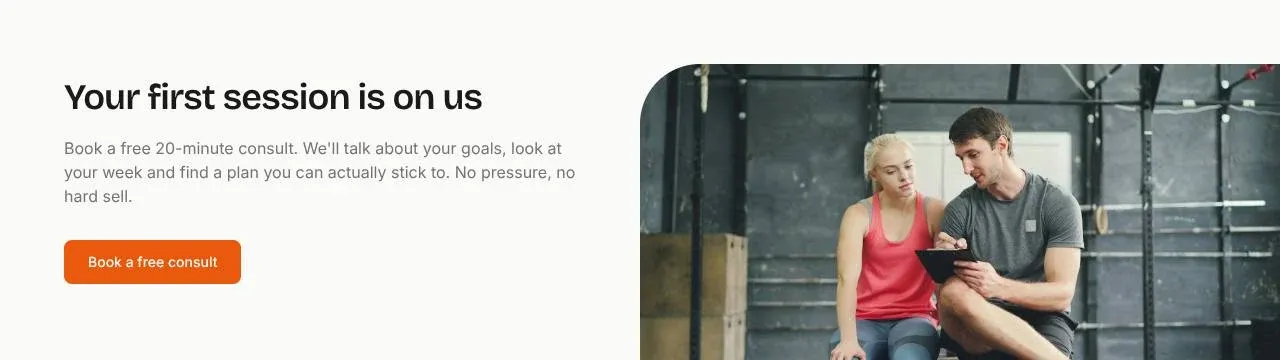
The theme has a booking button in almost every section: Book a session in the header, Book a free consult on the hero and in the Your first session is on us block, and Book on every package. In the gallery copy they point at /book/, a page your site doesn't have yet.
Step 1: Get a booking page
Use your scheduling tool, such as Calendly, Cal.com, Acuity or the booking page of your gym software. Set up a free 20-minute consult as its own event, and paid sessions as others.
Step 2: Add it in Ectobuilder
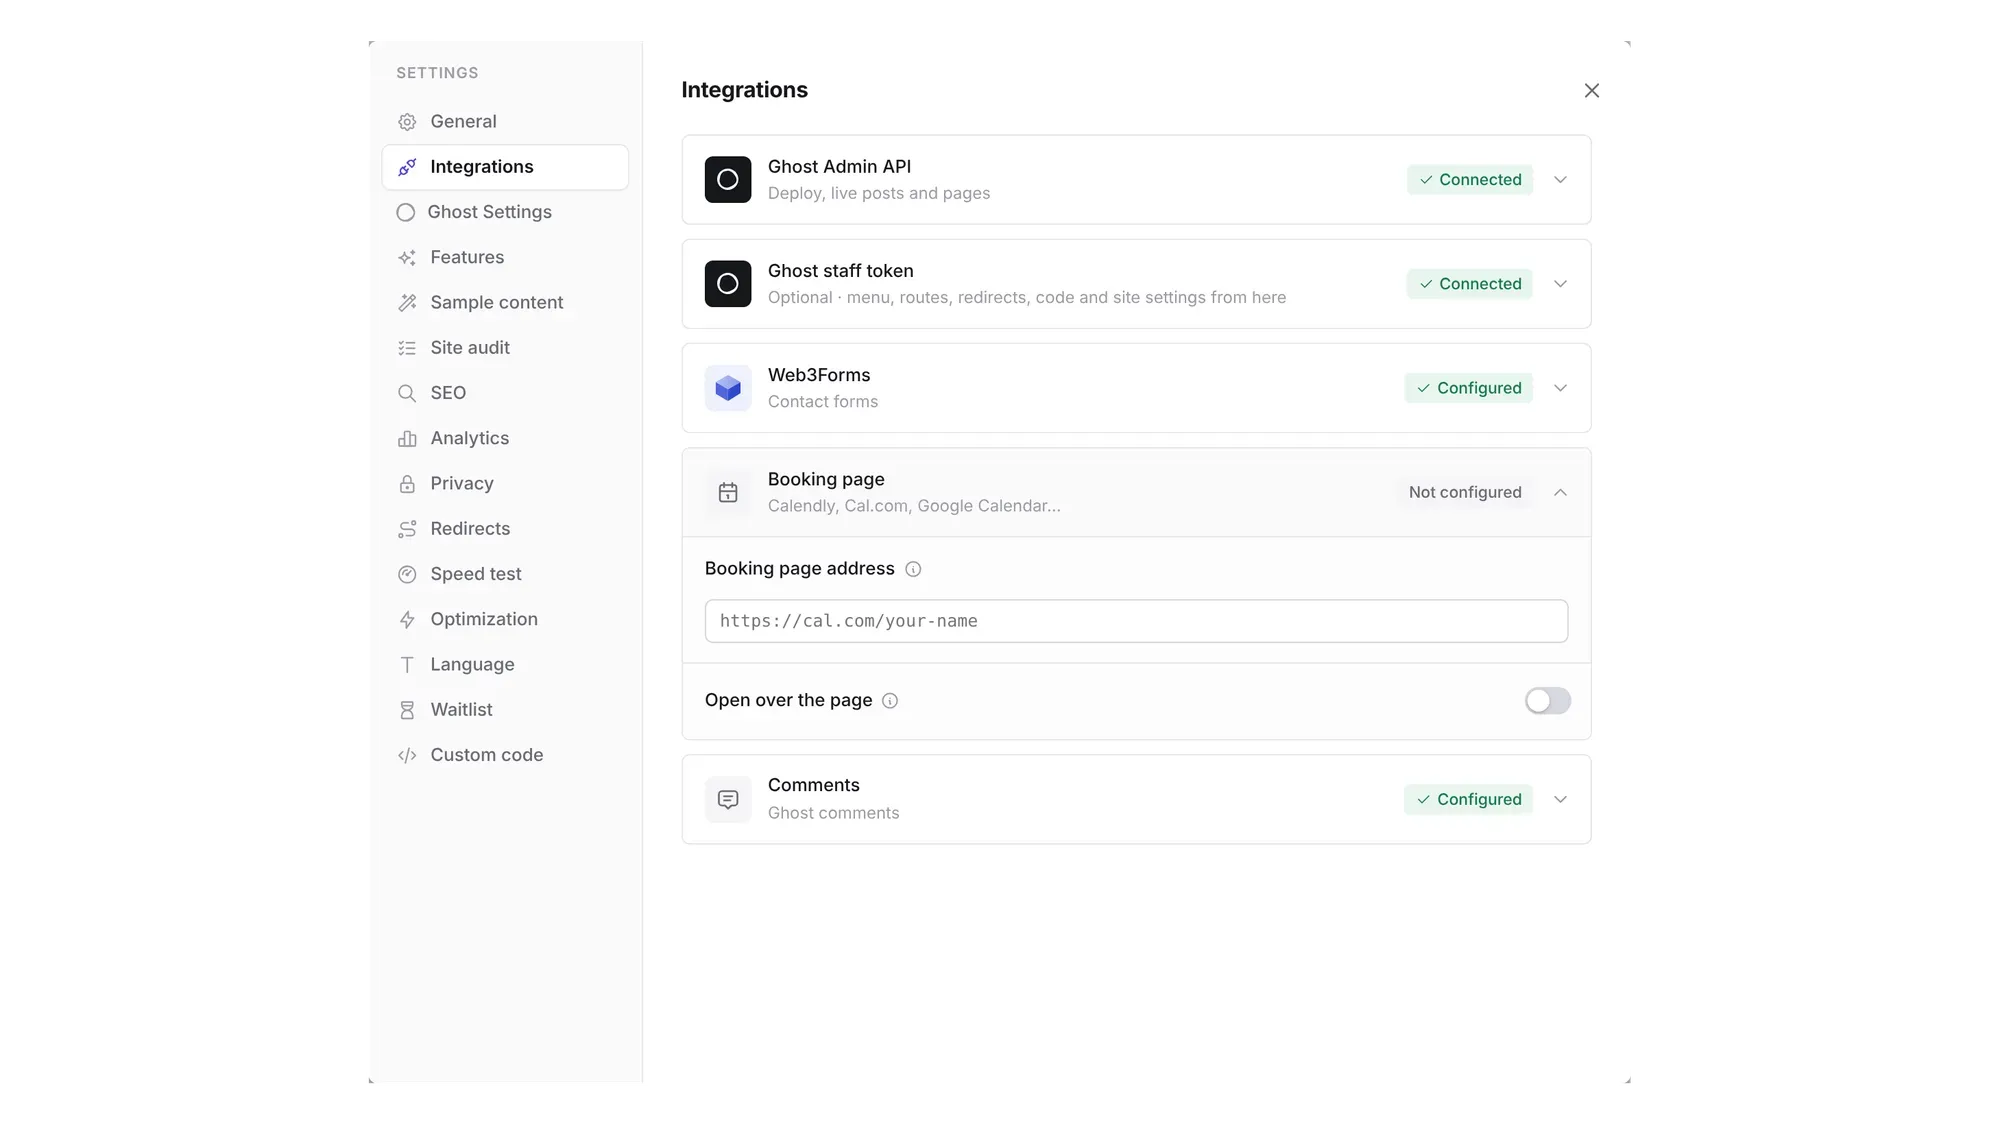
Open Settings → Integrations → Booking page and paste the address of your booking page.
Step 3: Point the buttons at it
Every link to #booking opens the booking page you added. Click each booking button and set its link to #booking. Calendly, Cal.com, Google Calendar, TidyCal and Acuity open in a window over your site; tools that don't allow that open in a new tab. To send a package straight to its own event, link its Book button to that event's address instead.
Click Deploy and test the buttons on your phone. For choosing a booking tool, embedding a calendar and getting bookings from Google Search and Maps, read How to add online booking to your Ghost site, written with personal trainers in mind.
Part 4: Add client stories and answers
Clients in their own words shows three short quotes, each with a name and the package the client bought. Showing the package helps visitors see themselves: a busy parent on online coaching, a desk worker on one-to-one sessions.
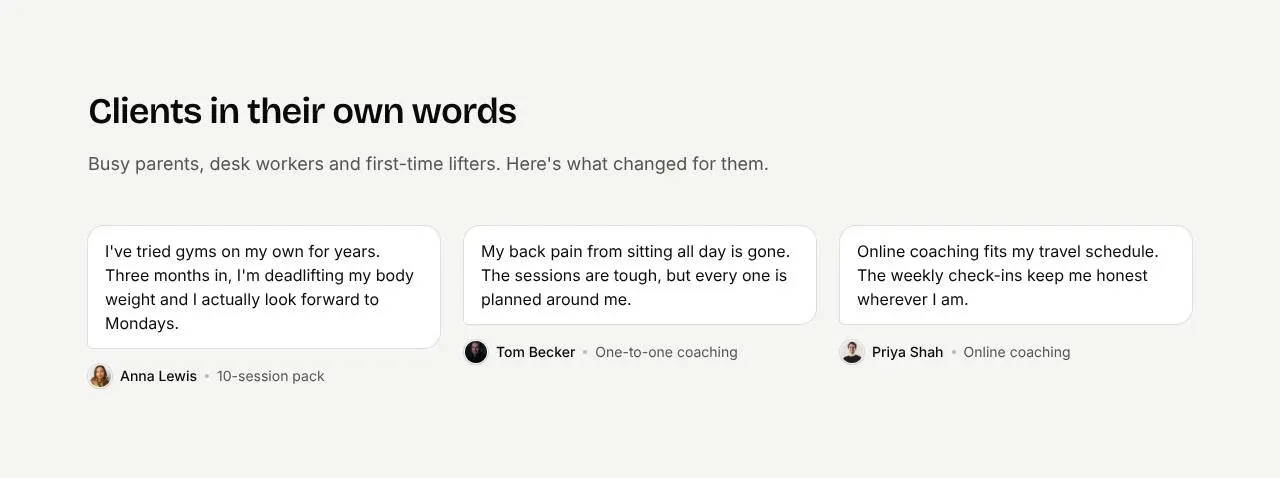
- Double-click a quote, name or package to type over it. Ask clients first, and use only what they agree to share.
- Click a small round photo and use Replace for the client's picture, or leave a photo out if they'd rather.
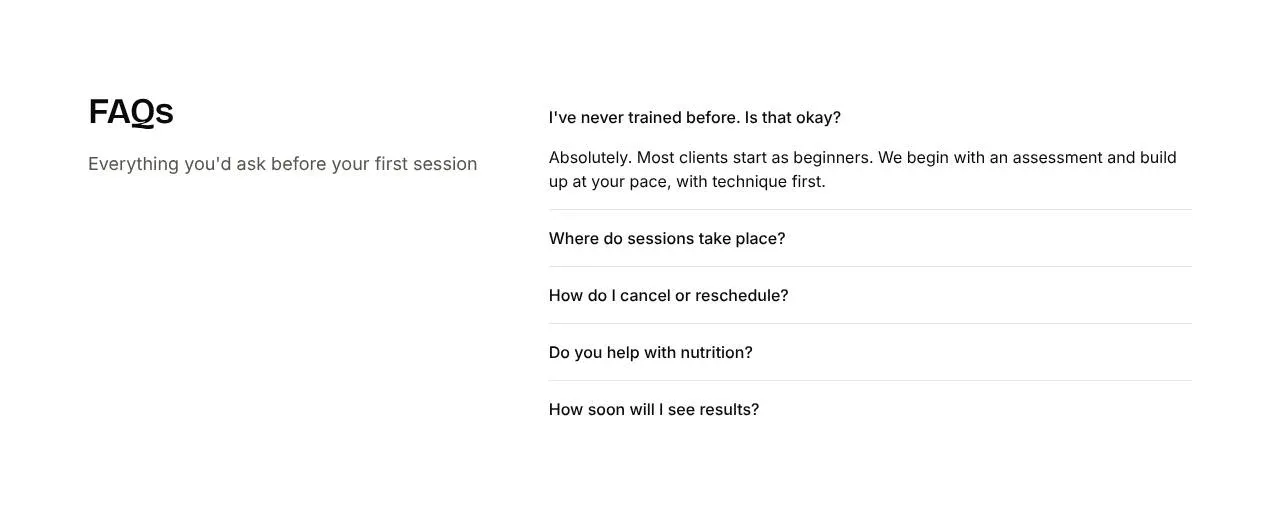
Below the journal, FAQs answers what people ask before their first session: I've never trained before. Is that okay?, where sessions take place, how to cancel, nutrition and how soon they'll see results. Change the answers to your own rules, especially the cancellation window.
Part 5: Start the training journal and newsletter
From the training journal shows your three latest posts, with their tag, date and reading time. The samples are tagged Strength, Nutrition and Mindset. Every post you publish in Ghost appears here on your live site, so there is nothing to edit in the theme.
The footer asks visitors to Subscribe to the weekly training notes. Each address becomes a member of your Ghost site.
- In Ghost Admin, open Settings → Newsletters and name your newsletter, for example Weekly training notes.
- Write a post, a workout, a recipe or one tip, and choose Publish and email to send it to subscribers and put it on your site.
- Use the same few tags every time. Ghost makes a page for each tag, like
/tag/nutrition/, that you can link from your menu.
The Sign in link in the header is for those members. Keep it if you plan paid plans later, like a members-only workout library; remove it in the menu if you don't.
Part 6: Set up your menu
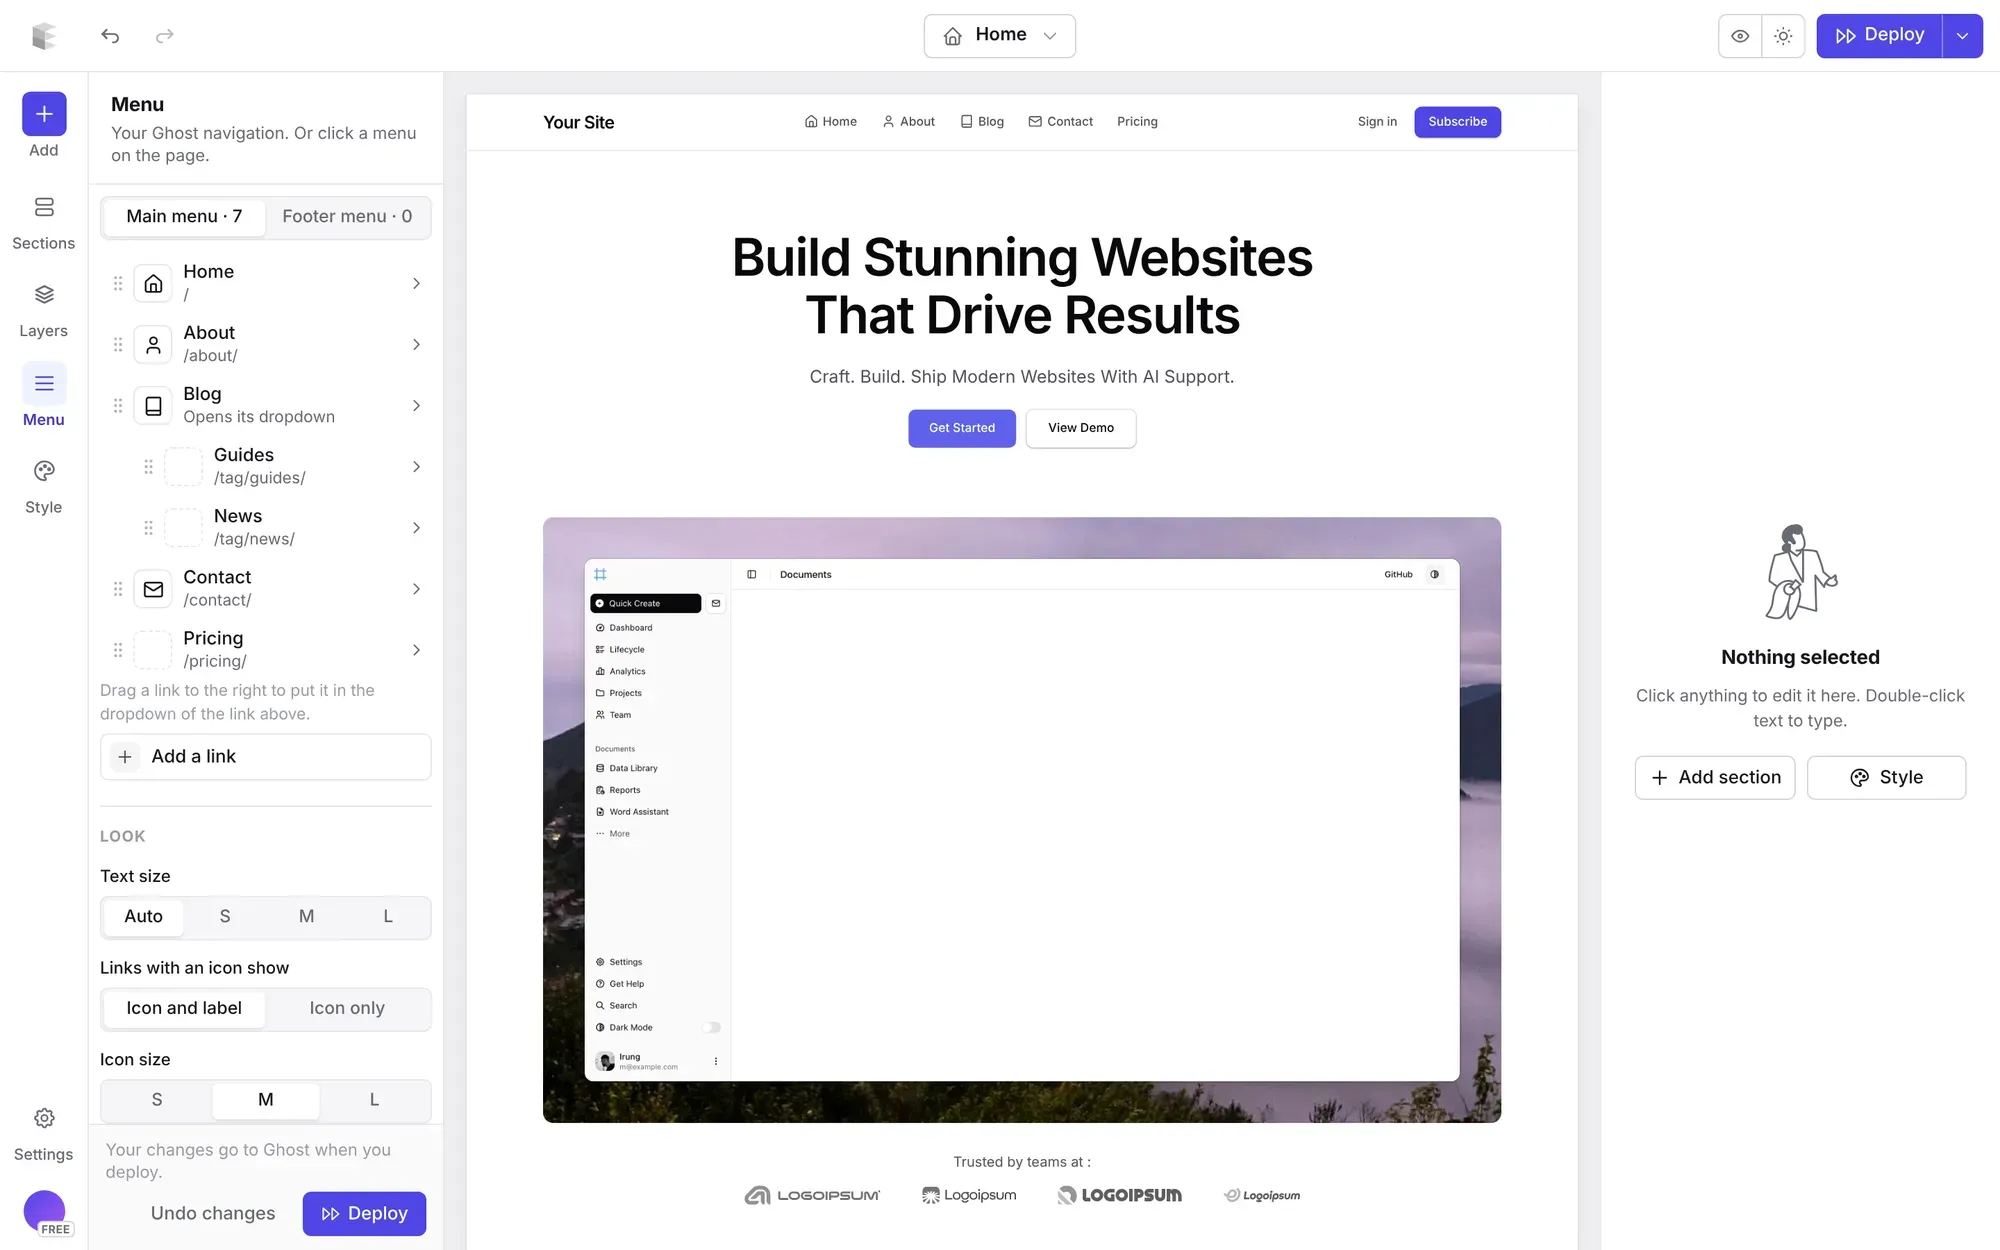
The header shows Home, Training, Journal and Contact, plus the Book a session button. The footer has Training, Privacy and Contact. These links live in Ghost, not in the design, and Ectobuilder lets you edit them right beside your page.
Step 1: Open the Menu panel
- Add a Ghost staff token once, under Settings → Integrations → Ghost staff token. It must belong to an Administrator or the site's Owner.
- Click Menu in the left rail. Switch between Main menu (the header) and Footer menu.
Step 2: Add, rename and reorder links
- Click Add a link, give it a label, then type an address or click Pick to choose one of your pages, posts or tags.
- Click a link to rename it. Drag it by its handle to move it.
- Drag a link slightly to the right to put it in a dropdown under the link above it.
- Click the square next to Icon to give a link an icon.
- In the Footer menu, set Layout to Columns and use Add column for footer columns with headings.
For a trainer, a Training dropdown works well: add links for One-to-one, Online coaching and Group classes and drag them under it. Give the journal's tags their own links, so readers can find all your recipes in one place.
Step 3: Deploy
There's no separate save. Your menu changes go to Ghost when you click Deploy, together with the rest of your design. Undo changes brings back what Ghost has. The full walkthrough is in How to edit your Ghost menu in Ectobuilder.
Part 7: Check your SEO with Site audit
Most clients find a trainer by searching for one near them, or for online coaching. Before you share the site, check how it looks to Google.
Step 1: Run the audit
- Connect your Ghost site under Settings → Integrations → Ghost Admin API, if you haven't yet.
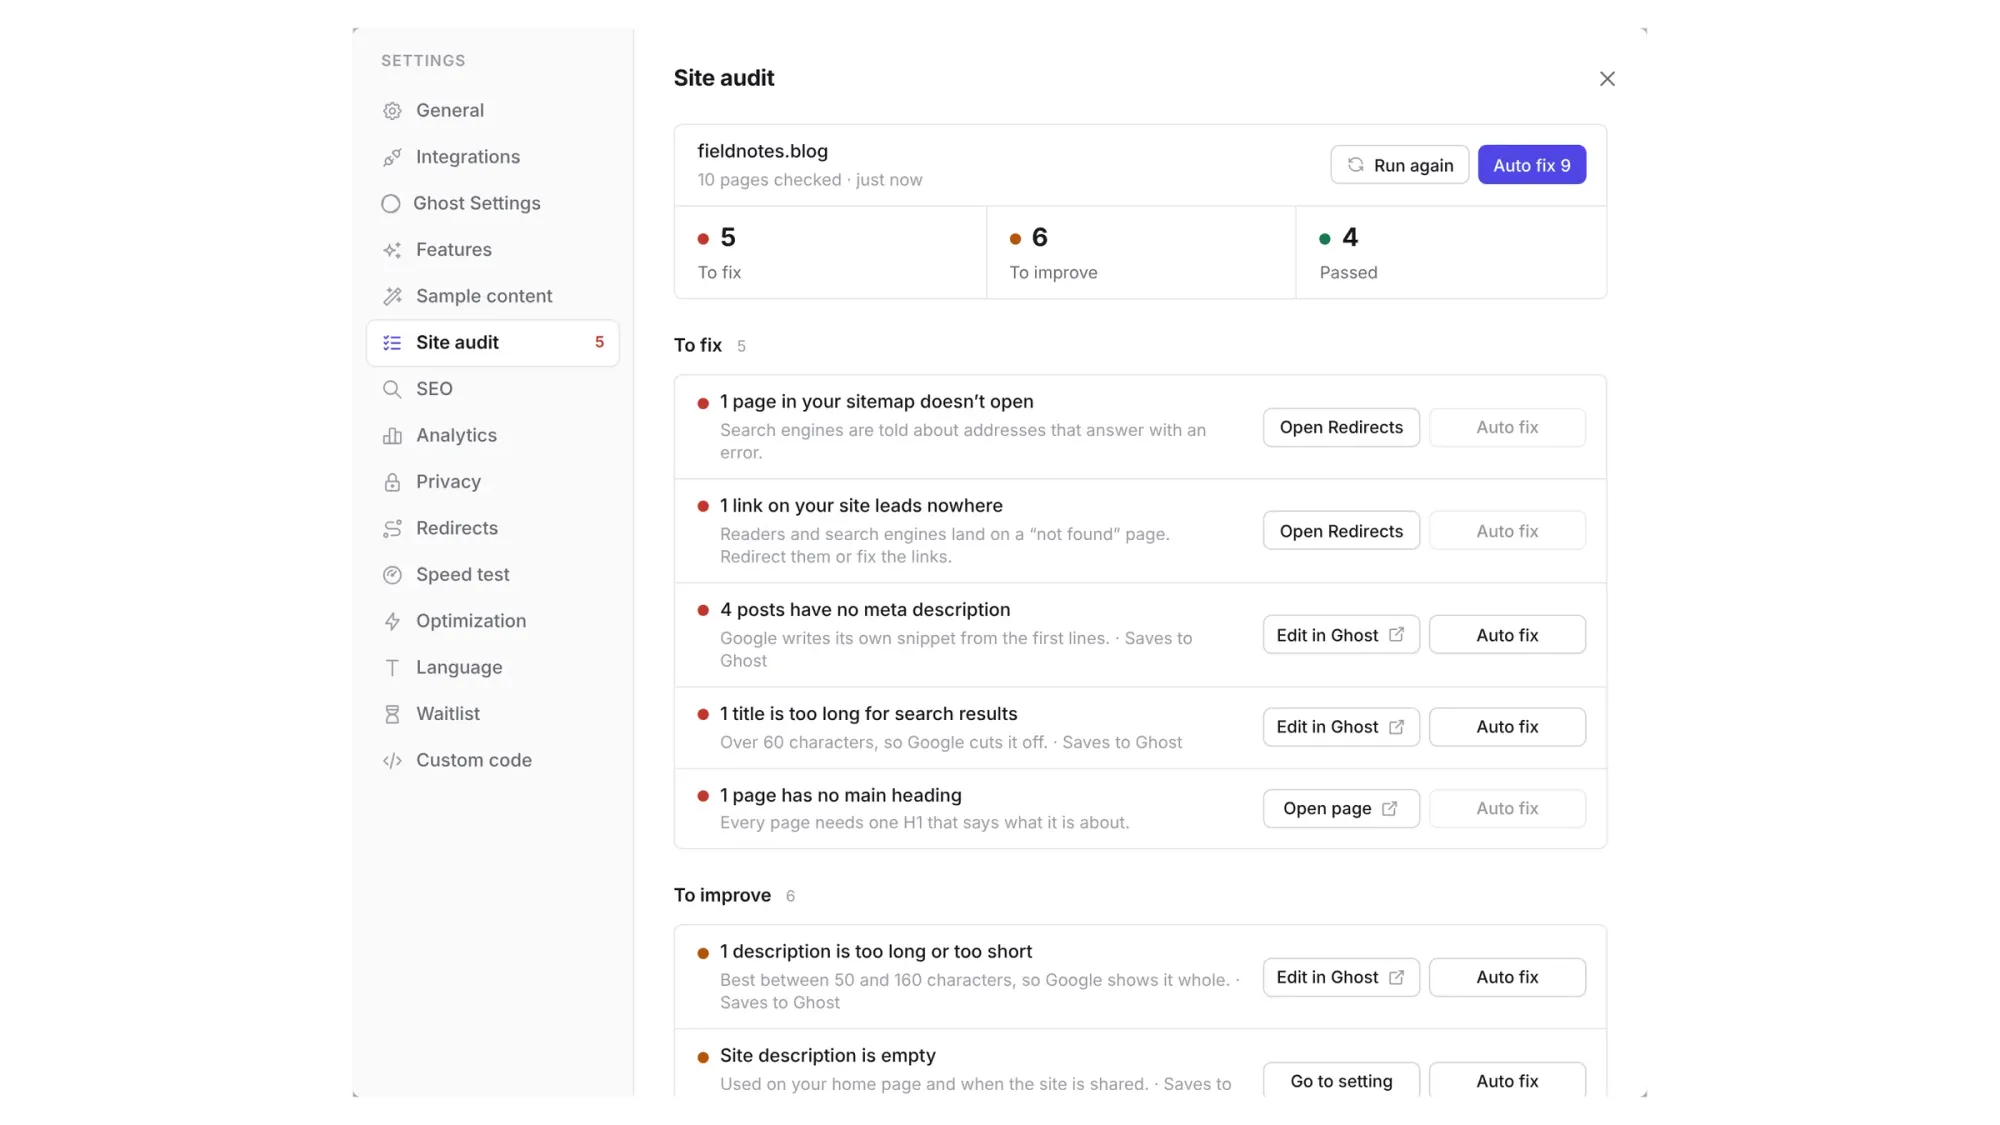
- Open Settings → Site audit and click Run audit. It reads every public page, about a minute for 100 pages.
Step 2: Work through the list
Issues come in two groups. To fix costs you visibility now: missing descriptions, cut-off titles, broken links. To improve can wait a little. Each row has a button that takes you where the fix belongs, and Auto fix where Ectobuilder can do it for you. Auto fix writes meta descriptions, SEO titles and tag descriptions from your own text, and shows you every suggestion first. Edit or untick any of them, then click Apply.
For a personal trainer, look out for these:
- Site description. Say what you do and where, such as Personal trainer in Denver: one-to-one, small groups and online coaching.
- Sharing image. What shows when a client sends your site to a friend. A photo of you coaching works well.
- Meta descriptions. Each journal post needs one. Auto fix writes them from the post's own text, for you to check.
- Tag descriptions. Your Nutrition or Strength pages can rank on their own. Auto fix writes a description from the posts under each tag.
Run it again after you fix things: the second list is usually short. More in Ghost SEO audit: find and fix search problems.
Ready to build yours? Everything in this guide works on your own copy of the Personal Trainer theme. Start free, connect your Ghost site when you’re ready, and only pay if you like the result.
Next steps
- Change the colors and fonts under Style. The orange accent and the heading font apply to every page at once.
- Replace the sample client photos and quotes with real ones.
- Have clients in another language? Translate your theme in one click under Settings → Language.
- Add a contact form for questions that don't fit a booking. How to add a contact form to your Ghost site takes about ten minutes.
Written by
Founder of Ectobuilder, the AI-powered visual theme editor for Ghost. Indie software builder in Wrocław and co-author of The AdTech Book. I write about Ghost themes, newsletters and building websites with AI.
Comments
Questions or thoughts? Share them below.
Keep reading
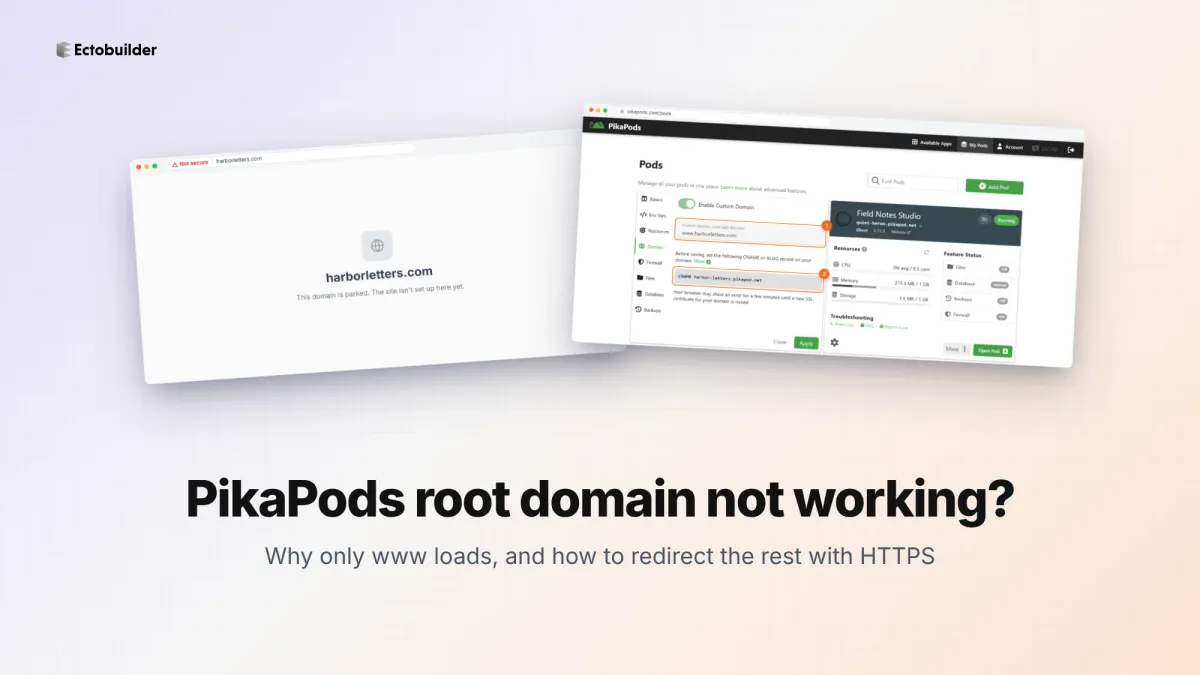
PikaPods Custom Domain: Why Only www Works (and How to Fix the Root Domain)
PikaPods maps one custom domain per pod, so yourdomain.com without www stays on a parked page with no SSL. Here's why, and three ways to redirect it to www over HTTPS without touching your email records.
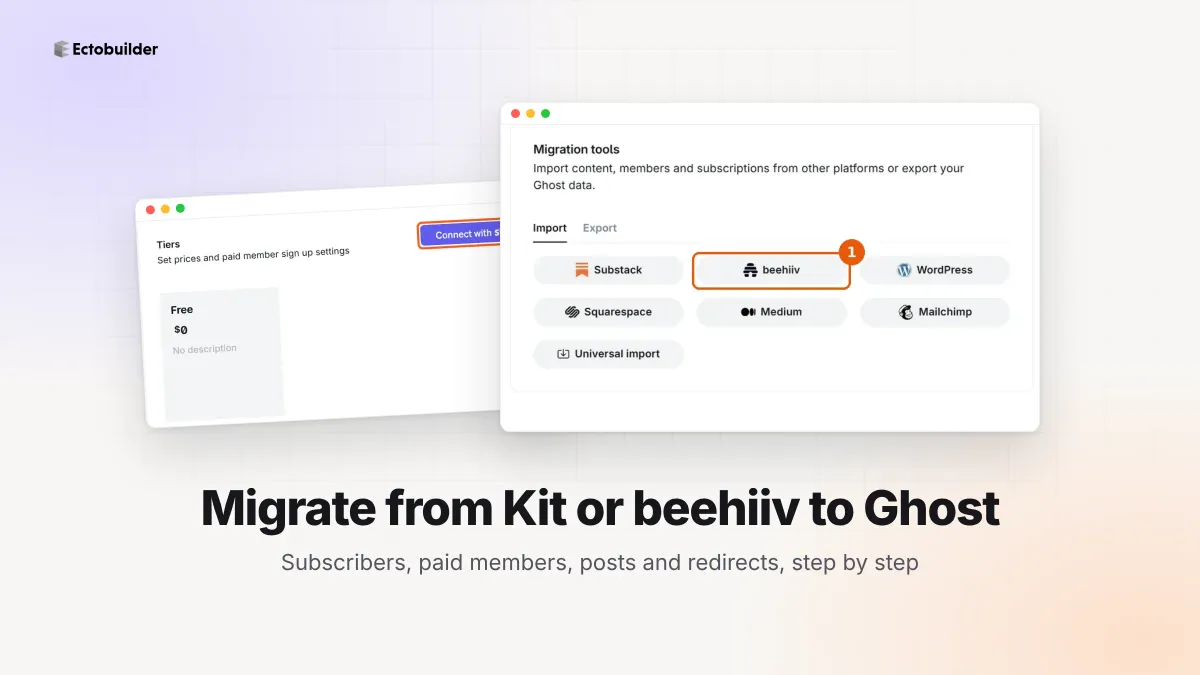
How to Migrate from Kit or beehiiv to Ghost (Subscribers, Paid Members, Posts and Redirects)
Move your newsletter from Kit (ConvertKit) or beehiiv to Ghost step by step: export and import subscribers, deal with paid members and Stripe, bring your posts across, set up redirects and your domain, warm up email sending, and make the new site look right.
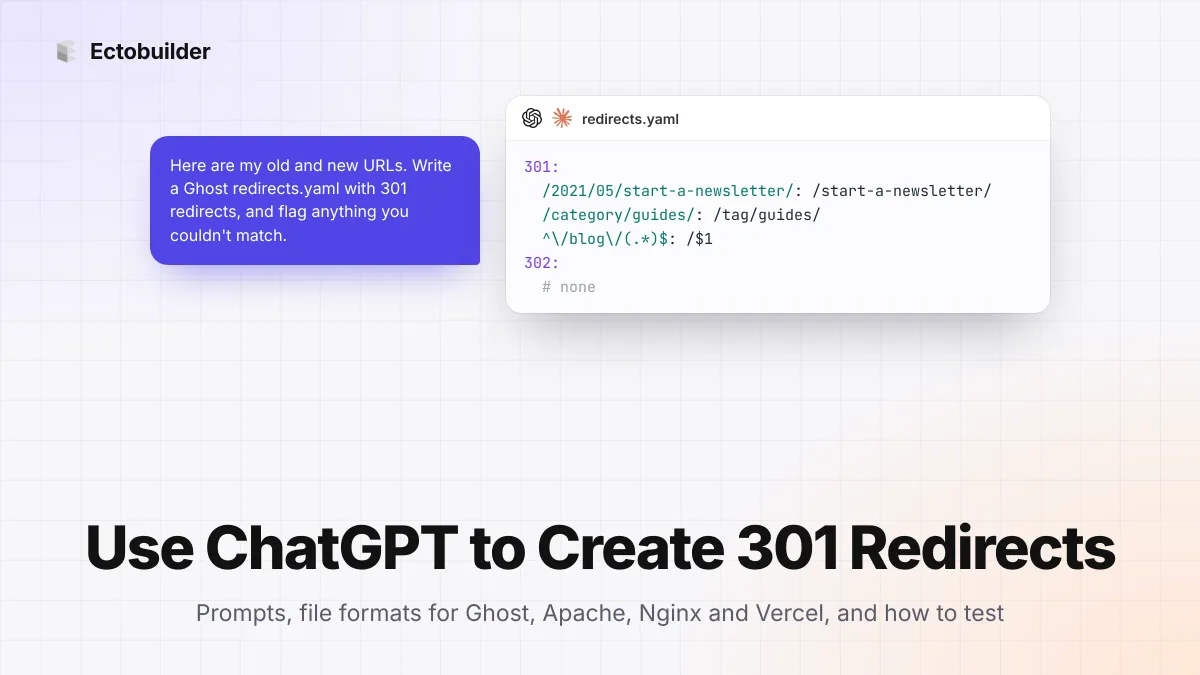
How to Use ChatGPT to Create 301 Redirects (Prompts, File Formats and Testing)
Let ChatGPT or Claude match your old URLs to new ones and write the redirect file for Ghost, Apache, Nginx, Netlify or Vercel. Prompts to copy, the mistakes to avoid, and how to test every redirect.