
How to Design Custom Author Pages in Ghost
Turn Ghost’s author pages into real profiles: cover photo, picture, bio, location, website and social links, and the post count, all filled in from Ghost. Plus how to give author pages a design of their own.

Michal Wlosik
· 4 min read
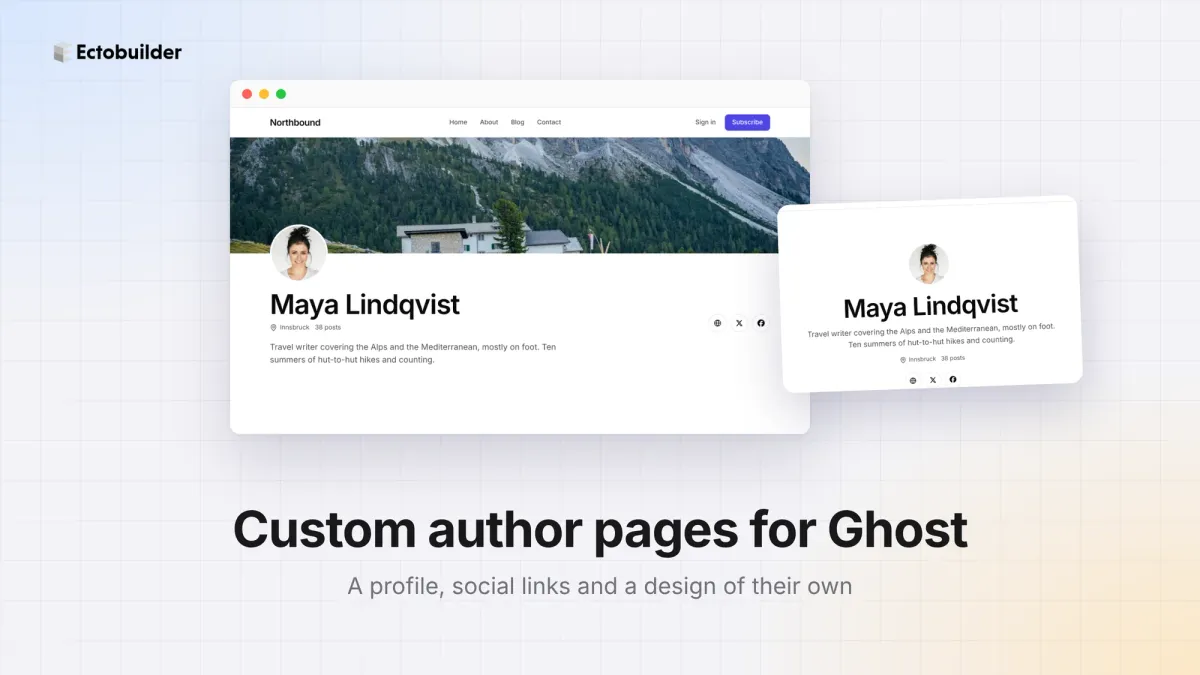
Every writer on a Ghost site has an author page: /author/name/, with a list of their posts. In most themes it's a name and a list, even though Ghost stores much more about each writer, like a photo, a cover image, a bio, a location and links to their website and social accounts.
This guide shows how to turn author pages into real profiles, with everything filled in from Ghost, and how to give them a design of their own. No code.
What Ghost knows about each author
In Ghost Admin, each staff user has a profile under Settings → Staff. Authors fill in their own:
- Profile picture and cover image
- Bio
- Location
- Website and social profiles
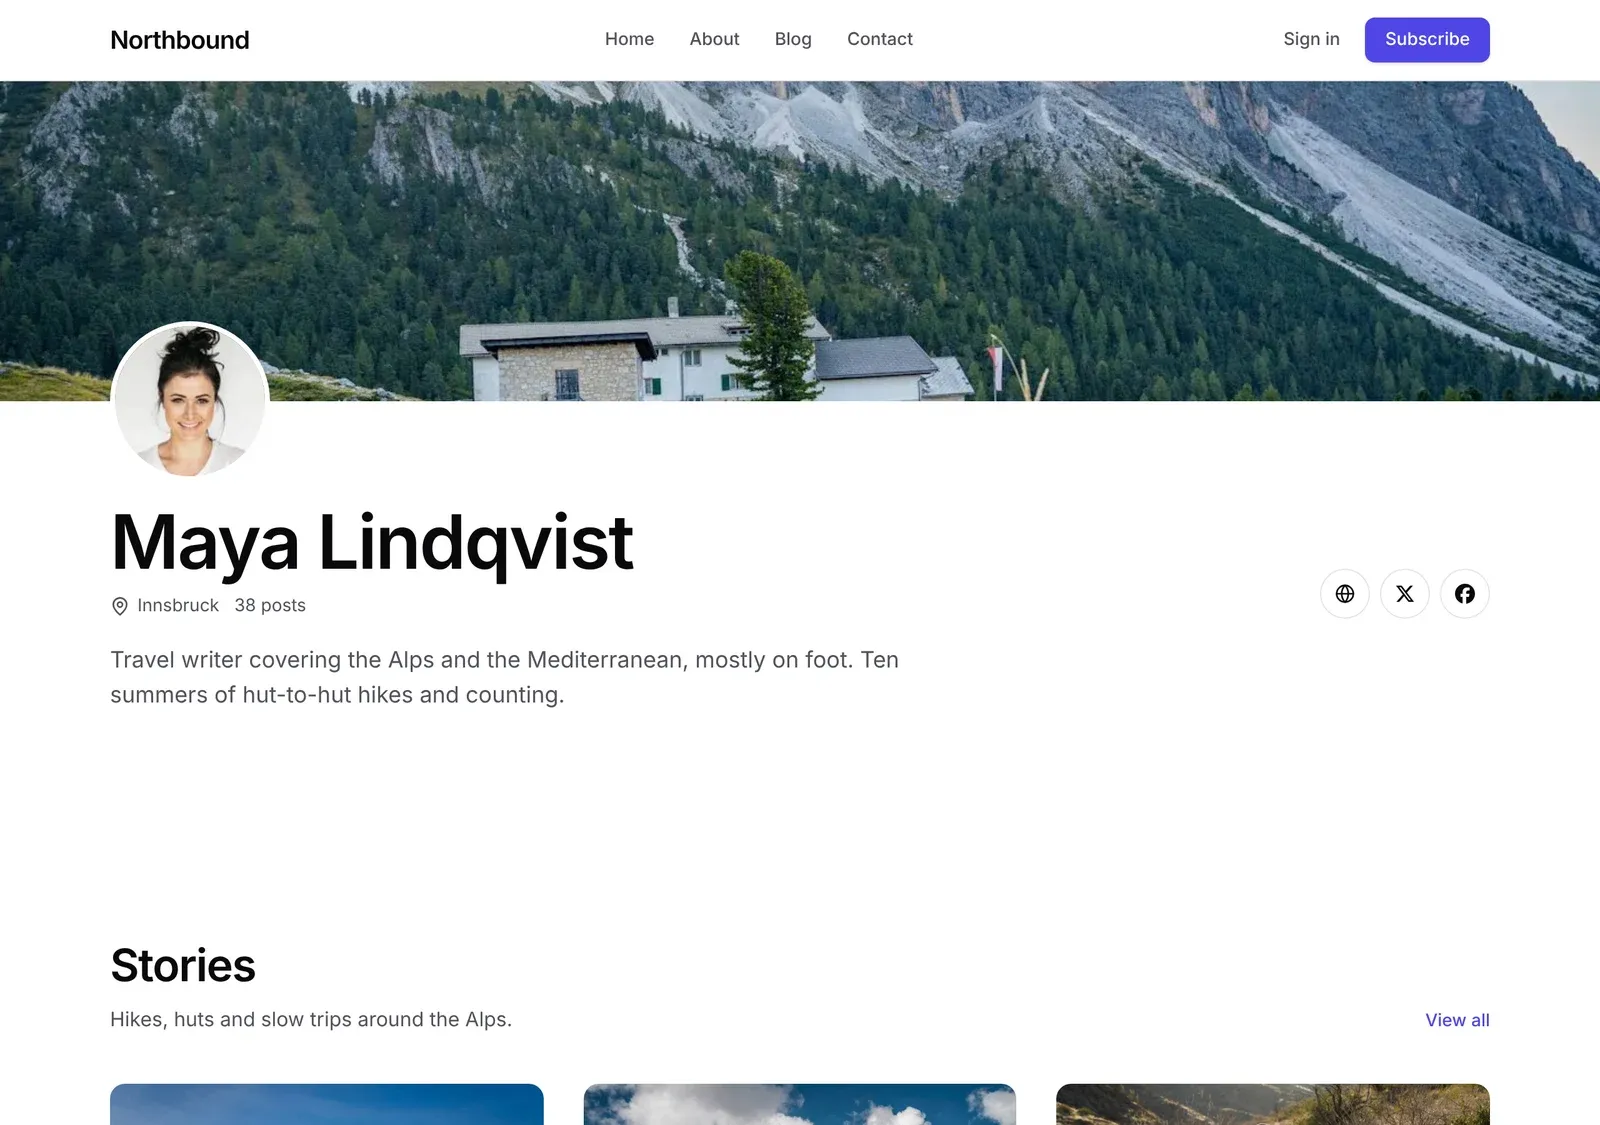
An author page in an Ectobuilder theme shows the picture, cover, bio, location, website and X and Facebook links, plus how many posts the author has written. When an author hasn't filled something in, it's left out, so there are no empty spaces.
Two author headers
- Author header, profile: the cover image across the top, the profile picture overlapping it, then the name, location, post count, bio and links. Like a social profile.
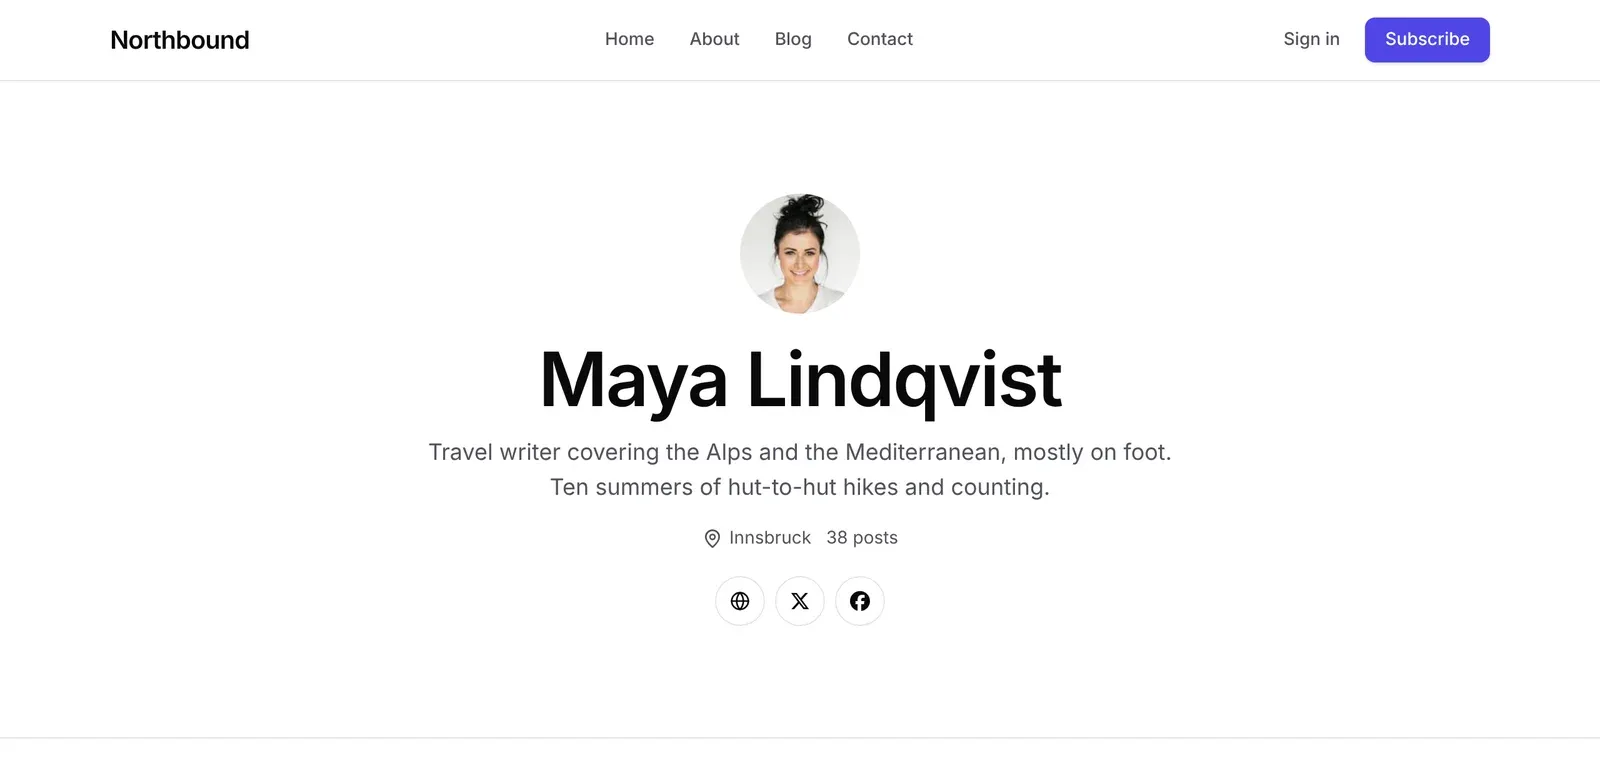
- Author header, centered: the picture, name and bio in the middle of the page, with the links below. Quieter, and good when authors have no cover image.
How to set it up
1. Give author pages their own design
By default, blog, tag and author pages share one design, so they always look alike. Open your theme in Ectobuilder, switch to the Author page, and click Design author pages separately at the top. You can also do it under Settings → Ghost Settings. Author pages start from a copy of your Blog design; tag pages keep the Blog design.

2. Add an author header
Open Add → Post feeds and pick Author header, profile or Author header, centered. Move it to the top and remove the Blog header the page started with. The sample name and bio in the editor are replaced with each author's own on your site.
3. Design the rest of the page
Below the header, choose how their posts appear: a grid, a list, or large cards. Add anything else that suits a profile page, like a subscribe box or a link to your team page.
4. Deploy
Deploy your theme, then open any author's page on your site. Ask your writers to fill in their profiles in Ghost: the more they add, the better their pages look.

Give your writers real profile pages.
Author headers with photos, bios and links, filled in from Ghost. Design visually, then publish.
Sections only on some archive pages
If you'd rather keep one shared design, you can still show a section on author pages only. On the Blog page, select a section and set Shows on to Authors, Tags, Blog or All. That way an author header appears on author pages while the blog keeps its own header.
Tag pages too
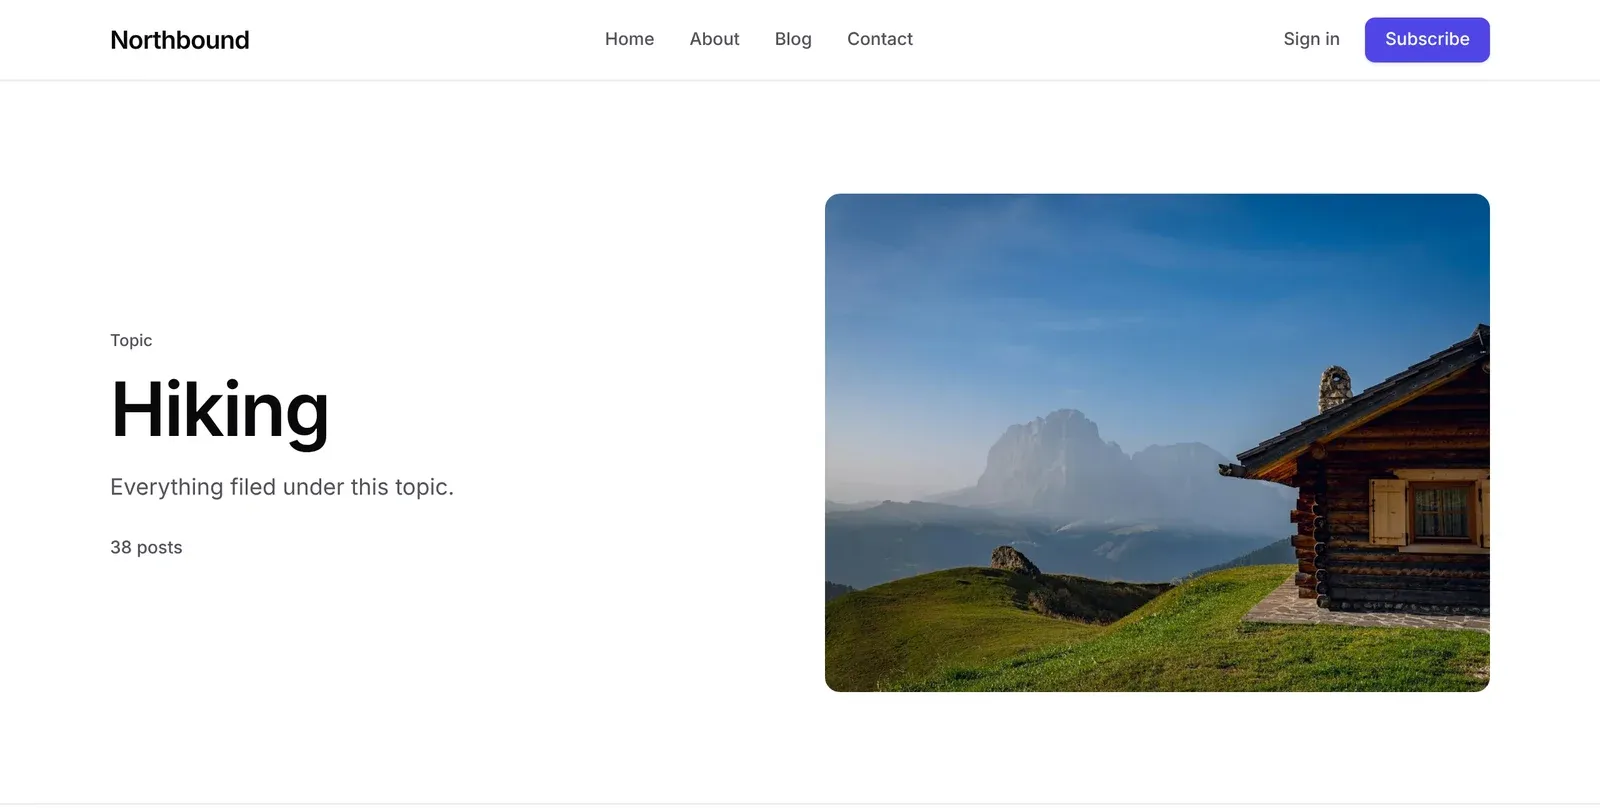
Tag pages have the same kind of headers: Tag header, with picture shows the tag's image, name, description and post count, and Tag header, centered does the same without the picture. Set the image and description for each tag in Ghost Admin under Tags.
Tips
- Use a wide cover image. At least 1600 pixels wide, with nothing important at the very top or bottom, since it's cropped to a strip.
- Keep bios short. Two sentences read well under a name.
- Link to author pages. Show the author's name on post cards and in an author box at the end of posts, so readers can find more by the same writer.
- One author? An author page still helps: it's your about page for readers who arrive from search.
Related guides
- Infinite scroll and Load more: the next posts on the same page, on blog, tag and author pages.
- Tag icons for Ghost: mark premium, video and podcast posts at a glance.
- The Magazine theme: sections, editor’s picks, long reads and memberships.
- How to build your Ghost theme visually: every step, from picking a theme to publishing it to Ghost.
FAQ
Where do authors add their bio and links?
In Ghost Admin, under Settings → Staff, each author opens their own profile. Changes show on their author page straight away, with no redeploy.
Can author pages look different from the blog?
Yes. Click Design author pages separately on the Author page in Ectobuilder. Tag pages keep the Blog design.
What if an author has no cover image?
The cover area shows as a plain band in your theme’s colors. If most of your authors have no cover, use Author header, centered, which doesn’t need one.
Which social links are shown?
Website, X and Facebook. Links an author hasn’t filled in are left out, so there are no empty icons.
Design every page of your Ghost site.
Home, posts, blog, tag and author pages, each the way you want them. Start free and deploy straight to Ghost.
Written by
Founder of Ectobuilder, the AI-powered visual theme editor for Ghost. Indie software builder in Wrocław and co-author of The AdTech Book. I write about Ghost themes, newsletters and building websites with AI.
Comments
Questions or thoughts? Share them below.
Keep reading
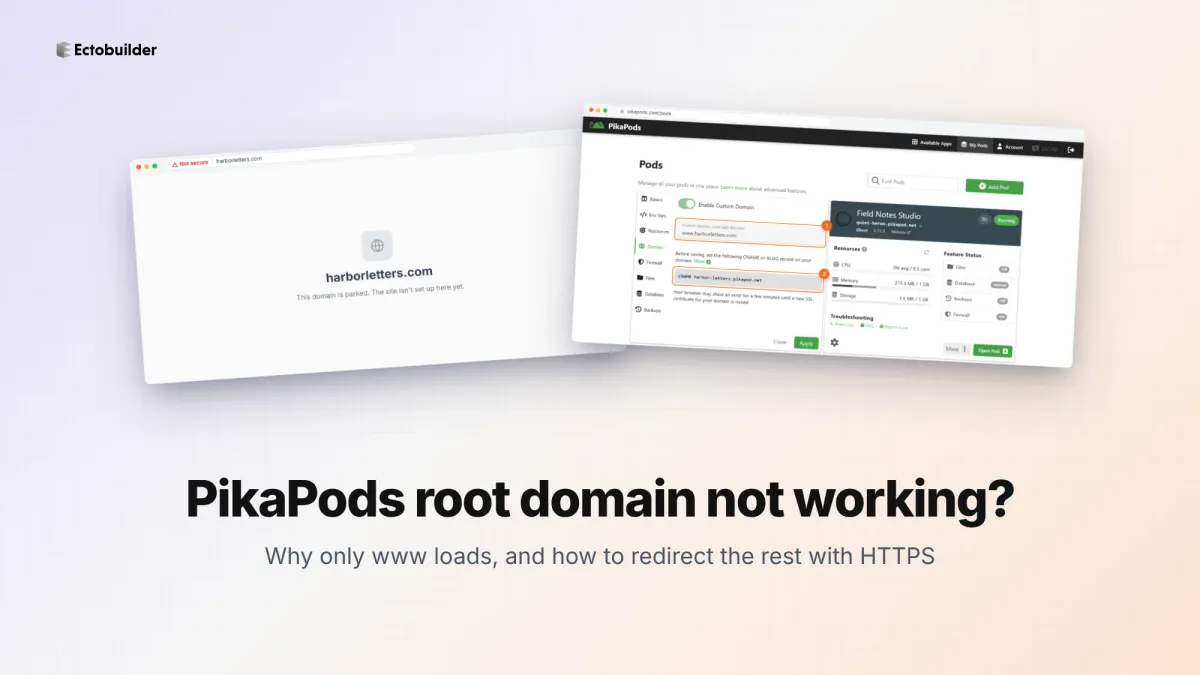
PikaPods Custom Domain: Why Only www Works (and How to Fix the Root Domain)
PikaPods maps one custom domain per pod, so yourdomain.com without www stays on a parked page with no SSL. Here's why, and three ways to redirect it to www over HTTPS without touching your email records.
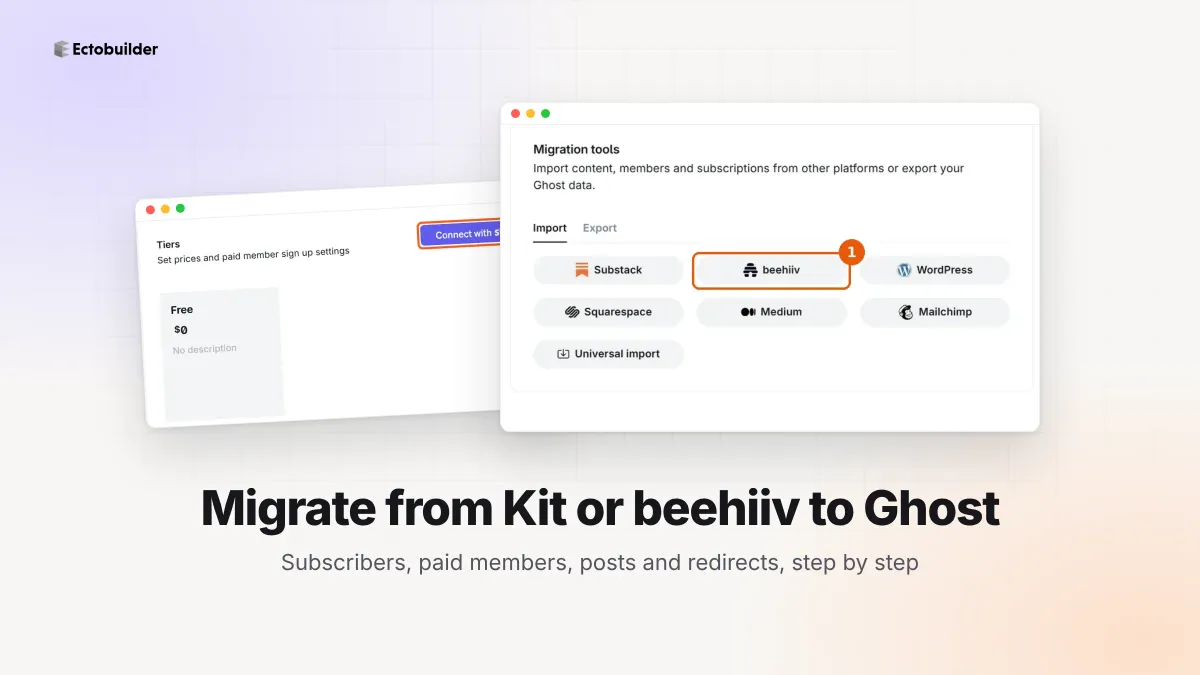
How to Migrate from Kit or beehiiv to Ghost (Subscribers, Paid Members, Posts and Redirects)
Move your newsletter from Kit (ConvertKit) or beehiiv to Ghost step by step: export and import subscribers, deal with paid members and Stripe, bring your posts across, set up redirects and your domain, warm up email sending, and make the new site look right.
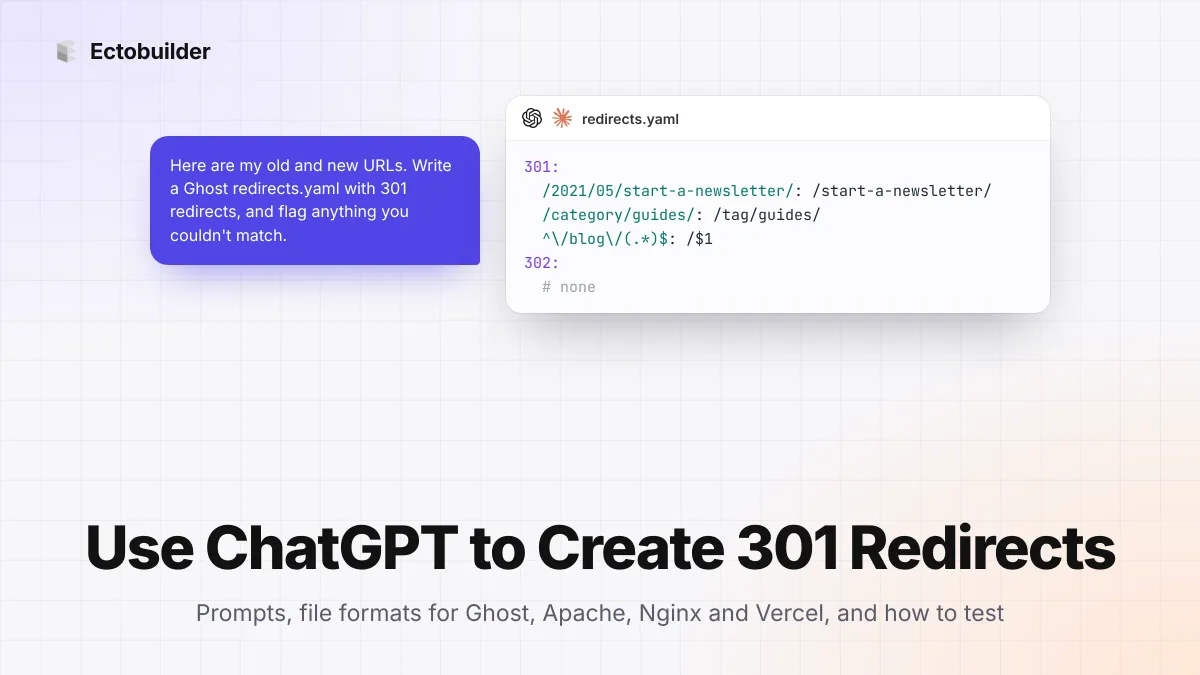
How to Use ChatGPT to Create 301 Redirects (Prompts, File Formats and Testing)
Let ChatGPT or Claude match your old URLs to new ones and write the redirect file for Ghost, Apache, Nginx, Netlify or Vercel. Prompts to copy, the mistakes to avoid, and how to test every redirect.